

Growing hollyhocks from seed is a rewarding endeavor for many gardeners. These towering beauties are well-known for their tall spires of large, vibrant blooms that can turn any backyard into a traditional cottage garden aesthetic. Hollyhocks, which belong to the genus Alcea, come in over 60 different species, including the popular Alcea rosea. They are primarily biennial, which means they typically live for two years, but some species are perennial and can live longer if the conditions are right.
My experience with hollyhocks has taught me the value of patience and timing. The process begins with planting the seeds at the correct time. Hollyhock seeds require light to germinate and can be planted outdoors in the fall, which allows them to lie dormant over winter and sprout in the spring. Alternatively, starting the seeds indoors in early spring is a viable option. This approach necessitates a sunny windowsill or grow lights to provide the necessary warmth and light. The seeds should be sown in a well-draining soil mix, covered lightly with soil, and kept slightly moist.
I’ve learned that when the seedlings reach a suitable size and the threat of frost has passed, it is the ideal time to transplant them outdoors. Soil temperature should be considered as well, with 50°F (10°C) being the minimum for hollyhock seeds to thrive. Once established, hollyhocks require regular maintenance including staking, as their height can make them prone to bending or breaking. They add a delightful vertical element to any garden and, with proper care, can reseed and grace your garden with their presence year after year.
JUMP TO TOPIC
Cultivation and Care
When growing hollyhocks, the essential factors to consider are the planting method, garden location to ensure ample sunlight, and proper soil and watering techniques that bolster the plant’s health and flowering potential.
Planting Hollyhocks
I start planting hollyhock seeds outdoors just before the last frost date or indoors in early spring, ensuring they are only a quarter inch deep in the soil. For seedlings, I wait until two to three weeks after the last frost to plant them outside. I always space my hollyhocks about 2 feet apart, as this gives them room to grow and flourish without overcrowding.
Sunlight and Temperature Requirements
Hollyhocks require full sun to thrive and should be planted in a location where they can receive at least six hours of direct sunlight each day. They are hardy and can tolerate some heat, but in my experience, they do best with average soil temperatures of at least 50°F (10°C).
Soil and Watering Recommendations
The ideal soil for hollyhocks is well-draining with a neutral to slightly alkaline pH level. I enrich my soil with organic matter before planting to nourish the hollyhocks. Watering should be done deeply but infrequently to keep the soil moist but not soggy. Overwatering or poorly draining soil can lead to root rot, so I ensure the soil dries out somewhat between waterings.
Managing Pests and Diseases
In my experience with hollyhocks, I’ve found that while they’re fairly resistant to troubles, vigilance helps in tackling pests and diseases early on. Proper care can make a huge difference in their health and bloom quality.
Common Pests of Hollyhocks
Among the pests that can target my hollyhocks, Japanese beetles and spider mites are the usual suspects. These pests prefer to feed on the leaves, causing holes and weakened plants. To combat these pests, I use the following methods:
Japanese Beetles: Hand-picking or using neem oil as a deterrent.
Spider Mites: Spraying with water or using insecticidal soap.
Fungal Diseases and Prevention
Fungal diseases such as anthracnose and leaf spot can arise, especially in humid conditions. Managing moisture is key to prevention. Here’s how I ensure a proper environment:
- Ensure good air circulation around plants.
- Water at the base to keep leaves dry.
- Apply mulch to reduce splash-back from rain.
For ongoing issues, I may resort to fungicides, but I always start with cultural controls first.
Hollyhock Rust Control
Hollyhock rust is a fungus that can decimate my hollyhocks if left unchecked. It presents as rust-colored spots on the undersides of leaves. To control rust:
💥 Keep an eye on the underside of leaves for early detection.
For treatment, remove infected leaves and apply fungicide carefully according to the instructions. Good sanitation is crucial.
By following these steps and maintaining regular plant inspections, I manage to keep pests and diseases under control, ensuring my hollyhocks remain healthy and vibrant.
Propagation and Growth
I’ve found that understanding the specific steps in hollyhock propagation can significantly improve your success rates. From my experience, precise seeding, seasonal considerations, and appropriate plant care will lead to vibrant growth and long-lasting blooms.
Seeding and Germination
I always start my hollyhock seeds indoors, especially to get a head start in regions with shorter growing seasons. Hollyhock seeds need light to germinate, so I sow them near the soil’s surface. I’ve noticed they thrive in full sun with well-draining, rich soil. Germination usually kicks off within 10-14 days if temperatures are around 70°F (21°C).
Ensuring Year-Round Bloom
My hollyhocks, being biennials or short-lived perennials, follow a two-year life cycle, blooming in the second year. To maintain continuous displays each summer, I always plant a new batch of seeds every spring. As some hollyhocks self-seed, I ensure the optimal conditions for self-propagation by providing ample space and cutting back the stalks every fall to encourage robust growth year after year.
Spacing and Maintenance for Optimal Growth
Hollyhocks require plenty of space to grow tall and lessen the risk of rust, a common problem. In my garden, I provide at least 18-24 inches between plants for adequate air circulation. Regularly checking soil pH, which should range from 6.0 to 8.0, and providing a balanced fertilizer aid in robust growth. I prune spent blooms and stems to encourage new growth and make room for pollinators.
| Hollyhock Maintenance Checklist | |||
|---|---|---|---|
| Spacing: | 18-24 inches | Soil pH: | 6.0-8.0 |
| Fertilizing: | Use balanced fertilizer | Pruning: | Regularly |
Varieties and Landscaping Uses
Hollyhocks, or Alcea, offer diverse varieties, each serving different landscaping purposes due to their varying colors and heights. Their ability to attract pollinators like bees, coupled with their stunning blooms, makes them a favorable choice for gardeners.
Diverse Colors and Heights
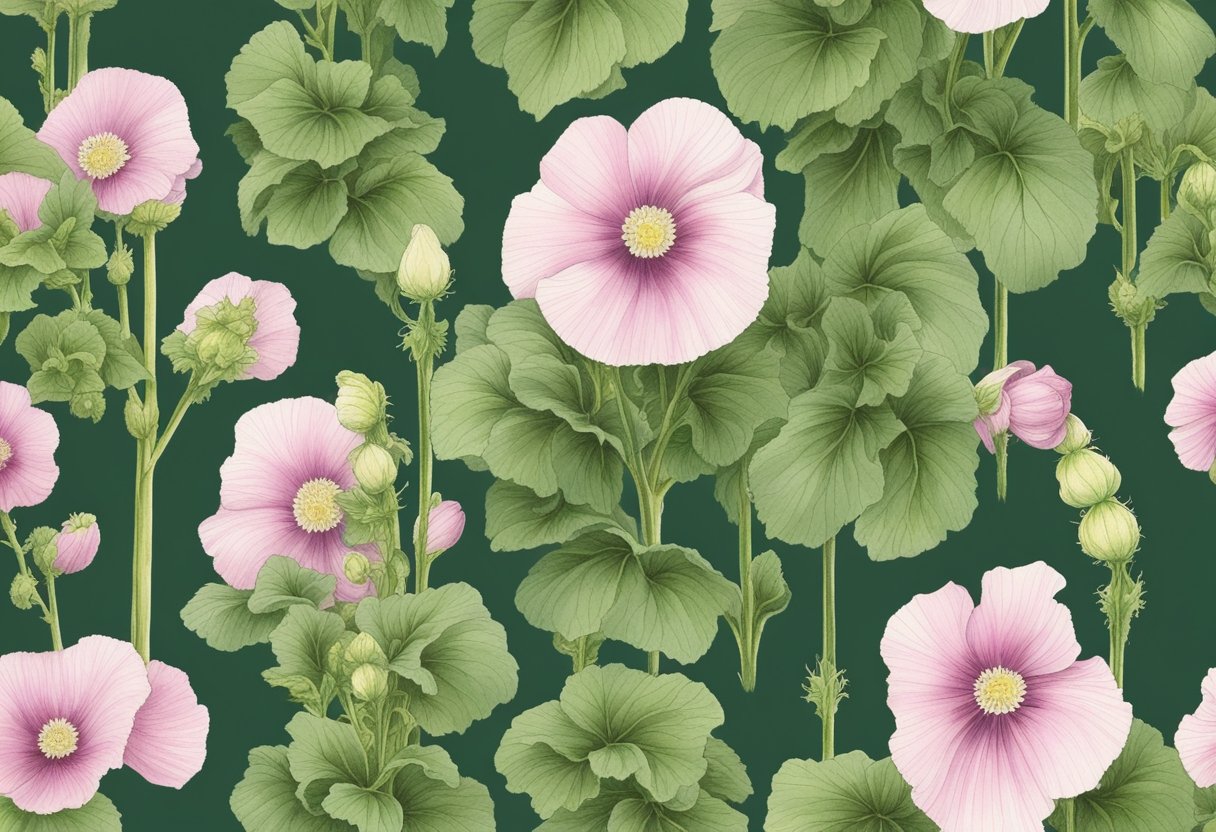
I’ve found the heights of hollyhocks to vary significantly, ranging typically from 5 to 8 feet, impacting how they can be used in a landscape. The flower colors are particularly striking with shades of pink, white, red, yellow, and purple—making them an excellent choice for adding vibrancy. Their tall flower stalks sway gracefully in the wind, which is something to consider if your garden is exposed.
Here’s a snapshot of common hollyhock varieties with their respective colors and suggested zones:
| Common Name | Flower Color | Height (feet) | Zones |
|---|---|---|---|
| Alcea rosea | Mixed | 5-8 | 3-8 |
| Chater’s Double | Red, Pink, Yellow | 6-8 | 3-8 |
| Blacknight | Deep Purple | 6-8 | 3-9 |
Incorporating Hollyhocks into Garden Design
In my experience, hollyhocks excel when used against fences or buildings, providing a stunning backdrop due to their significant height. This positioning also shields them from strong winds, which can damage their tall stalks. When planting in borders or as part of a cottage garden, I ensure to place them at the back to complement shorter plants without overpowering them.
For a successful incorporation, follow these garden design strategies:
- Use as a natural fence: Hollyhocks’ height, when grown in a row, can create a beautiful, living border.
- Accent against structures: Planting them next to walls or fences showcases their flowers and offers wind protection.
- Attract pollinators: Their blooms are irresistible to bees, making them an ally for a pollinator-friendly garden.
By choosing appropriate varieties and considering their landscape uses, hollyhocks can be a focal point or a complementary addition to various garden styles. They demand well-drained soil and thrive in full sun to partial shade. However, watch out for slugs and ensure to deadhead spent flowers to promote new growth.


