

Tulips are a classic harbinger of spring, their vibrant blooms signaling warmer days ahead. As a gardener, I find great joy in growing these colorful flowers. The process begins with the planting of bulbs in the fall, as tulips require a period of winter chilling to bloom. It’s crucial to plant them at the right depth—about three times the height of the bulb, which typically translates to 4 to 8 inches deep, depending on the bulb size. Choosing a sunny spot with well-drained soil is essential, for though tulips are hardy, they can rot if waterlogged.
In my experience, tulips flourish when given sufficient space to grow. Spacing the bulbs 2 to 5 inches apart allows for healthy root expansion and prevents overcrowding, which can diminish bloom size and vigor. Additionally, incorporating compost or a slow-release fertilizer during planting provides the necessary nutrients for the bulbs to develop strong stems and bright petals. As the winter subsides and the soil warms, the bulbs break dormancy, sending up shoots that will eventually unfurl into the tulip’s iconic cup-shaped flowers.
Care for tulips doesn’t end once they bloom. Post-flowering maintenance is vital for ensuring the health of the bulb for the following season. Once the tulips have bloomed, I make it a point to remove the spent flowers to prevent seeding, which can divert energy away from the bulb. However, the foliage is left intact until it naturally yellows and dies back, a clear sign that the plant has begun its dormancy cycle. This period of rest is when the bulb gathers and stores the energy required to bloom again. With a little care and planning, tulips are a delightful addition to any garden, offering a spectrum of colors and a sure sign that spring has arrived.
JUMP TO TOPIC
Selecting the Right Tulip Varieties
When choosing tulips for your garden, it is important to consider the diversity available and how different varieties align with your blooming time preferences.
Understanding Species and Cultivars
💥 Tulip Classification
Tulips are classified into several species, which include wild varieties, and numerous cultivars that arise from these species. The term “species” refers to naturally occurring tulips that have evolved without human intervention, while “cultivars” or cultivated varieties have been developed by breeders to enhance certain characteristics like color, shape, and blooming period. Among the well-known types are Darwin Hybrids, known for their large blooms and sturdy stems, Kaufmanniana with their waterlily-like open flowers, and Greigii with strikingly marked leaves.
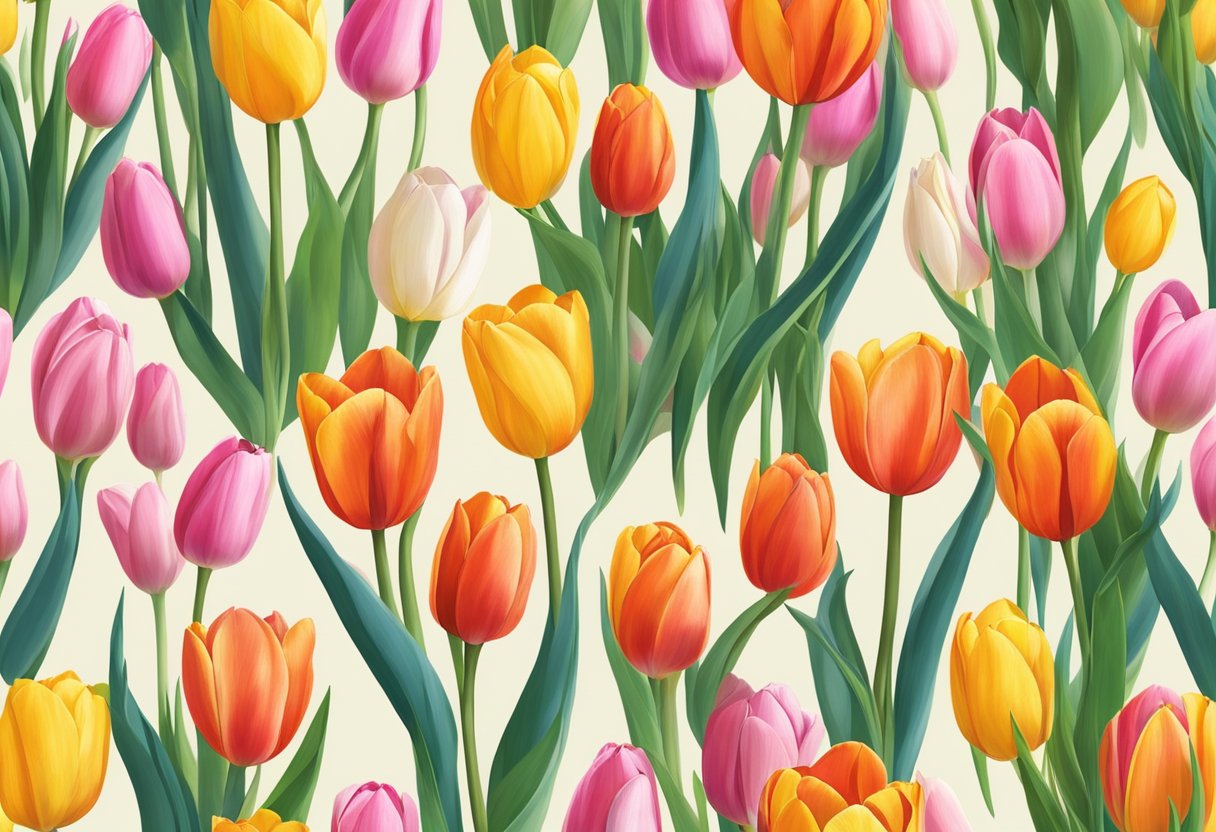
Diversity is vast among tulip hybrids which combine characteristics of different species. These hybrids include Single Early, Double Early, Triumph, Single Late, Double Late, Fringed, Rembrandt, Parrot, Fosteriana, Viridiflora, and more. Each comes with unique features—Double Early varieties resemble peony flowers, while Parrot tulips sport ruffled, feather-like petals, offering distinctive textures and forms in the garden.
Choosing Based on Blooming Time
Blooming times can vary significantly among tulip cultivars, enabling you to create a sequential display in your garden. Early bloomers like Single Early and Double Early tulips start the season, followed by the mid-season Triumph and Darwin Hybrids. Single Late varieties and other groups such as Parrot and Fringed tulips offer late-season blossoms. The Double Late or peony-flowered types close the season, extending the tulip display into the late spring.
To ensure a prolonged and staggered blooming period in your garden, you could choose a mixture of early, mid-season, and late-flowering cultivars. Be mindful of your climate zone and the local frost dates, as these will affect the planting times and blooming periods. For sustained impact, consider your garden’s color palette and how the hues of different tulip varieties will blend or contrast with each other and with other plants in your landscape.
Planting and Cultivation
In my experience, successful tulip growth hinges on proper soil preparation, planting at the correct depth, and adequate spacing. Let me guide you through the soil requirements and the specific planting techniques to optimize tulip growth.
Soil Requirements and Preparation
For tulips to thrive, they need well-drained soil in a sunny location. I pay attention to soil pH, which should be neutral to slightly acidic. Here’s how I prepare the soil:
Soil Preparation Steps:
- Choose a site that receives full sun for at least 6 hours a day.
- Test the soil pH and adjust if necessary to achieve a pH between 6.0 and 7.0.
- Improve soil drainage by mixing in organic matter or sand, if needed.
- I ensure the planting bed is free from weeds and debris before planting.
Planting Depth and Spacing
I plant tulip bulbs during the fall, as cool soil temperatures promote root development. Timing and technique are crucial:
- Depth: I plant bulbs about 8 inches deep, roughly three times the height of the bulb.
- Spacing: I space bulbs 4 to 6 inches apart to provide adequate room for growth.
- For heavier clay soils, a shallower depth of 3 to 6 inches is effective for me.
- The pointy end of the bulb always faces upwards, signaling which end should be planted skyward.
Note: If planting tulips as perennials, I add bone meal to the hole before planting to encourage strong root development.
Tulip Maintenance and Care
Caring for tulips involves timely watering, proper fertilization, and vigilant pest control. After blooms fade, deadheading and post-blooming care are crucial for ensuring their showcase the following season. I’ll guide you through each aspect with specifics to help your tulips thrive.
Watering and Nutritional Needs
My tulips benefit from consistent moisture, particularly during spring growth and bloom time. I ensure the soil is well-draining to prevent bulb rot. For nutritional support, I apply a balanced slow-release bulb fertilizer when planting and every spring as growth emerges. Here’s a quick reference for their needs:
Fertilizer: Use slow-release bulb fertilizer in fall and early spring.
Compost: Mix in at planting time for nutrients and improved soil structure.
Protecting from Pests and Diseases
To grow tulips successfully, I remain vigilant against pests like squirrels and diseases such as tulip fire. I deter squirrels with protective mesh or by planting tulip bulbs among daffodils, which they dislike. To prevent disease, I choose disease-resistant varieties and ensure good air circulation. If problems arise, I act quickly to apply appropriate treatments.
Deadheading and Post-Blooming Care
After my tulips bloom, I deadhead spent flowers to prevent seed production and direct energy back to the bulb. However, I leave the foliage until it yellows and wilf naturally, usually six weeks post-bloom, to allow photosynthesis to replenish the bulb’s nutrients. Here’s a brief summary of post-blooming practices:
Foliage: Allow leaves to yellow before removing.
Annual Care: Apply compost or a sprinkle of bone meal after foliage dies back for next season’s growth.
Creative Displays and Uses
Tulips, with their vibrant blooms and varied hues, can transform any space into a lively display. When designing gardens or creating floral arrangements, consider a tulip’s height, blooming time, and growing conditions to ensure success and a stunning exhibition of color.
Designing Tulip Displays in the Garden
When I plan my garden layout, I carefully select tulips that will thrive and provide visual interest throughout the season. I start by grouping tulips by bloom time—early, mid-, and late-season—to create a continuous display. For a tapestry of colors, I mix tulip varieties while keeping in mind their final height so that shorter blooms are in the foreground, and taller ones provide a dramatic backdrop.
I love incorporating tulips along garden borders or pathways, where their striking petals can be fully appreciated. I also ensure there is a mix of annuals and perennials around tulips to keep the garden lively even when tulip leaves start to shed post-bloom.
Hardiness is a key factor, so I always check if the chosen varieties suit my hardiness zone. Firm bulbs are my go-to, as soft or moldy ones often fail to thrive. For bountiful blooms, I select a sunny location with well-drained soil, crucial for preventing bulb rot.
💥 Tip: Contrast and complement different tulip heights and colors for a dynamic effect.
Tulips as Cut Flowers and Arrangements
A single tulip stem can elevate an entire room, and when arranged in a bouquet, these flowers quickly become the centerpiece of any table. I often cut tulips for indoor displays when they are in the “soft bud” stage, which ensures they’ll last longer in a vase.
In the refrigerator, I keep cut tulips cool until they’re ready to arrange, prolonging their firmness and bloom time. By changing the water daily and ensuring a clean cut at the stem’s base, my tulip arrangements maintain a fresh look for up to a week.
For arrangements, I play with color and texture, combining tulips with other complementary blooms or creating an all-tulip display with varying heights and hues. To add interest, I sometimes include non-flowering elements like willow branches or interesting foliage that accentuate the tulips’ natural beauty.


