

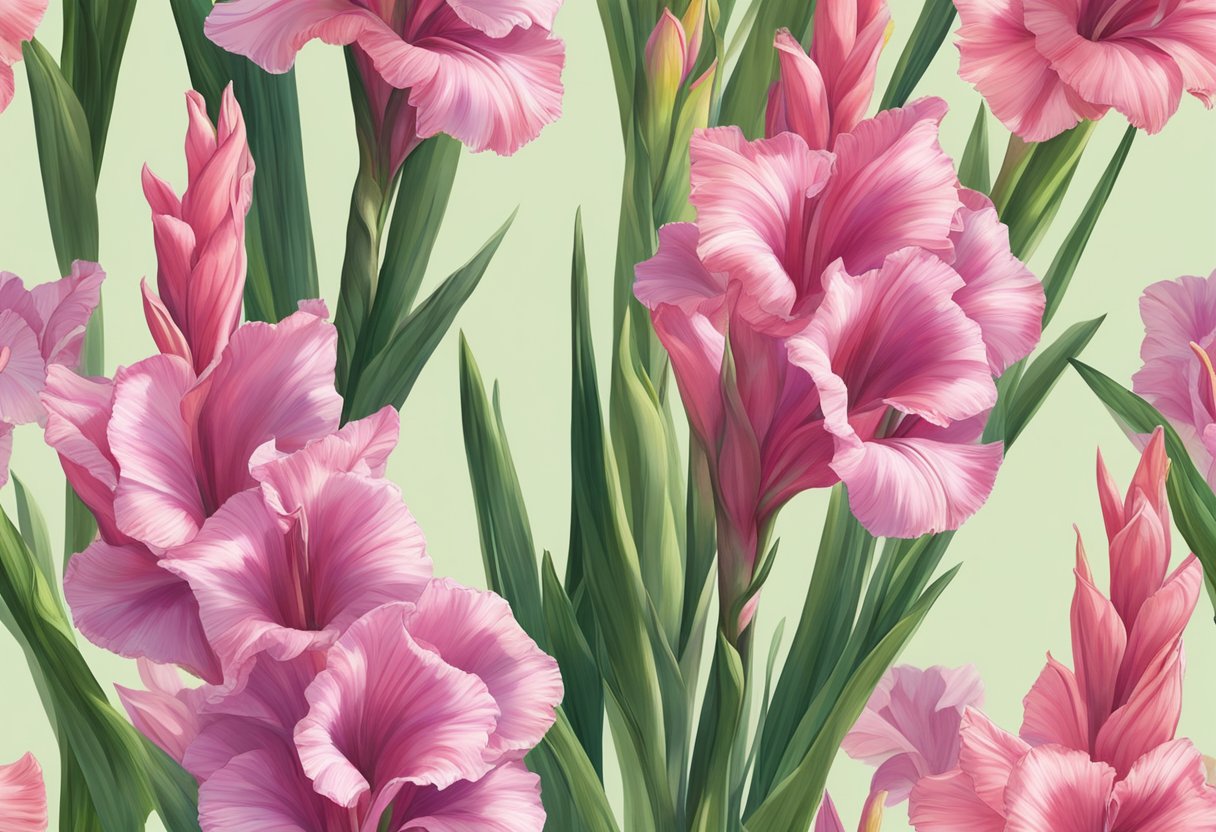
Gladiolus, with its striking, tall spikes of flowers, is a classic perennial known for its striking appearance in summer gardens. However, gardeners often wonder about the timing of their blooming period. From my experience, these vibrant flowers follow a steady growth pattern that leads up to their much-anticipated bloom.
Gladiolus typically bloom between 60 to 90 days after planting the corms, with variations depending on weather conditions and the specific variety.
Knowing when to plant is crucial for achieving optimal flowering. My gladiolus corms are usually planted in spring after the last frost, ensuring the soil temperature has warmed enough to promote growth. These plants thrive with at least five hours of daily sunshine and well-draining soil enriched with compost. This preparation is essential for nurturing the corms, which will eventually develop into robust plants with dramatic blossoms.
JUMP TO TOPIC
Selecting the Right Site and Soil Conditions for Gladiolus
To ensure gladiolus thrive, selecting a site with adequate sunlight and preparing soil with the right structure and pH is crucial. I’ll guide you through choosing the perfect location and soil amendments for optimal gladiolus growth.
Understanding Sunlight and Shade Requirements
Gladiolus bulbs, known for their striking vertical blooms, need full sun to reach their full potential. Full sun refers to areas that receive at least six hours of direct sunlight per day. This exposure is vital for robust growth and vibrant flowers. The ideal spot in your garden should meet these criteria to avoid suboptimal gladiolus performance.
Soil Types and Amendments for Optimal Growth
Soil quality significantly affects gladiolus health and blooming. The best soil for these flowers is well-draining, meaning it retains enough moisture for hydration but allows excess water to escape quickly. Heavy, clay-rich soils can lead to waterlogging and should be avoided or improved.
💥 Soil Preparation:
- I aim for a soil pH between 6.0 to 6.5, which is slightly acidic and can be tested with a home kit.
- If the soil is dense, I incorporate organic matter like compost to improve drainage and provide nutrients.
- I ensure a depth of at least 12-15 inches is loose to facilitate root expansion.
By following these specific steps, I establish a strong foundation for my gladiolus to grow and flourish. It’s also worth noting that gladiolus enjoys nutrient-rich soil; therefore, an annual addition of organic material, such as compost, will ensure sustained soil fertility and optimal growing conditions.
Planting and Cultivation Practices
When planting gladiolus bulbs, precise steps lead to successful flowering. Each phase, from soil preparation to disease prevention, is crucial for vigorous growth and vibrant blooms.
Important Steps for Planting Gladiolus Bulbs
I always start by choosing a well-draining location that receives full sunlight for most of the day. I use a garden fork to loosen the soil to a depth of 12 to 15 inches and incorporate a generous layer of compost to enrich the planting site. Gladiolus corms should be planted with the pointed end facing upward, at a depth of 3 to 4 inches. I ensure that the corms are spaced about 5 inches apart to provide ample room for growth.
Watering and Mulching Guidelines
Proper watering is essential for gladiolus; I aim for consistent moisture without waterlogging the soil. After planting, I water the corms thoroughly to settle the soil. Mulch plays a dual role by retaining moisture and suppressing weeds. I apply a 2 to 3-inch layer of organic mulch around the plants, taking care not to cover the stems.
Dealing with Pests and Diseases
I keep an eye out for common pests such as thrips and mites, which can damage the foliage and flowers. Regular inspections help me act quickly if I spot any infestation. For diseases, proper spacing and airflow are preventative measures I rely on. Should any fungal issues arise, like botrytis or rust, I intervene with appropriate fungicide treatments to manage the disease.
Flowering and Maintenance Tips
Gladiolus plants enchant with a spectacular display of blooms from summer to fall. I’ll share precise tips to achieve vibrant flowers, support their tall stalks effectively, and ensure perennial vitality.
Achieving Vibrant Blooms Throughout the Season
To enjoy gladiolus flowers over an extended period, I plant new corms every two weeks. They flower about 70 to 100 days after planting. Staggered planting ensures a continuous array of colors.
For the most vivid and enduring blooms, plant corms that are 1¼ inch or larger in diameter, ensuring well-draining soil enriched with compost or aged manure.
Staking and Support for Tall Flower Stalks
As gladiolus stalks can reach up to 5 feet, staking is essential, particularly in windy areas. Here’s how I support my plants:
- Place a stake next to each corm at the time of planting.
- Use soft ties to attach the stalk to the stake as it grows.
This prevents the tall flower stalks from bending or breaking, so they can display their colors proudly.
Seasonal Care for Perennial Growth
As perennials, gladiolus require some seasonal maintenance to thrive year after year. After flowering, I cut back the plants and lift the corms from the ground. Let’s break down the steps:
- Cut plants to 2-3 inches above the ground.
- Dry the corms out of direct sunlight for three weeks.
- Store in a dry, well-ventilated place at around 45 degrees Fahrenheit.
I clean off the corms, treat with fungicide, and store them properly to plant again when conditions are favorable. This guarantees a bountiful and beautiful show the following season.
Post-Blooming Care and Bulb Storage
After my gladiolus flowers have wilted, I usually begin the post-bloom care process to ensure my bulbs are protected and can potentially bloom again next season. Gladiolus bulbs are not winter hardy and need proper storage during the colder months, especially if the climate experiences frost.
- I remove the flower stalks but keep the foliage until it has died back naturally.
- I stop watering at this point to allow the bulbs to dry out.
- Once the leaves are yellow, I gently lift the bulbs from the soil, being careful not to damage them.
Next, I clean the bulbs and place them in a dry, well-ventilated area to cure. Here’s a crucical point: Gladiolus bulbs require about three weeks of curing or drying.
- I select a cool, dry place where the temperature is consistent, ideally between 40-50°F (4-10°C).
- The bulbs are then stored in a breathable container, like a netted bag or a box with ventilation holes.
I’ve always found that maintaining good air circulation is key. I avoid placing the bulbs in an area that’s susceptible to moisture, as damp conditions can cause rot.
💥 Proper curing and storage are crucial for the lifespan and performance of gladiolus bulbs.
To prevent damage, avoid storing gladiolus bulbs where they may freeze or be exposed to frost.
By following these steps, I’ve successfully stored my gladiolus bulbs year after year, and they continue to provide beautiful blooms each season.


