Drying herbs is an effective way to preserve their flavor and extend their shelf life. The time it takes to dry herbs can vary widely depending on the method used and the type of herb. As a general rule, the key factors that influence drying time include the moisture content of the herbs, the drying method chosen, and the environment in which they are dried.
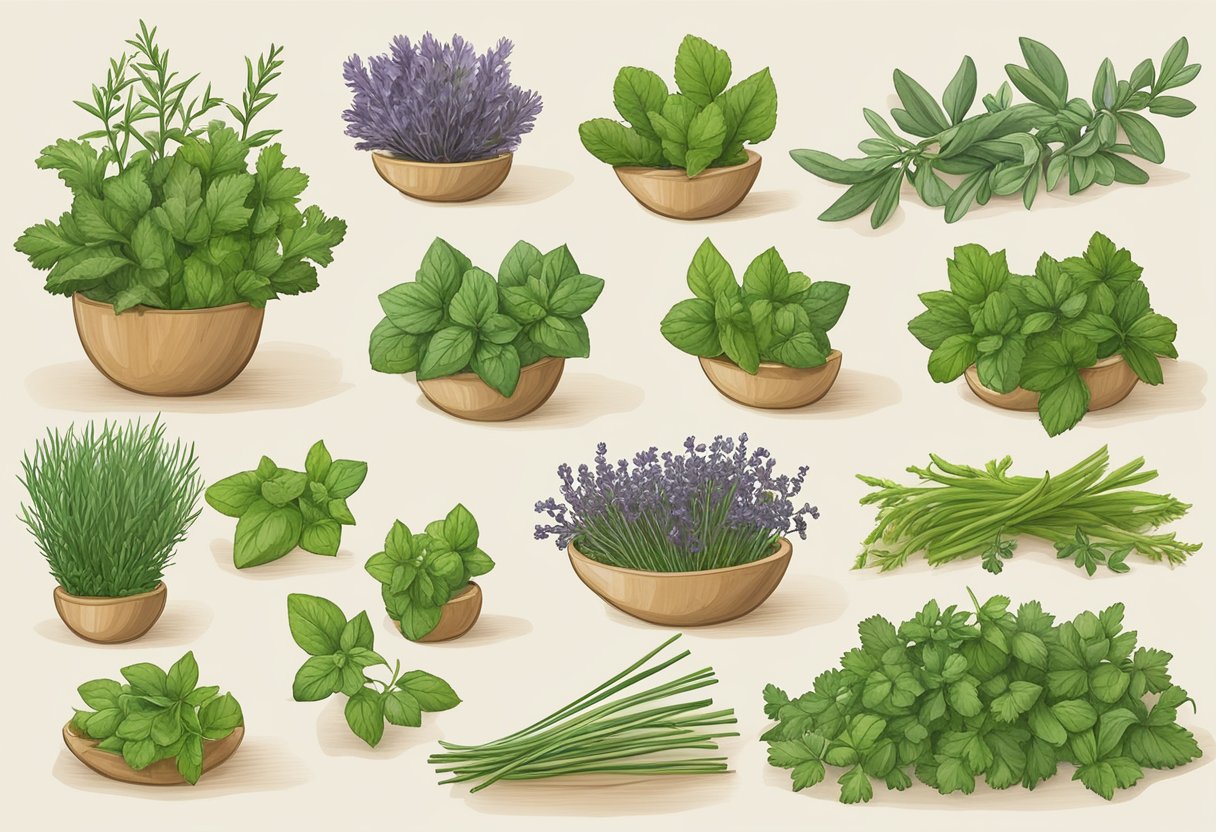
Herbs can take anywhere from one to four weeks to air dry naturally, whereas using a dehydrator or oven can expedite the process to just a few hours. Microwaving herbs can dry them in a matter of minutes.
I choose my drying method based on how quickly I need the herbs dried and the quantities I’m dealing with. Air-drying is my go-to for larger batches when I’m not in a rush, as it gently dries herbs but can take up to a month. If I need herbs dried quickly, I’ll use a microwave for small quantities, which can take as little as one to three minutes, carefully monitoring to prevent burning. For medium batches where I desire a balance between speed and gentle drying, I might opt for an oven or a dehydrator, which takes a few hours. The specific times can adjust based on the herb’s thickness, ambient humidity, and temperature, so it’s a process I keep an eye on, regardless of the method.
JUMP TO TOPIC
Selecting and Harvesting Herbs for Drying
In this guide, I’ll walk you through the critical steps of choosing and harvesting herbs like thyme, basil, and mint from your garden to ensure optimal drying and preservation.
Identifying the Right Time to Harvest
💥 The best time to harvest:
Timing is crucial for harvesting herbs. For most herbs, the ideal moment is just before they flower, as this is when their oils and flavors are most potent. Typically, a warm, dry morning after the dew has evaporated is perfect. Here’s when I tend to harvest specific herbs:
- Thyme: Right before it blooms, usually in the mid-morning.
- Basil: When the plant is bushy and before it sets flowers.
- Sage: I cut sage just as the flowers start to open.
- Rosemary: Harvest rosemary anytime before it flowers for the best flavor.
- Mint: I find mint is most flavorful before flowering.
- Tarragon: Optimal when young and before any flower development.
- Dill: Harvest dill right before it goes to seed for peak flavor.
Preparing Herbs Before Drying
Before the drying process begins, I clean and prepare the herbs to ensure they are free of dirt and pests. Here’s how I do it:
Step-by-step preparation:
- Gently wash the herbs if necessary to remove soil and dust.
- Pat them dry meticulously with a towel or use a salad spinner.
- I make sure to remove damaged leaves, as they could spoil the rest.
- For herbs like rosemary or thyme with woody stems, I strip leaves from the stems since the stems don’t dry well.
- Larger leaves from herbs like basil can be left on their stalks or removed, depending on your drying method preference.
Ensuring the herbs are clean and intact before drying serves as a foundation for high-quality, preserved herbs from my garden.
Methods of Drying Herbs
In my experience, there are several effective methods to dry herbs, each suitable for different needs and circumstances. It’s important to choose the right one for the best flavor and preservation.
Air Drying Techniques
My go-to method for drying herbs is usually air drying, especially when dealing with large batches. Here’s how I do it:
- Bundle and hang: I gather small bunches of herbs, tie them loosely, and hang them upside down in a well-ventilated, dry space away from direct sunlight.
- Screen drying: For individual leaves or smaller quantities, I spread them on a screen and let air circulate freely to dry them evenly.
Oven Drying Process
When I need to dry herbs quickly, I use my oven. Here’s the process:
- Preparation: After washing and drying the herbs, I lay them out on a baking sheet, ensuring they are not overlapping.
- Low temperature: I set my oven to the lowest setting, generally between 150-170°F (65-76°C), and leave the door slightly ajar for airflow.
- Monitoring: It’s crucial to check on the herbs regularly and turn them to ensure even drying without burning.
Using a Dehydrator
I find using a food dehydrator a reliable way to dry herbs, especially when I’m aiming for consistency. Here are my steps:
- Spread evenly: I place the herbs in a single layer on the dehydrator trays, making sure they’re not touching or overlapping.
- Temperature setting: I set my dehydrator to the recommended herb drying temperature, commonly around 95°F (35°C).
- Check periodically: Drying times vary, so I check the herbs intermittently until they’re crisp and ready for storage.
Microwave Drying Method
The microwave is my last resort for drying herbs due to its speed but also potential for mishaps. Here’s a cautious approach:
- Short intervals: I place the herbs between two paper towels and microwave them on high for 30-second intervals, checking them after each.
- Attention to detail: Because microwaves can quickly burn herbs, I stay vigilant and stop the process as soon as the herbs are dry.
Each method has its advantages, depending on the type of herb and the quantity I’m working with. No single method is superior, but finding the balance between quick drying and flavor preservation is key.
Preserving and Storing Dried Herbs
When it comes to preserving and storing dried herbs, the key to maintaining their quality is in how you package them and the conditions in which they are stored. Keeping a focus on aroma preservation and prolonging shelf life, it is important to store these seasonings properly to yield the best culinary results.
Packaging and Labeling Dried Herbs
- Glass jars with tight-sealing lids
- Hard plastic containers with snap-on lids
Always label your containers with the herb name and date of storage. This practice helps me track how long they’ve been stored and manage their usage before they begin to lose their potency.
Best Storage Conditions to Maintain Quality
Temperature and humidity are crucial factors. I store my herbs in a cool, dry place to maintain their quality over time. High temperatures can lead to a loss of the essential oils that carry flavor and aroma, while humidity can result in mold growth.
Storage environments for dried herbs should be consistently below 60°F (15°C) and in a dark place to prevent degradation of the herbs’ quality.
| Condition | Recommendation |
|---|---|
| Air Exposure | Use airtight containers |
| Temperature | Keep below 60°F (15°C) |
| Humidity | Ensure storage area is dry |
| Light | Store in a dark place |
By following these guidelines, my dried herbs can last for several months up to a couple of years depending on the specific herb.
Using Dried Herbs in Cooking
When using dried herbs, their potent flavor requires a lesser amount than fresh herbs—roughly a third of the quantity when substituting dry for fresh in recipes.
💥 Flavor Potency
I understand that dried herbs carry a more concentrated flavor, often containing less moisture and having a stronger taste than their fresh counterparts. This intensity means that when I cook, I use them sparingly to avoid overpowering my dishes. For example, if a recipe calls for one tablespoon of fresh Italian seasoning, I use only one teaspoon of dried.
- Longer cooking dishes: Integrate dried herbs into stews or roasts early to allow their flavors to meld.
- Brief cooking: Add them to the dish a few minutes before it’s done to prevent burning and preserve flavor.
- Finishing touch: Sprinkle lightly on top for an aromatic garnish.
When I cook, the timing of adding dried herbs is crucial. Early addition allows them to infuse throughout the cooking process, ideal for lengthy simmering dishes. Conversely, when I’m whipping up a quick sauté or sauce, I add them near the end to preserve their essence. Occasionally, I’ll even sprinkle a pinch of dried herbs as a finishing touch, just before serving, to enhance aroma and bring a burst of flavor.


