

Understanding the light requirements of seedlings is crucial for their growth and development. As a gardener, I’ve learned that the amount of sun exposure is a delicate balance – too little and the seedling struggles to grow; too much and it risks damage or drying out. Generally, seedlings require ample light, which can often be more than what they would receive indoors without assistance.
Seedlings ideally need between 14 to 16 hours of light each day. The intensity of this light and how you provide it – whether through direct sunlight or artificial grow lights – is essential for healthy plant growth.
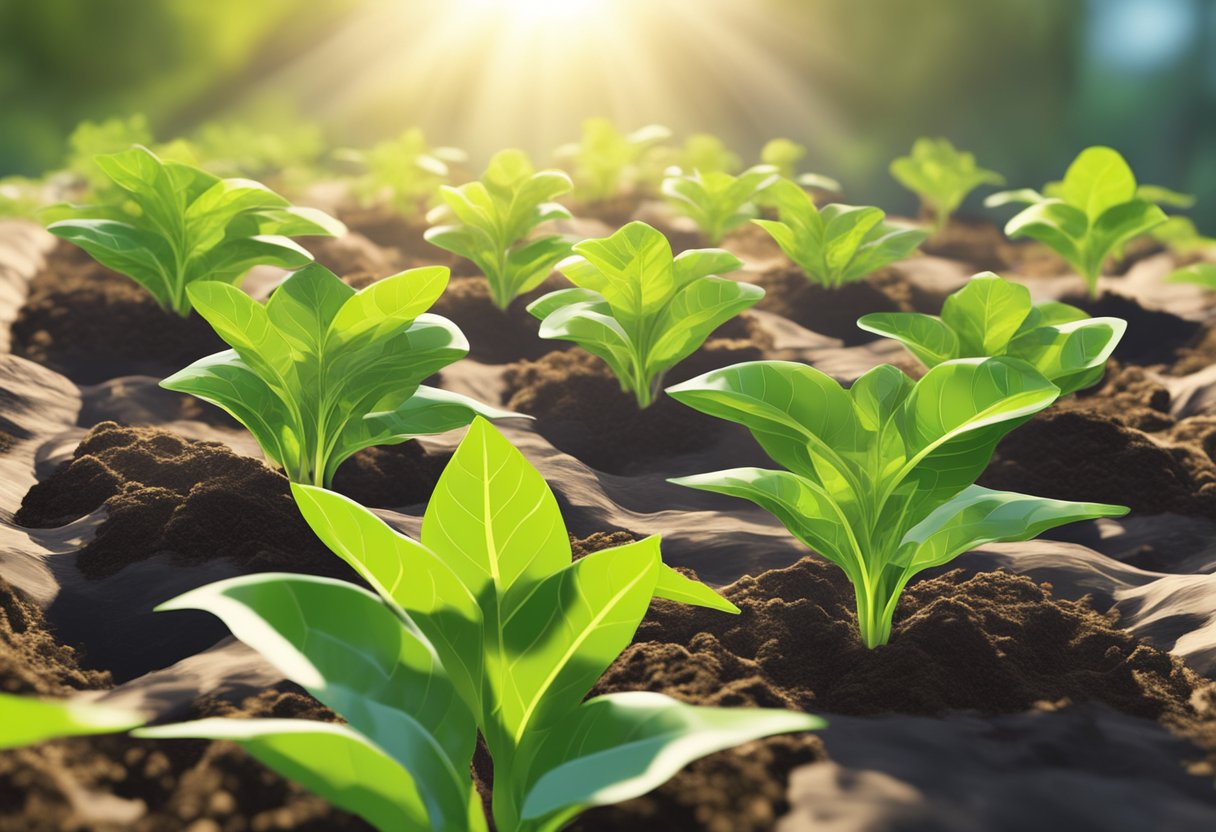
Most seedlings thrive with direct sunlight for about 10 to 13 hours daily. However, given geographical locations and seasonal changes, it’s not always feasible to rely solely on natural light. That’s where grow lights come into play. Utilizing artificial lights, as I do in my indoor garden, can provide the consistent and adequate light needed. It is important to hang the grow lights close to the seedlings, typically 2 to 3 inches above the leaves, although this can vary depending on the intensity of the light source used.
JUMP TO TOPIC
Optimizing Light for Healthy Seedlings
In my experience, providing your seedlings with the proper lighting is crucial from the moment they sprout. My aim here is to guide you through the essentials of light requirements, choosing the right grow lights, and setting up a lighting system that promotes strong, healthy plant growth.
Understanding Light Requirements
💥 Seedlings thrive on 16-18 hours of light daily.
Light is food to plants, and getting it right is essential for stem strength and leaf development. Seedlings require continuous hours of light per day: too little and they become ‘leggy’; too much and they may suffer from stress. I balance my seedlings’ light exposure to mimic the natural day cycle, generally aiming for 14 to 16 hours of light, followed by a rest period of 8-10 hours of darkness to foster a healthy grow cycle.
Types of Grow Lights
Key Grow Lights:
- LED Grow Lights: Energy-efficient and long-lasting, they provide a range of light spectra suitable for all growth stages.
- Fluorescent Grow Lights: Traditional and cost-effective, these typically include T5 bulbs ideal for young seedlings.
- High-Intensity Discharge (HID) Lights: Produce strong light output, including Metal Halide (MH) that’s good for vegetative growth.
Different plant species have varying light spectrum needs, but all seedlings generally benefit from blue spectrum light to encourage foliage growth. I recommend starting seedlings with specific ‘grow lights’ designed to provide the full spectrum of light. I’ve personally found LEDs and fluorescents to be the most convenient for seedlings, but I know some who swear by the intense light of HIDs for faster growth.
Setting Up Your Lighting System
Positioning and adjusting your grow lights properly ensures your seedlings get the right amount of light without overheating.
Keep LED grow lights 8-12 inches from seedlings; for fluorescents, 5-6 inches is ideal.
I ensure the grow lights are close enough to seedlings without touching the foliage. As plants grow, I frequently adjust the lights to maintain the correct distance. This avoids scorching and provides even light distribution. Some grow lights come with adjustable intensity settings, allowing the fixtures to be raised higher while still delivering appropriate light levels. Proper setup also involves a reliable timer to automate the light schedule, ensuring consistent cycles without manual intervention.
Watering and Nutrient Management
Effective watering and nutrient management are vital for the healthy growth of seedlings. I ensure to strike a balance in moisture levels and supply the necessary nutrients for optimal plant development.
Watering Techniques for Different Plant Types
Each type of plant has unique watering needs that must be met for successful growth. Succulents, for example, thrive on minimal water, whereas vegetables require consistent moisture levels. I focus on using the right technique for each plant:
- Bottom Watering: Ideal for most seedlings, this method allows water to be absorbed from the bottom of the container, promoting strong root development and minimizing foliage moisture that can lead to disease.
- Room Temperature Water: I always use water at room temperature to avoid shocking the plant’s roots which can stress seedlings and slow their growth.
It’s crucial to avoid waterlogging as it can cause root rot and fungal diseases. I let the soil dry out slightly between waterings to ensure that I don’t overwater.
Providing Essential Nutrients
Seedlings require different nutrients as they grow. Initially, they thrive on the nutrients found in the seed itself, but as they develop, I introduce a balanced fertilizer into their regimen. Here are key points about nutrient management:
- Fertilizer: Once seedlings have a couple of true leaves, I start fertilizing at half strength, gradually increasing to full strength as they grow. This provides them with essential nutrients like nitrogen, phosphorus, and potassium.
- Nutrient-rich Soil: Using a high-quality potting mix that’s rich in nutrients will help seedlings get a good start. I ensure the soil is suitable for the plant type I am growing.
I keep a close eye on the color and growth rate of my seedlings, as these are good indicators of their nutrient levels. Yellowing leaves can indicate a deficiency, prompting me to adjust my feeding strategy.
Creating the Ideal Growing Environment
Optimizing temperature, humidity, and air circulation are essential for healthy seedling growth. Choosing the right containers and soil can significantly impact the development of stronger and more resilient plants.
Temperature and Humidity Control
Consistency in temperature is critical during the germination stage. I maintain the temperature around 65-75°F (18-24°C) to ensure the best environment for seedlings to thrive. Humidity, ranging from 40%-60%, supports this development phase. I utilize a combination of heating mats and humidity domes to regulate these conditions, keeping the seedlings comfortable and promoting steady growth.
Ensuring Adequate Air Circulation
Proper airflow plays a vital role in preventing the growth of mold or fungus, which can be detrimental to young seedlings. I position an oscillating fan near the seedlings to provide gentle and constant air movement. However, I make certain that the fan is not directed at the seedlings as strong gusts can cause damage or dry the soil too quickly.
Choosing the Right Containers and Soil
When it comes to containers, drainage is paramount. I select pots with adequate holes to prevent waterlogged soil, which can lead to root rot. As for the soil, I use a light, well-draining mix, which often includes perlite or vermiculite to facilitate proper moisture retention and give roots the perfect balance of water and air. For vegetables and other edible plants, ensuring the soil is free of contaminants is a must for the promotion of healthier seedlings.
Each of these aspects contributes to an optimal growing environment, steering the seedlings towards a future of robust growth and high-yield harvests.
Transitioning Seedlings to the Outdoors
Before transplanting seedlings outdoors, it’s crucial to prepare them for the change in environment. This involves a carefully monitored process called hardening off, followed by using the right techniques during the actual transplanting.
Hardening Off Process
I start the hardening off process about a week before the expected last frost date. This allows my seedlings to adjust gradually to the outdoor climate.
The right time to begin hardening off is critical:
- 1st Day: Place seedlings outdoors in a shaded area for 1-2 hours.
- 2nd to 3rd Day: Gradually increase their time outside and exposure to sunlight.
- 4th to 7th Day: Allow the seedlings to experience more direct sunlight, reaching full sun by the end of the week.
Note: Always check your local weather and avoid placing seedlings outside during extreme conditions.
Transplanting Techniques
Transplanting is a delicate task that involves moving your seedlings from their current container to your garden soil. Here’s how I do it:
- Choose the right day: I look for a calm and overcast day to transplant, ideally in the early morning.
- Prepare the soil: Make sure the soil is not too wet or too dry.
- Handle with care: When removing the seedling from its container, I ensure to handle the plant by the leaves, not the delicate stem.
For a successful transplant, I ensure:
- Post-transplant care: After moving seedlings to their new location, I water them thoroughly and sometimes provide shade for a couple of days to help them settle.
Remember to monitor the plants closely after transplanting, keeping an eye on soil moisture and signs of stress in your seedlings.


