

Dill, an aromatic herb, is popular among culinary enthusiasts and gardeners alike for its feathery leaves and distinctive flavor. It’s used in a multitude of dishes ranging from soups and salads to pickles. Growing dill at home is relatively straightforward, but there are important watering guidelines to follow ensuring the plant’s health and productivity.
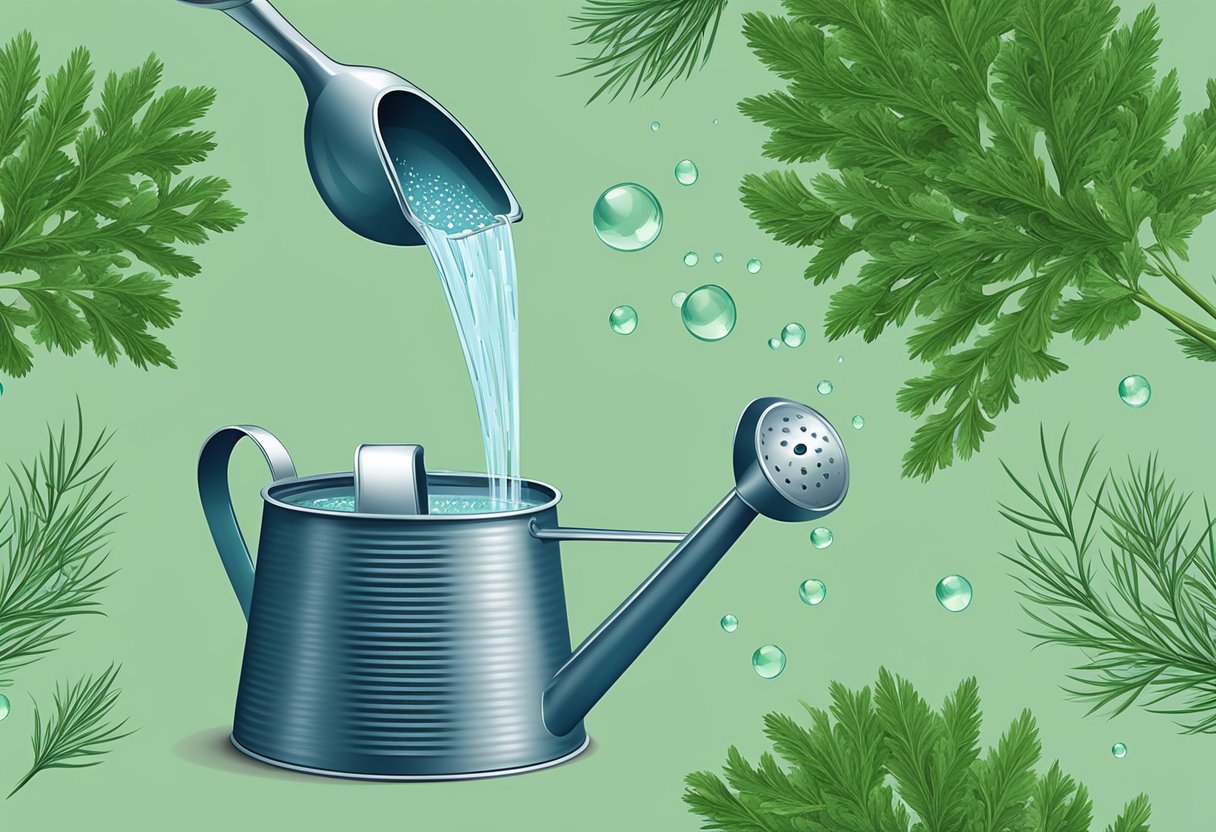
I’ve found that watering dill once per week is usually sufficient. The goal is to keep the soil moist to a depth of 6 inches.
In my experience, over-watering can be detrimental to dill, causing yellowing and drooping of the leaves which often indicates root or fungal issues. It’s crucial to allow the topsoil to slightly dry out between waterings. The texture of the soil and the climate conditions, such as temperature and humidity, will inevitably affect how often dill requires water. I check my plant by feeling the soil; if the top 1-2 inches of soil are dry, it’s time to water again.
JUMP TO TOPIC
Selecting the Right Conditions
Growing dill successfully requires understanding its specific needs. Paying attention to soil quality, sunlight exposure, and the right location will ensure your dill thrives.
Soil and pH Considerations
Dill prefers well-drained soil to prevent its roots from sitting in water, which could cause rot. I always use a mixture that includes plenty of organic matter to promote drainage.
💥 Soil Type
Rich, loose soil is ideal. As for pH, dill enjoys a slightly acidic to neutral pH, ranging from 5.8 to 6.5 on the pH scale. Ensuring the proper pH level helps dill absorb nutrients efficiently.
Sunlight and Temperature Requirements
Dill plants love direct sunlight and should receive at least 6 to 8 hours of full sun daily. I’ve found the optimal temperature for growing dill is between 60°F and 70°F (15°C to 21°C). Higher temperatures can cause dill to bolt, so in warmer climates, I often provide light shade to protect the plants.
Sun Exposure: 6-8 hours of full sun daily
Choosing a Growing Location
I always consider the positioning of my garden to ensure it gets sufficient sunlight and has well-drained soil. However, if space is limited or I’m dealing with heavy soil, growing dill in containers or pots can be a great solution.
Choose containers with drainage holes and use quality potting mix to maintain a healthy dill plant.
Selecting a spot in your garden with access to full sun, or opting for a sunny windowsill for your pots, can drastically affect your dill’s performance. In any case, I make sure the location is sheltered from strong winds that could damage the delicate foliage.
Planting and Propagation
When growing dill, starting from seeds is the best approach, and knowing when and how to transplant seedlings can ensure a successful growth season.
Starting from Seeds
I prefer to plant dill seeds directly outdoors. Here’s how I do it:
💥 Critical Steps for Seed Sowing
- Timing: I sow seeds outdoors in the spring. I make sure there’s no risk of frost, as dill is an annual that thrives in warm conditions.
- Soil Conditions: Dill seeds germinate best in a well-draining site with plenty of sunlight and a soil pH slightly acidic to neutral (6.5-7.0).
- Sowing: I sow seeds thinly in rows about 18 inches apart and cover them with about 1/4 inch of soil.
- Germination: Seeds usually germinate in 10 to 14 days if the soil temperatures are between 60 and 70 degrees Fahrenheit.
- Thinning Seedlings: Once seedlings appear and reach a height of a few inches, I thin them to about 9-12 inches apart, allowing ample space for growth.
Transplanting Seedlings
💥 Efficient Transplanting Tips
- Seedling Selection: I choose healthy seedlings with a strong stem and good root development. I avoid those that are leggy or yellowed.
- Transplant Location: I find a sunny location that has protection from strong winds and space them at least 12 inches apart.
- Soil Prep: Just as with sowing seeds, well-draining soil enriched with organic matter is essential for transplanting success.
- Avoid Root Disturbance: Given dill’s delicate taproot system, I handle the roots with care during the transplanting to prevent shock and ensure successful establishment.
Dill does not always take well to transplanting due to its long taproot. I consider this when deciding whether to move a dill plant.
Dill can self-sow, so sometimes I allow some plants to go to seed at the end of the season for a pleasant surprise of new seedlings come the next spring.
Dill Care Throughout the Seasons
Caring for dill involves consistent watering and fertilization, strategic pruning to delay bolting, and regular pest monitoring to prevent damage. Each step is critical to ensure a healthy dill plant, capable of prolific growth and extended harvest times.
Watering and Fertilization
In summer, I ensure the soil is moist by watering deeply when the top 2-3 inches feel dry. I avoid soggy conditions as dill doesn’t handle ‘wet feet’ well.
I start with a nutrient-rich soil, incorporating organic matter or compost at planting. Fertilizer isn’t typically needed if the soil is rich, but if growth is slow, I apply a balanced, water-soluble fertilizer every four to six weeks during the growing season.
Pruning and Preventing Bolting
Pruning dill stimulates new growth, enhancing leaf production for continual harvest. I regularly snip off the top foliage, especially as the plant matures, to encourage bushier growth.
Bolting occurs when dill prematurely flowers and sets seed, often triggered by long, hot summer days. I pinch off any early flower buds to prevent bolting, prolonging the leaf-harvesting season.
Dealing with Pests
Dill attracts beneficial insects but can also fall prey to aphids and caterpillars. My strategy involves regular inspection, rinsing off aphids with a strong water jet, or physically removing caterpillars by hand.
When necessary, I use organic, insecticidal soaps or introduce natural predators like ladybugs. I always aim to maintain a balanced ecosystem, preventing pest populations from causing significant damage to my dill plants.
Harvesting and Utilization
When it comes to dill, both timing and technique are key for harvesting, while preservation methods and culinary applications maximize its use.
When and How to Harvest
Culinary tip: If you seek the leaves, known as dill weed, for immediate use in salads or soups, harvest before the plant flowers. For seeds used in pickling, I wait until the flower heads turn brown.
Preservation and Culinary Uses
Dried dill retains its flavor and works beautifully in various dishes. I dry the leaves and seeds by tying them into small bunches and hanging them upside down in a warm, dry space. Once the dill is completely dry, I crumble the leaves and store them in an airtight container. The seeds I keep whole to maintain their potent essence.
💥 Flavor Profile: Fresh dill weed is aromatic with a citrus-like taste, elevating the taste of fish dishes, soups, and vegetables, while dill seeds add a more potent, slightly bitter essence perfect for pickles.
For fresh dill, I store it wrapped in a damp paper towel inside a sealed bag in the refrigerator to maintain freshness. Preservation of its vibrant flavor is key, which is why I often freeze dill in ice cube trays with water for later use in cooked dishes.


