

Watering dill, an aromatic herb cherished in the kitchen, requires attentiveness to maintain its vigor. I’ve found that, like many garden plants, dill thrives on a balance of adequate moisture and soil that drains well. When I water my dill plants, I aim for consistency, ensuring the soil is slightly moist at all times. However, it’s crucial to avoid overwatering, which can lead to soggy conditions that dill plants dislike.
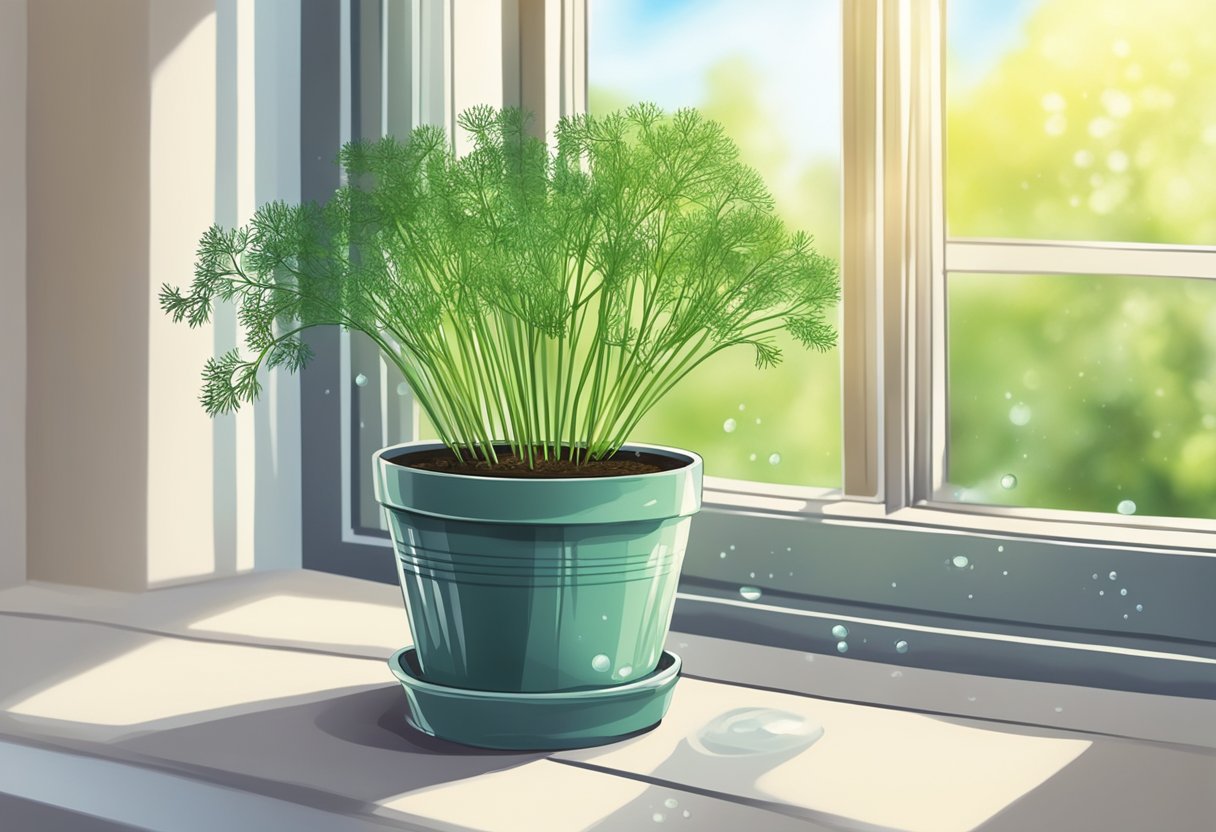
I water established dill plants when the top 2-3 inches of soil feel dry to the touch. This typically means watering at least once or twice a week, depending on weather conditions and soil type.
Young dill plants, with their developing taproot systems, should be kept slightly more moist to encourage growth. During this stage, I ensure the top layer of soil doesn’t dry out completely and shield the delicate seedlings from strong winds, which can hamper their progress. Once mature, dill plants are somewhat drought tolerant, but I’ve noticed they produce the best foliage when watered just before the soil fully dries out. My experience has taught me that it’s all about finding that sweet spot – offering the plants enough water to thrive without leaving their roots in waterlogged soil.
JUMP TO TOPIC
Selecting the Right Conditions for Growing Dill
Achieving optimal growth for dill hinges on providing the right soil conditions and ensuring adequate sunlight and watering. I’ll guide you through getting these factors just right for your dill plants.
Understanding Soil and pH Levels
Healthy dill growth begins with the right soil. The soil should be fertile, well-draining, and enriched with organic matter. From my experience, dill thrives in soil that maintains a pH between 5.8 and 6.5, slightly on the acidic side. To prevent waterlogging, which dill plants are particularly sensitive to, ensure that the planting area is never soggy.
💥 Ideal Soil Structure for Dill
| pH Level | Soil Type | Organic Matter | Drainage |
|---|---|---|---|
| 5.8 – 6.5 | Loamy | High | Well-draining |
The Importance of Sunlight and Water
Dill plants require plenty of sunlight to prosper. I always position my dill in a spot that receives full sun, meaning at least 6 to 8 hours of direct sunlight per day. If you’re experiencing intensely hot temperatures, however, be mindful to provide some afternoon shade to prevent the plant from bolting.
When it comes to watering, consistency is key. Dill likes to be kept in moist soil, particularly when they’re young and their roots are establishing. Once established, you can allow the top few inches of soil to dry out between waterings. A good rule of thumb is to water deeply once the surface soil feels dry to the touch.
Ensure your dill gets at least 6 hours of sunlight and water regularly for moist soil conditions without overwatering.
Planting and Caring for Dill
Establishing a hardy dill crop requires attention to seed placement, water regulation, and preemptive pest management. Let’s explore the best practices for each.
Sowing Seeds and Seedling Care
Seedling Care: As seedlings emerge, thinning is crucial. I ensure they’re spaced about 12 to 15 inches apart. Dill seedlings dislike being crowded. I use compost to enrich the soil around them, which promotes healthy growth without the need for additional fertilizer early on.
Watering and Fertilization Techniques
I keep my dill’s soil consistently moist, especially during the germination and seedling phases. Once established, dill becomes more drought-tolerant, but I never let the soil dry out completely. Deep, but infrequent watering works best, soaking the soil to reach the deep taproot.
For fertilization, I apply a balanced liquid fertilizer sparingly, as dill doesn’t demand much. An occasional side dressing of compost usually provides sufficient nutrients for my plants.
Preventing Common Pests and Diseases
Pests: Aphids can be a nuisance. I closely monitor my dill and deal with aphids by applying a blast of water or introducing beneficial insects like ladybugs.
Rot and powdery mildew are common issues, especially with overwatering and low air circulation. I ensure proper spacing and avoid wetting the foliage to prevent these diseases.
Choosing Dill Varieties for Different Uses
When selecting dill varieties, it’s essential to consider their unique flavors and uses. Whether it’s for culinary purposes or garden aesthetics, each type has its strengths.
Culinary Applications and Flavor Profile
I find that one of the joys of cooking with dill is its versatile flavor profile. Fernleaf and Mammoth are two varieties that I often use in my kitchen. Fernleaf is a dwarf variety that’s well-suited for container gardening and has a delicate taste, perfect for salads and soups. Mammoth, often referred to as Bouquet, has a stronger flavor and is my go-to choice for pickling. Another favorite of mine is Dukat, it’s sweeter than other varieties and enhances the taste of fish dishes beautifully.
- Cooking
- Pickling
Decorative and Aromatic Benefits
Aside from its culinary use, dill also serves an aesthetic purpose in the garden. I often plant varieties like Fernleaf and Mammoth for their height and delicate foliage as they provide an elegant backdrop. The fragrant quality of the dill plant, similar in essence to fennel, is an additional benefit, lending a sweet and grassy fragrance to my garden that I find particularly welcoming.
💥 Decorative Dill:
- Fernleaf: Short stature, subtle.
- Mammoth: Tall, striking, and fragrant.
Harvesting and Storing Dill for Optimal Freshness
When I harvest dill, I make sure to pick the leaves and flowers at their peak to ensure the best flavor. The leaves, or dill weed, are most flavorful just as the plant starts to flower. If I need seeds, I wait until the seed heads have dried on the plant.
- Rinse the dill under cold water to remove soil.
- Gently pat the dill dry with a paper towel.
- Wrap the dill in a damp paper towel and place it inside a plastic bag in the refrigerator.
- Store away from ethylene-producing vegetables, like bananas and avocados, to prevent wilting.
Fresh dill can last in the fridge for approximately 3-4 days.
To store dill for a longer period, I often dry or freeze it. For drying, I lay the dill sprigs in a single layer on a tray and air-dry them in a warm and low-humidity area until they are brittle. Then, I store the dried leaves in an airtight container. This method works well for seeds too.
- Chop the clean dill.
- Distribute the dill into ice cube trays, adding water to cover.
- Once frozen, transfer the dill cubes into a freezer-safe bag or container.
Frozen dill will retain quality for 3 to 4 months.
Both methods preserve the dill while maintaining its flavor profile, making it available for use even out of season. It’s essential to avoid moisture accumulation during storage, as this can cause the dill to dry out improperly or form ice crystals when freezing, potentially affecting texture and taste.


