

- When to Plant Corn in San Diego: Optimal Seasons and Tips - July 19, 2024
- When to Plant Hydrangeas in Illinois: Best Timing for Optimal Growth - July 19, 2024
- Why Are My Radishes Growing Above Ground: Uncovering the Causes - July 19, 2024
In my years of gardening, I’ve found that providing the right nutrients is crucial for the healthy growth of tomato plants. Among these nutrients, phosphorus plays a pivotal role in the development of strong roots and abundant fruit production. However, discerning when and how to add this nutrient can be tricky. The key is recognizing the signs of phosphorus deficiency, which typically presents as stunted growth or older leaves turning a deep purple. This situation demands immediate attention, as a lack of phosphorus can significantly hinder a tomato plant’s growth and yield.
My approach to enriching tomato plants with phosphorus starts with soil testing to confirm the deficiency. Tomatoes thrive in slightly acidic soil with an optimal pH between 6.5 and 7.0. If the pH level is outside this range, phosphorus is less available to plants. Once I establish that phosphorus levels are low, I consider my options for supplementation. I often use a balanced fertilizer with higher phosphorus content, such as a formulation marked 10-20-10, ensuring that I’m addressing the plants’ phosphorus needs without overloading on nitrogen or potassium.
Careful application of fertilizer is essential. I band the dry fertilizer around the plants, taking care not to let it touch the stems or leaves. Ensuring the phosphorus is well-distributed in the soil promotes even uptake by the roots. As the growing season progresses, I observe the tomato plants for signs of improvement, such as healthier foliage and the setting of fruits. It’s a rewarding process to see the direct impact of the right feeding regimen on the vitality and productivity of my tomato plants.
JUMP TO TOPIC
Preparing the Soil for Tomato Planting
When I approach tomato planting, preparing the soil correctly is crucial for robust root development and an abundant harvest. Soil preparation involves both testing the soil to ensure proper nutrient balance and enhancing its overall quality to support the plants throughout their growth.
Conducting a Soil Test
Conducting a soil test is the first step I take before planting tomatoes. This test tells me about the soil’s pH level, which should ideally be slightly acidic, ranging from 6.0 to 7.0 for tomatoes. It also reveals the concentrations of crucial macronutrients and micronutrients.
A soil test kit can easily reveal the nutrient profile of my garden’s soil.
Enhancing Soil Quality
Next, I focus on enhancing the soil quality with amendments that improve soil structure and provide necessary nutrients. Adding organic matter, such as compost, compost tea, aged manure, and worm castings, contributes to soil fertility and aeration, essential for healthy tomato roots.
- Organic matter: I incorporate compost or aged manure to increase the soil’s organic content.
- Soil structure: Organic amendments improve the structure, allowing for better water retention and root growth.
💥 Remember: Consistently enhancing soil with organic matter sustains nutrient levels and soil health over time.
Tomato Plant Nutrition and Growth
I find that adequate nutrition is crucial for the health and productivity of tomato plants. They are heavy feeders requiring a balance of macronutrients and micronutrients throughout their growth cycle. Addressing nutrient deficiencies early is key to preventing stunted growth and promoting robust yields.
Understanding Macronutrients
Tomato plants require three primary macronutrients: nitrogen (N), phosphorus (P), and potassium (K). These are represented in fertilizers by an NPK ratio, which varies depending on the growth stage of the plant. Nitrogen is essential for foliage and photosynthetic processes, promoting vibrant green leaves. Phosphorus contributes to strong root development and flowering, critical for fruit production. Potassium, meanwhile, aids in overall plant vigor and disease resistance.
💥 Macronutrient Tip: A balanced NPK fertilizer such as 10-20-10 or 5-10-10 supports the growing needs of my tomato plants effectively.
During the onset of the growing season, I ensure that my tomato plants receive enough of these macronutrients. Another essential element not mentioned enough is calcium, which helps in maintaining cell wall structure and preventing disorders like blossom end rot.
The Role of Micronutrients
Though needed in smaller quantities than macronutrients, I never overlook the importance of micronutrients such as magnesium, iron, and zinc. These minerals facilitate various plant functions, including chlorophyll production and energy transfer. An Epsom salt solution, rich in magnesium, can be periodically applied if I observe yellowing leaves or other signs signaling a magnesium deficiency.
🌱 Essential Micros:
- Magnesium: Vital for chlorophyll production, intervenal chlorosis is a common symptom of deficiency.
- Iron: Crucial for energy production and metabolism; young leaves turning yellow may indicate a shortage.
- Zinc: Supports hormone production and stem growth; stunted growth and distorted leaves can suggest a lack.
Identifying and Correcting Deficiencies
When my tomato plants show signs of deficiency, such as stunted growth or yellowing leaves, I take immediate action. Testing soil pH levels is paramount because nutrient availability is heavily dependent on pH. Tomatoes prefer slightly acidic soil with a pH between 6.0 and 7.0, as this range facilitates optimal nutrient uptake.
This is a sample bold text: Regular monitoring and small adjustments can prevent nutrient lock-out and address deficiencies before they compromise my tomato crop.
Phosphorus deficiency, in particular, can manifest as dull, dark green foliage or purpling of leaves. If I encounter this issue, I ensure the soil has proper phosphorus levels, especially when temperature drops below 50°F (10°C), a condition that can affect phosphorus uptake.
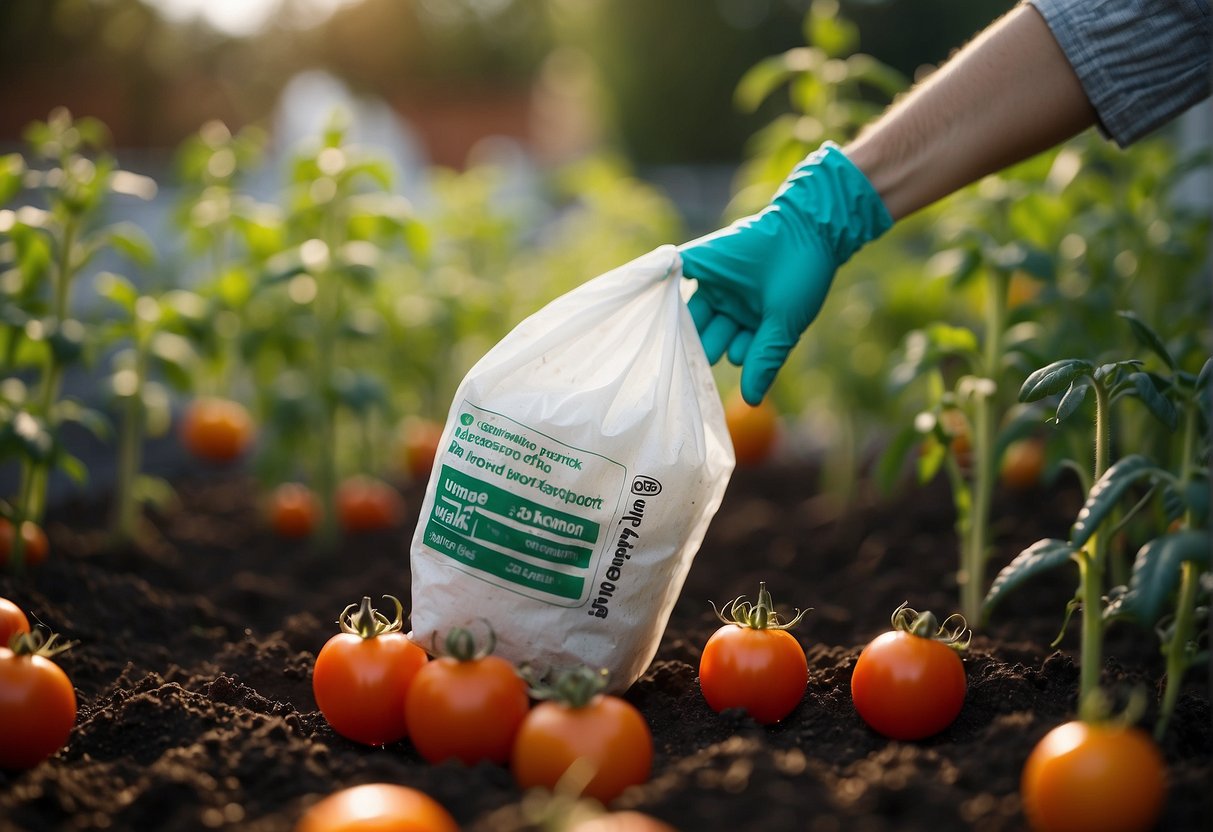
The use of a phosphorus amendment or a high-phosphorous fertilizer can help rectify this deficiency. It is critical, however, to apply phosphorus correctly to avoid disturbing the delicate root systems. I never apply fertilizers too close to the stem and always water thoroughly afterward to help the nutrients penetrate to the roots where they’re most needed.
Effective Fertilization Techniques
When growing tomatoes, adding the right amount of phosphorus at the optimal times is crucial for healthy growth and fruit production. I ensure that my fertilization strategy supports leaf development, flowering, and fruit ripening without compromising the plant’s health.
When to Fertilize Tomato Plants
I start fertilizing my tomato plants at the time of planting to encourage strong root development. A dose of balanced fertilizer goes into the planting hole. Subsequently, I add fertilizer every two to three weeks until the beginning of fruit set, transitioning to phosphorus-rich fertilizers to boost flowering and fruiting.
Tomatoes benefit from fertilization at key growth stages:
- At Planting: Mix balanced fertilizer into the soil.
- Growing Season: Apply nitrogen-rich fertilizers, such as fish emulsion or blood meal, to encourage leaf growth but not too close to the stem.
- Flowering Stage: Switch to a higher phosphorus fertilizer to promote blooms.
Choosing the Right Fertilizer
For ensuring my tomato plants get enough phosphorus, I select a fertilizer that’s formulated to promote flowering and fruiting.
- Organic Options: Bone meal is a natural choice that provides phosphorus slowly. Blood meal offers nitrogen, which is essential early in the plant’s life but should be used sparingly later on.
- Synthetic Fertilizers: These can offer a more immediate release of nutrients. I use a formula with higher phosphorus content such as 5-15-5 or 5-10-10.
Slow-release fertilizers are beneficial for steady nutrient delivery, while liquid fertilizers are effective for targeted, quick applications. I always read the labels and follow the instructions strictly to avoid over-fertilization, which can damage the plants and reduce fruit quality.
Sustainable Practices for a Bountiful Harvest
As a seasoned gardener, I’ve learned that applying phosphorus sustainably to tomato plants is vital for robust root systems, healthy flowering, and an abundant fruit set. Below, I detail methods that enrich soil with phosphorus without harming the environment.
Utilizing Organic and Natural Resources
I’ve found that integrating organic matter like compost and animal manure into the soil provides my tomato plants not just with phosphorus, but with a balanced nutrient mix that encourages vigorous growth and a bumper crop. Here’s how I do it:
- Compost: Full of essential nutrients, I ensure it’s well-rotted before incorporating it into the planting holes and around the base of the plants.
- Bone Meal: An excellent source of phosphorus, I sprinkle bone meal into the soil at the time of planting and use it as a side dressing during the growing season.
- Eggshells and Coffee Grounds: I add crushed eggshells and coffee grounds to my compost pile. Once decomposed, they offer a slow-release form of phosphorus and other minerals.
Minimizing Environmental Impact
Sustainable phosphorus use is about balance—too little, and tomato plants won’t thrive; too much, and we risk environmental damage.
To protect local ecosystems, I’m cautious about how I fertilize:
- Avoid Over-Fertilizing: Overuse of phosphorus can result in run-off, leading to eutrophication of water bodies.
- Use Water-Soluble Fertilizers Judiciously: I prefer water-soluble organic fertilizers, applied according to recommended rates, to prevent leaching into the groundwater.
- Monitor Soil Health: Regular soil tests inform me about the precise nutrient requirements of my garden, reducing guesswork and waste.


