

You might be wondering how to braid a money tree when it starts to grow more than 16 inches tall. You can easily braid such a tree in just nine easy steps.

We bring you these nine steps in the most accessible language possible, and it will take you less than five minutes to learn the correct braiding technique from our seasoned experts.
How to Braid a Money Tree
Start braiding a money plant, aka Pachira Aquatica, by ensuring that it is tall and flexible enough to be braided. Hold the shoots from their base, two in each hand, and keep bringing them to the center alternately, just like how you braid hair.
You might need to tie the braids up in the beginning so that they don’t separate. Continue to weave the newly grown parts of the stem after three to four months as per your convenience. You can read the detailed step-by-step braiding process down below.
– Make Sure Your Plant Is Ready To Be Braided
Before you braid the money tree plant, you must first determine that it is ready to be braided. First of all, the plant needs to be 100 percent healthy without pest infestations, diseases, or nutrient deficiencies.
Also, if you want your money trees braided successfully, there needs to be about three or five shoots in them. Any less and you will not have enough plants to work with. Only young money trees can be braided successfully. This is because their shoots are flexible enough to be intertwined without snapping in two.
Measure the shoots that you want to braid using a measuring tape. They need to be more than 14 to 16 inches long at the very least.
This is very important because prematurely starting weaving young shoots has an adverse effect on the growth of the overall plant. Young shoots are also prone to developing scars from the braids, and these scars are permanent and will stay in the plant forever.
– Ensure That Your Pot and Soil Are Adequate
The choice of the pot is essential for a successfully braided money plant. It needs to be large enough to accommodate three or more stems to be braided. However, it need not be too large.
A larger-than-needed pot ends up storing extra water and eventually contributing to the roots developing root rot. A clay terracotta pot is always better than a plastic one. It must have a reasonably sized and unclogged drainage hole in it.
Check your soil’s type too before you start braiding. Soil that retains moisture is not recommended for money plants. Instead, opt for a succulent orchid mix with peat and perlite. Water should not be allowed to collect in the soil for long periods of time.
– Prune off the Extra Stems
Are there young stems growing on the lower half of the branches that might interfere with your braiding? If yes, then they need to go. Prune them off at the point where they are jutting out of the main shoots using your sharpest gardening shears.
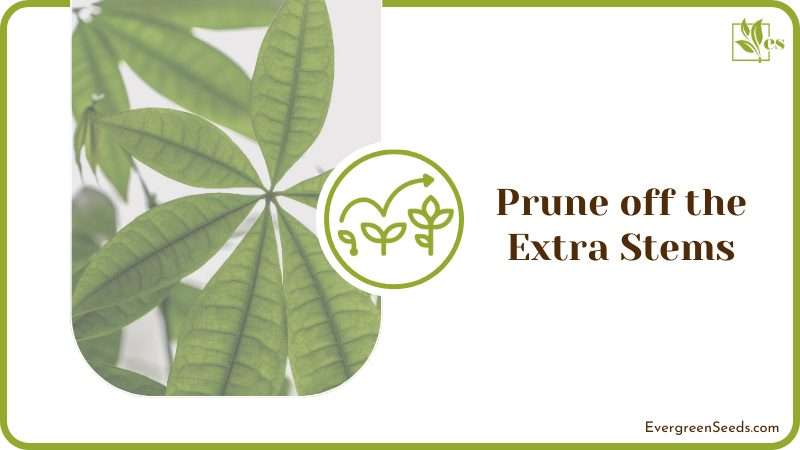
Now it is imperative that you use clean and disinfected tools for pruning. An alcohol rub is our go-to method for rapid disinfection. You can go ahead and order disinfectants from the store as well. Disinfecting the tools needs to be done before and after using them, just to be safe.
New stems and offshoots growing on the upper side of the shoots to be braided should be left as they are. They won’t interfere with the braiding process. In fact, they help the plants grow by providing food and support.
– Hold the Shoots From the Base
Once you are satisfied with the plant, its pot, and the potting soil, it is time to start braiding the plant. Go to the base of the shoots and grab them from there.
If your plant has only three shoots then you will need to take two in one hand and the remaining ones in the other hand.
In case you are braiding a money tree with five shoots, the situation would be a bit different. Hold two of the shoots in one hand and the other two in your other hand. The one shoot that is left should be the middle one.
– Start Braiding
It is time to start making a traditional french braid from the shoots in your hand. Take the shoots in your left hand and move them over the middle shoot, so now the middle one is to the left. Repeat the same thing with the sprouts on the right hand.
Keep your money tree braid loose. You might be tempted to weave it too tightly for fear of it opening, but this is generally not recommended. These shoots will thicken in diameter as the plant grows. Braiding too tightly will damage the shoots when this happens.
Keep braiding, working your way up from the base of the plant to the top. It is best to have help at this point to untangle the stem and the leaves on the top of the plant continuously.
– Tie Your Braids Up
Keep braiding the shoots, repeating the same steps that have been mentioned in Step 5, and moving from the bottom to the top of the plant. Once you reach the part where money tree leaves begin to appear, stop braiding.
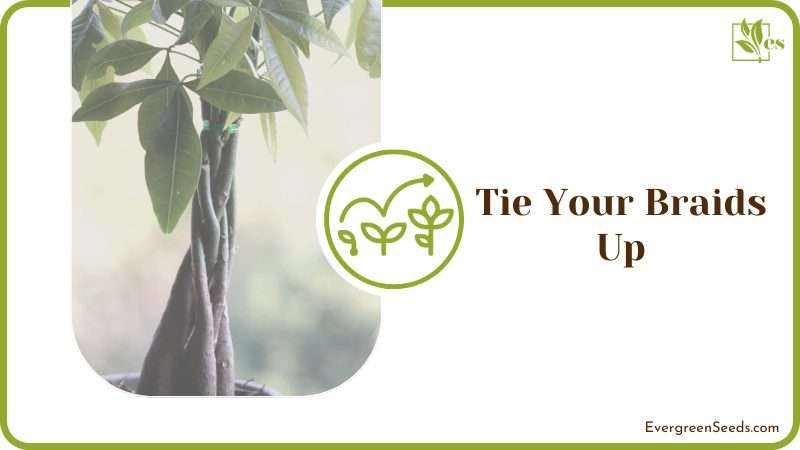
This point will most probably be about two-thirds of the way up the plant. Now, gently let go of the shoots in your hand to see if the braid holds up.
If it stays braided, this is fantastic, and you can leave it as it is. If it starts to unwind and the shoots begin to separate, then you need to tie it up using a string or a piece of garden tape. You can even use a shoelace for this.
Just take care not to tie these too tightly around the braided shoots. Binding the stems too tightly have been known to suffocate the plant and produce disfigurement. They might even become oxygen-deprived and begin to die.
– Stake Your Braided Money Trees
The next important step is to support your newly-braided tree using two pieces of stakes that are of almost the same height as the young trees. This step will ensure that the money trees grow vertically up and straight as it matures. Otherwise, you will find them leaning grotesquely to one side or another.
Gently insert the stakes into the soil two to three inches deep or just deep enough so that they don’t topple over.
Take care not to push them too deep to damage the roots of the plant. Stabilize one stake on the side of the trees and the other one on the other side. You can also attach them to the string that was used to tie the braids.
– Keep the Plant Braided and Staked for Two to Four Months
Now you should let your first braid be strung up for at least two to four months before it can be re-braided. During this time, take optimal care of your braided money tree. Take care that its watering, sunlight, and fertilizing requirements are being fulfilled.
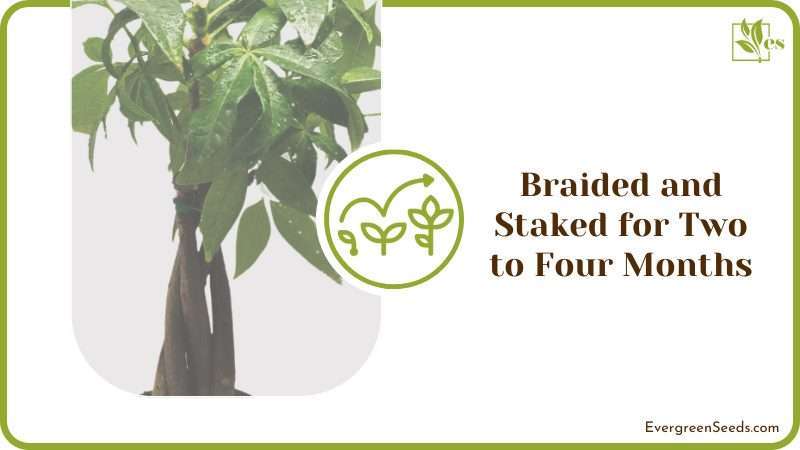
Be vigilant about pest attacks. Prune off any new shoots that start to grow on the braided sections. This is an imperative step that helps maintain the overall look and appearance of the plant.
– Re-braid the Plant Again
Yes, braiding this plant just once isn’t going to be enough. This is because, during the two to four months that it was braided, the plant has continued to grow taller. Cut off the string, rope, or anything else that was used to secure the braid initially.
You will notice that the braid now stays put and the shoots do not separate. Start braiding the newly grown parts of shoots, continuing the old braid upwards. Like before, keep braiding until the leafy parts of the plant are reached, at which point you can finally stop.
You might not need to re-tie this braid anymore. If you need to, only tie the portions that have been newly braided. Also, get rid of the old stakes and replace them with new ones corresponding with the new height of the plant. Use them to support the plant as mentioned previously.
How to Care for a Braided Money Tree
Caring for a braided money tree is super fun. They need a bright light that is not too direct, temperatures on the warmer sides, and high humidity levels. Feeding is needed only in the summer growing months.
Do you want to know more in detail? We have you covered below.
– Water Needs
Your good luck tree plant care comprises watering it only when the soil becomes dry at least half to two-thirds of the way from the top to bottom. This plant isn’t really fond of too much water and you should always make sure your soil is as dry as it should be. A moisture meter comes really handy in cases of such plants.
Deep watering is the way to water this plant. This includes pouring a large quantity of water steadily until it starts draining out of the pot. All this extra water will eventually be collected in the drip tray and you need to drain it right away.
– Light Needs
Mature money tree plants grow well under a moderate amount of indirect light. Direct light beams all day long will cause its leaves to dry out, turn brown, and curled around the edges. This also prevents the leaves from carrying out photosynthesis and providing the plant with food.

That is why it is best to just keep your braided money plant indoors. Keep it near an eastern or the western-facing window as the best light source. You need to rotate the plant around every second day so that all sides get equal light.
If your plant has begun to droop due to low light, order a couple of LED grow lights for them. Install them about 20 inches from the plant, preferably up ahead.
– Temperature Needs
The money tree is a tropical plant that needs 65 to 80 degrees Fahrenheit temperature. Growing this plant indoors, you need not worry as it is usually this warm inside most homes. Just take care not to leave it right underneath a vent, air conditioning or next to an open window at night time.
In wintertime, it’s best to move an outdoor plant inside the house or cover it with plastic wrap to keep the frost from damaging the leaves.
– Humidity Needs
The Money tree needs a minimum of 50 percent humidity in order to grow fully. In fact, if you can increase it up to 65-70 percent, your plant will thank you for it. Maintaining such high levels of air moisture for indoor plants can get a bit difficult, especially during the winter.

Below are some of our favorite steps to amplify humidity inside the house.
Place a humidity tray filled with pebbles and water under the pot. The water should not touch the pot because this can cause root rot.
Place a humidifier in the room along with the plant and keep it on for at least half the day. This will increase your electricity bills a bit.
Every second or third day, mist the plant very lightly using a spray bottle. Don’t drench the plant in water, though.
If you have multiple humidity-loving plants, move them all together because this also raises the humidity in the surroundings.
Your kitchen and washroom are the most humid rooms in your house. Move the plant there if it shows signs of lack of moisture.
– Soil Needs
The soil needed for this plant entails a well-draining and loamy mixture. Start with any ordinary potting mix and add some perlite and coir to it. This will shake up the soil and create passageways for the water to flow out.
Also add peat, moss, or vermiculite to your soil. These will provide nutrients to the plant and also store water for a long time. Sand is another additive you can use to create spaces within the soil.
It is always best to add a layer of gravel or bark pieces to the bottom of the pot before adding soil to it. This prevents the drainage holes from getting blocked over time. All gardening experts recommend using terracotta pots for the most optimum drainage.
– Fertilizing Needs
This plant needs to be fed only during the summer months at the time when new leaves are continuously growing. Buy a balanced liquid fertilizer and mix it with clean water to decrease its concentration to at least half the actual strength.
Moisten the soil slightly prior to feeding. It would be better if the fertilizer you have used is water-soluble. Stop feeding entirely when temperatures drop in fall.
After every two to three months of regular fertilizing, you must flush and detox the soil. This is to get rid of the toxic by-products of fertilizers that eventually accumulate within the soil.
Direct a hose towards the soil and keep watering for a long time, making sure that all this water goes through the soil and comes out the drainage hole, removing toxins along with it.
– Pruning
A money tree can be pruned using gardening shears at 45 degrees angle to the stem. Cut off extra branches and old, dying leaves every spring so that the plant stays in shape.

We have compiled all the basic steps of pruning in this section.
– Use the Right Tools
The best tool for pruning this plant is good old gardening shears. They are a must-have in any plant keeper’s arsenal, so make sure to buy a pair of sharp ones from a store or online.
These shears need to be cleaned thoroughly. Don’t use them if they have been used to cut a plant that is suffering from disease without properly washing it first. You should then follow the washing with an alcohol rub.
Also, don’t use pruning shears that are too old, have been used a lot, or are rusted. These are not going to be sharp enough and will make your work difficult and long. Sometimes not using sharp shears ends up damaging the stems because they don’t make sharp incisions.
– Prune at the Right Time
The best method is to prune your plants every year during springtime. Because this is the growth period of the plants, cutting off useless plant parts only encourages more growth. That is why you should always keep your shears sharp from March until May.
You also need to keep a close eye on the plant for the rest of the year. Any plant part that looks overgrown, askew, or old needs to be cut off. Pruning is essential for keeping the plants in shape.
– Pruning off Leaves
Leaves that are present on the lower ends of the stem might be too old and turn brown or yellow. They need to go. Similarly, plants that are wilting or have suffered some sort of damage should also be pruned off.
You don’t even need pruning shears for removing leaves but we personally prefer shears because they make very neat cuts.
– Pruning Stems
When an unbraided plant grows multiple stems, then you will need to trim some of them off in order to maintain the shape and look of the plant as per your liking. Here is how you can prune tree trunks:
First of all, decide which branches need to go. Most likely they will be the side of the center ones. Mark them so that you don’t accidentally end up cutting some other branch off.
Spot the point where one branch grows into two and forms a V-shaped notch. You need to cut off one of the two emerging branches about half an inch above the point of branching off.
Hold the shears at an angle of 45 to the stem and make a clean, precise cut. Remember, the sharper and cleaner your cut, the healthier your plant is going to be.
You can use the cut branches for propagating tiny new plants.
When cutting off branches, always leave half an inch of it on its parent stem if you want it to grow back.
Take care not to get too carried away while pruning and trimming. Don’t cut off too many leaves and stems all at once, even if it is needed. This will make the plant undergo a sudden shock.
Don’t trim the plant more than half the height at which you started trimming.
Take great care of your plant after each trimming session. Give it water as needed and ample sunshine, albeit indirectly. If you see white spots on your money tree, check out our guide to make it healthy again.
Final note:
You can tell if your braided lucky tree needs water by its dry soil and yellow or brown colored leaves, followed by a severe slow down of the plant’s overall growth after some time.


