

Braiding garlic is an excellent method for storing this essential culinary ingredient, ensuring it remains fresh and easily accessible in your kitchen. I find it a practical and attractive way to preserve the harvest of softneck garlic, the type that’s best suited for braiding due to its flexible stems. A skill once common among growers, it’s a tradition that provides both decoration and function.
The process starts once the garlic is harvested and cured, making it important to handle the bulbs with care. I soak the stems (not the bulbs) in lukewarm water to make them pliable, which is crucial for creating tight, neat braids without breaking the stems. It’s a simple task that, with a bit of patience and practice, becomes a quick and rewarding activity.
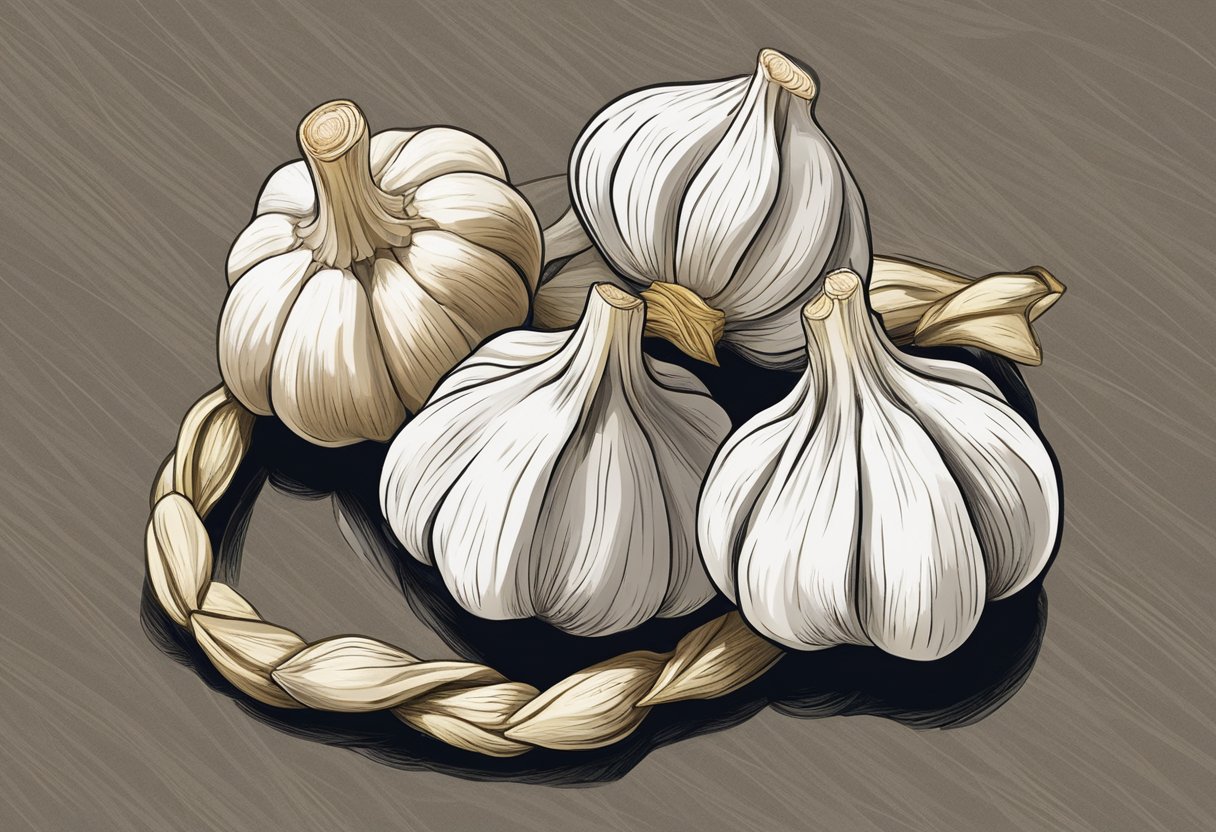
In my experience, braiding garlic not only extends its shelf life but also turns your bounty into a rustic kitchen accent. All you need are cured softneck garlic bulbs, twine, and a bit of finesse to weave the stems into a sturdy braid.
JUMP TO TOPIC
Planting and Growing Garlic
As an experienced home gardener, I find that growing garlic is a rewarding process that begins with choosing the right type of garlic and preparing the soil for a successful fall planting.
Selecting the Right Garlic
It’s essential to pick the correct variety of garlic to match your gardening goals and climate. Garlic comes in two main types: softneck and hardneck.
-
Softneck Garlic is known for its milder flavor and longer shelf life, making it a common choice for the home gardener. It’s less winter-hardy than hardneck, but it grows well in milder climates and is the type you’re most likely to find in a grocery store.
-
Hardneck Garlic has a more robust flavor and a stiff central stalk from which it can send up a flower stalk, called a scape. This type is more suitable for colder climates due to its winter hardiness.
Soil Preparation and Fall Planting
Proper soil preparation in the garden is paramount for garlic growing success. Here’s what I prioritize:
-
Well-draining Soil: Garlic thrives in a loose, loamy soil that allows for proper drainage. This is to prevent the garlic bulbs from sitting in too much moisture, which can cause them to rot.
-
Nutrient-rich Environment: Before planting garlic cloves, I incorporate well-rotted manure or compost to increase soil fertility.
-
Sunny Spot: Garlic demands at least six hours of direct sunlight per day, so choose a spot in the garden that receives ample sunlight.
For fall planting, my timeline is as follows:
-
Two weeks before the first frost: This timing allows the garlic to establish roots without sending up shoots that can be damaged by frost.
-
Plant cloves 2 inches deep: The cloves should be placed upright (with the wide root side down and the pointed end up) and spaced around 6 inches apart.
-
Mulching: After planting, I apply a generous layer of mulch, like straw, to provide insulation over the winter and help prevent weed growth.
💥 Fall planting sets the stage for a bountiful garlic harvest the following summer.
Harvesting and Curing Garlic
Before we dive into the specifics, understand that the process of harvesting and curing garlic is essential for ensuring your homegrown garlic is primed for long-term storage. Done correctly, it allows garlic to develop the flavors and preservation qualities desired.
Identifying Harvest Time
💥 When to Harvest
I look for the telltale signs in my garlic plants to decide when it’s time to harvest. Generally, it’s when several of the lower leaves turn brown but five or six upper leaves are still green.
- Leaf Condition: 5-6 green leaves should remain.
- Weather: Dry conditions are preferable for digging up garlic.
Proper Techniques for Harvesting
💥 Harvesting Method
For harvesting, I gently loosen the soil around the bulbs with a spade or fork, taking care not to pierce the garlic. I then pull the bulbs out by the base of their stems and shake off any loose soil.
Curing for Long-Term Storage
💥 Curing Process
As for curing, I hang the garlic in a well-ventilated, shady spot for a few weeks until the roots feel brittle and the skin becomes papery. Curing is crucial since it stops the growth process and prepares the garlic for storage.
- Curing Duration: Lasts approximately 3-4 weeks.
- Storage Readiness: Garlic is ready when the skins are dry and the necks are tight.
Braiding and Storing Garlic
Braiding garlic not only extends its shelf life but also adds a rustic charm to your kitchen. I’ll walk you through the preparation for braiding and the techniques to create a sturdy garlic braid for optimal storage.
Preparation for Braiding
Before I begin braiding garlic, it’s important to ensure that the bulbs are dry and the stems are pliable. I usually start by harvesting soft neck garlic, as their flexible stalks are ideal for braiding. Here’s how I prepare the garlic:
- Harvest garlic when the lower leaves start yellowing, but four or five top leaves remain green.
- Allow the bulbs to air dry, upside down, out of direct sunlight, for 3-4 weeks until the stalks are dry but not brittle.
- Clean the dried bulbs by gently brushing off any soil and trimming the roots, taking care not to damage the cloves.
- Soak the garlic stems in lukewarm water to make them more flexible – just for a few minutes so as not to wet the bulbs themselves.
Braiding Techniques
With the garlic prepared, I move on to braiding. Here’s a step-by-step guide to the technique I use:
- Start with 3 bulbs and create a starting knot with their stems. I often use twine to reinforce the knot and add more bulbs as I go.
- Methodically braid the stems by gently folding them over each other, attaching one bulb at a time to the braid.
- Continue adding bulbs evenly on both sides until the braid is of the desired length.
- Secure the end of the braid with twine or string, ensuring it’s tight enough to hold the garlic in place but not so tight it cuts into the stems.
Once my garlic braid is complete, I hang it in a cool, dry place, like a pantry or cellar, where it will keep for up to six months, adding convenience and joy to my cooking.
💥 Essential Tips: Soft neck varieties are the best for braiding. Use fresh bulbs and ensure the stems are moist but not wet when you start braiding.
Using Garlic in the Kitchen
Garlic is a cornerstone in my culinary arsenal, known for its pungent flavor and versatility in cooking. I find its robust zing elevates countless dishes, from humble garlic bread to complex curries.
In my kitchen, garlic starts off most of my meals. I’ll often mince or press a few cloves to create a flavor base. Whether I’m sautéing, roasting, or stir-frying, garlic is my go-to for adding depth to my cooking. Overcooking garlic can produce a bitter taste, so I add it towards the end of the sautéing process to preserve its vibrant flavor.
After braiding my harvested garlic, I hang it conveniently in the kitchen. This not only serves as a rustic decoration but also reminds me to use fresh garlic often. When I need it, I snip off a head with scissors. It’s fresh, handy, and aromatic.
Optimal garlic use hinges on balance. Adding just the right amount can transform dishes, infusing them with a delightful essence without overpowering other ingredients.
When incorporating garlic in my dishes, I consider its impact on the overall flavor profiles. A gentle simmer allows the cloves to soften and sweeten, blending seamlessly into sauces. Roasting whole bulbs mellows their bite, coaxing out a creamy, spreadable treat perfect for smearing on crusty bread.
I encourage experimentation with garlic in your cooking. Its flavor profile changes significantly based on preparation—minced, sliced, whole, or even roasted. Each form of garlic brings a new dimension to your dishes, offering a learning curve that is as rewarding as it is flavorful.


