

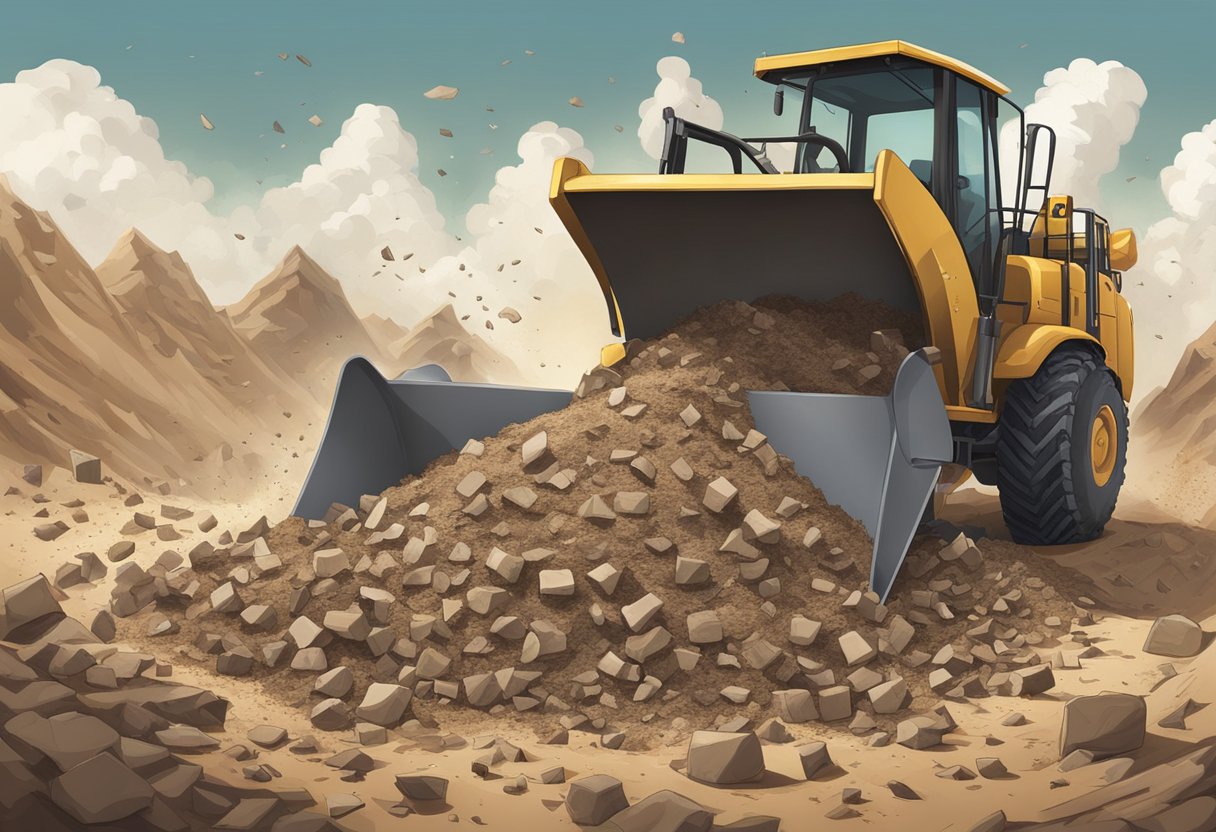
Breaking up dirt clods effectively is essential in preparing a garden that allows plants to flourish. Clumpy soil can inhibit plant growth by preventing proper root spread and can also hinder water and nutrient absorption. When faced with the task of turning stubborn soil into a finely textured planting bed, many gardeners will gravitate toward a tiller, an effective, albeit sometimes inaccessible tool. However, I have found that simple hand tools and some practical techniques can achieve the same goal without the need for mechanized assistance. Understanding the type and condition of the soil is the first step. Sandy soils may break apart easily, while clay-heavy soils often require more effort.
In my experience, a sharp garden spade or fork is typically my first tool of choice in breaking down large dirt clods. These standard gardening tools allow for precision and control, enabling me not only to slice through the earth but also to gently crumble the larger chunks of soil. By systematically working the area, turning over sections of soil and breaking them apart, I create a more uniform and plant-friendly environment. Sturdy garden hoes can also play a role in chopping and mixing the soil, especially when dealing with the upper layers where roots and living organisms are more active.
To break up dirt clods without a tiller, use tools like a garden spade, fork, or hoe to turn and crumble the soil manually.
JUMP TO TOPIC
Preparing Your Garden
Before diving into breaking up dirt clods, it’s crucial to understand the soil type in your garden and clear the area of any debris, weeds, or rocks. These initial steps set the stage for fertile and manageable soil that’s ready for planting.
Assessing Soil Type
In my experience, identifying your soil type is imperative for effective soil preparation. I start by observing the texture and composition:
- Clay soil: Dense and sticky when wet, forms hard clods when dry.
- Sandy soil: Gritty, drains quickly, but doesn’t hold nutrients well.
- Topsoil: Rich in nutrients, a good balance of sand, silt, and clay.
Each type requires a different approach. For clay, I focus on improving aeration and drainage. Sandy soil, on the other hand, needs organic matter to enhance its nutrient-holding capacity. I integrate compost into topsoil to enrich its fertility further.
Clearing the Area
With my rake and hoe in hand, I clear the garden area of large debris, like rocks and branches. I carefully pull out weeds, ensuring I remove their roots to prevent regrowth. This task not only readies the ground for tilling but also prevents future issues with garden beds.
Be cautious not to over-till or use heavy machinery on wet soil as this can compact the soil and damage the structure.
Selecting and Using the Right Tools
When embarking on soil preparation, it’s critical for me to choose the right tools for breaking up soil without causing undue strain on my body or damage to the earth. I find that using the correct implements can significantly expedite the process and enhance the soil’s quality.
Manual Tools for Tilling
When tilling by hand, I ensure I have durable, high-quality tools. Here’s what I typically use:
💥 Hand Tiller: An efficient tool for breaking up small areas of compacted soil, perfect for garden beds.
I also find the garden fork invaluable due to its ability to penetrate tough soil and turn it over, while a spade or shovel is essential for digging and moving soil. To smooth out the soil and remove small clods or rocks, nothing beats a sturdy rake.
Here’s a brief list of the tools I use most often:
- Shovel: For digging and moving soil.
- Spade: For slicing through soil and sod.
- Garden Fork: Best for turning and aerating the soil.
- Rake: To create a level surface and gather debris.
- Hoe: For shaping soil and removing weeds.
Advanced Tools for Soil Preparation
In my experience, when dealing with larger plots or tougher soil, power tools become a necessity. A rototiller is exceptional for breaking new ground and incorporating amendments into the soil. It reduces the labor significantly and ensures that I am not overly exerting myself.
For areas where I’m preparing the soil for grass seed, a power tool that can loosen the soil effectively is crucial. I generally opt for a power tiller which is lighter than a rototiller but still powerful enough to get the job done.
- Rototiller: For breaking new ground efficiently.
- Power Tiller: Ideal for smaller spaces or to prepare seedbeds.
When I use any power tools, I make sure to prioritize safety by wearing appropriate protective gear and following the manufacturer’s instructions closely. These power tools have made a significant difference in the speed and efficiency of my garden preparations, transforming what used to be a daunting task into a manageable one.
Planting and Cultivation Techniques
Effective plant cultivation hinges on proper soil preparation and ongoing care. Aeration and moisture retention are crucial for healthy root development.
Breaking up Soil and Aerating
Breaking up soil is pivotal for plant health, as compacted soil impedes root growth and water absorption. Start by moistening the soil to make it easier to work with. I use a garden fork to gently turn over the top layers, allowing air to reach deeper into the ground. It’s important to break up large clods or clumps of soil to ensure a fine, crumbly texture which roots can easily penetrate.
💥 For aeration:
- Moisten soil for easier handling.
- Use a garden fork to break apart soil without compacting.
- Ensure even soil texture for root access and growth.
Optimizing Plant Growth
After soil preparation, optimize conditions for plant growth. I layer mulch on the soil surface to conserve moisture, reduce weed growth, and provide organic matter as it decays. Additionally, incorporating compost or well-rotted manure into the planting area supplies essential nutrients, promoting vigorous plant growth. It’s also vital to maintain adequate moisture levels – not too wet, not too dry – to support plants throughout their growth cycle.
- Apply mulch to maintain moisture and reduce weeding.
- Mix in compost or manure for nutrient-rich soil.
- Monitor soil moisture and water as needed.


