

Tulips are a delightful sign of spring, their vibrant blooms heralding warmer days ahead. As someone who has nurtured these bulbs into showy blossoms, I understand the careful attention they require. To enjoy the full array of colors and shapes tulips offer, it’s key to begin with proper soil preparation.
To ensure success, I always plant my tulip bulbs in the fall, about six weeks before the first frost is expected. This gives the bulbs time to establish roots before the ground freezes. I choose a sunny spot and make sure the soil is well-drained; tulips will not thrive in waterlogged conditions. Incorporating organic matter like compost into the soil can improve drainage and provide nutrients to the bulbs as they grow.
I’ve learned that the depth of planting is crucial: a hole three times the height of the bulb ensures that it is planted deeply enough to protect it from harsh temperatures and for sturdy growth.
Spacing is another factor that I am careful about. Tulip bulbs should be planted 2 to 5 inches apart, allowing enough room for the roots to spread without competing for nutrients. This spacing also gives each flower ample space to bloom without being crowded by its neighbors. A properly spaced tulip bed results in a fuller, more spectacular display in the spring.
JUMP TO TOPIC
Selecting the Right Tulip Bulbs
When starting your tulip garden, choosing high-quality bulbs can make all the difference. I prefer bulbs that are firm to the touch and free of damage, as these are indicators of a healthy bulb capable of robust growth and a bountiful bloom.
Understanding Tulip Varieties
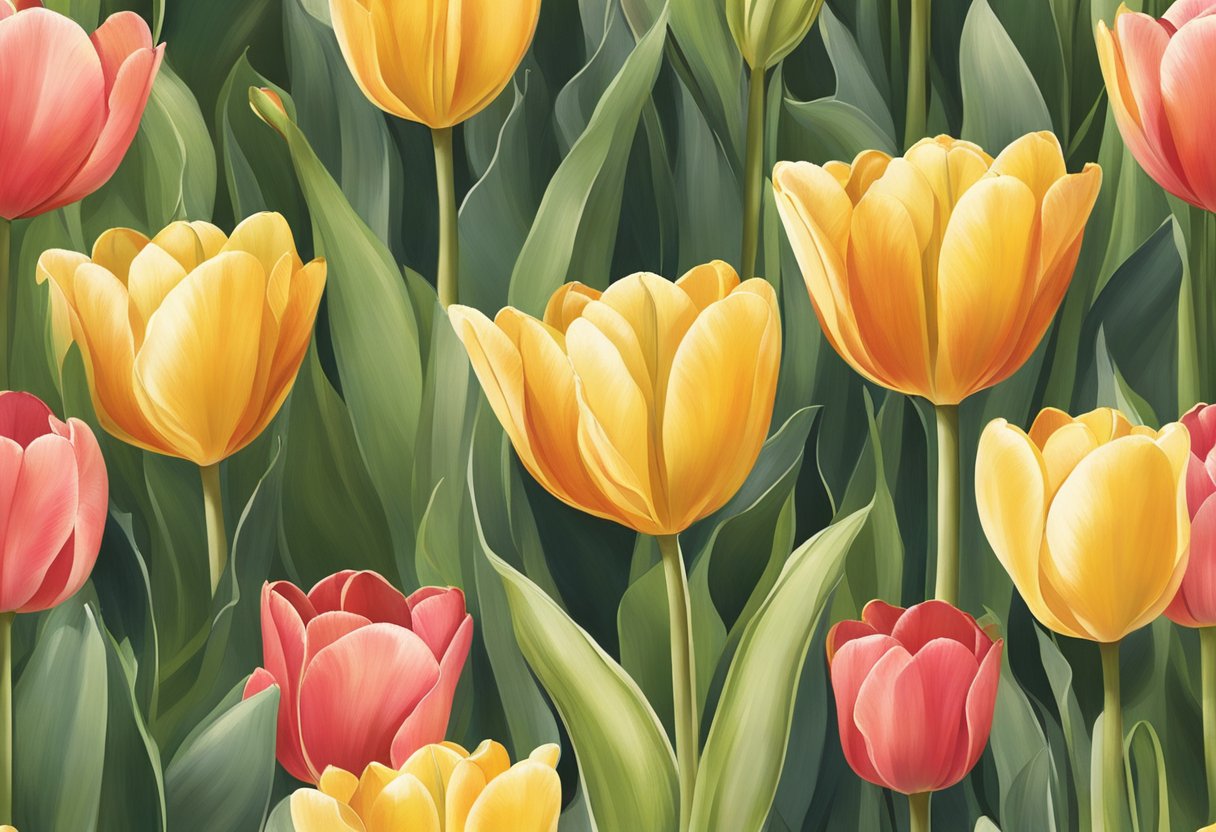
Tulip bulbs come in numerous varieties, each with unique characteristics like petal shape, height, and blooming period. The ‘Darwin Hybrid’ tulips, for instance, are known for their tall stems and large flowers, and are excellent for a dramatic spring display. For those who favor intricate petals, ‘Fringed’ and ‘Parrot’ tulips provide textured blooms that are visually stunning. In cooler climates, ‘Triumph’ tulips are a go-to choice, as they tend to be hardier. Moreover, ‘Fosteriana’ tulips, originating from the mountainous regions of Central Asia, are known for their wide-open, sun-loving blooms. Understanding these tulip varieties is the key to season-long blooms catered to your climate and soil conditions.
Factors Affecting Bulb Quality
I pay close attention to several factors to ensure I get the best quality tulip bulbs:
💥 Firmness: Bulbs should be firm when gently squeezed, not soft or squishy, which could indicate rot.
Selecting bulbs grown in the Netherlands is often a wise choice as it’s renowned for high-quality tulip bulbs. It’s important to plant the bulbs in the fall, as they require a period of cold temperatures to prompt the biological processes necessary for spring growth.
Avoid bulbs that feel too light—these could be dried out and may not sprout efficiently.
The temperature during storage can also impact tulip bulbs, so I ensure they have been kept in cool, dry conditions before planting. Soil, climate, and potential exposure to strong winds are additional considerations to take into account so that your tulip bulbs will be well-suited to their growing environment, whether in the soil or in containers.
Planting and Cultivating Tulips
Tulips are a vibrant addition to any garden, and with proper planting and care, they can thrive and bring beauty to your spring landscape. In this guide, I’ll walk you through the essential steps to ensure your tulips flourish from planting to bloom.
Best Time to Plant
The optimal time for planting tulip bulbs is during the autumn months, well before the ground freezes.
Ideal planting time is when temperatures start to cool, especially during early to mid-autumn. This allows bulbs to establish roots while benefiting from the upcoming winter’s chill, which is essential for a vibrant spring bloom.
Soil Preparation for Tulips
💥 Soil Must Be Well-Drained
Before planting, it’s crucial to prepare the soil. Tulips prefer well-drained soil, as stagnant water can cause bulbs to rot. I make sure to add organic compost to enrich the soil and improve drainage. Testing your soil’s pH can also be beneficial, as tulips thrive in neutral to slightly acidic soil conditions.
Planting Depth and Spacing
| Aspect | Details |
|---|---|
| Depth | Plant tulip bulbs 8 inches deep or three times the height of the bulb. |
| Spacing | Place bulbs 4 to 6 inches apart to give them room to spread. |
A good rule of thumb for planting depth is to plant tulip bulbs about 8 inches deep, which roughly translates to three times the height of the bulb. It’s also important to provide adequate space between each bulb, typically around 4 to 6 inches apart, to allow for proper growth and air circulation, reducing the likelihood of fungal problems. Always plant with the pointy end up, as this is where the stem and flower will emerge. After covering the bulbs with soil, water the planting site to help settle the soil and establish the bulbs.
Tulip Care and Maintenance
Maintaining tulips involves a regimented approach to watering, fertilization, pest management, and pruning. Knowing the right techniques improves the health and longevity of these vibrant flowers.
Watering and Fertilization
Tulips require consistent moisture, especially during active growth and blooming. I water tulips deeply when the soil feels dry to the touch, but avoid waterlogging the soil as this can lead to bulb rot.
Managing Pests and Diseases
Tulips can fall prey to pests like aphids, slugs, and snails. Regular inspection of leaves and stems helps me catch these pests early.
💥 Disease Prevention: I take care to avoid wetting tulip leaves excessively to prevent fungal diseases. A well-drained soil location is also crucial in preventing bulb and root diseases.
Deadheading and Pruning Practices
Deadheading spent blooms promotes the tulip’s energy reservation for the next year. Right after the bloom fades, I cut off the flower head but leave the stem and leaves to allow them to continue providing nourishment to the bulb.
Do not cut the foliage until it has turned yellow and died down naturally to ensure proper bulb development for the next year.


