

Maintaining clean and sharp garden tools is a practice every gardener should prioritize, not only for the health of their plants but also to ensure the longevity of their equipment. I find that cleaning pruning shears, a vital tool for any gardener, is particularly important. Dirty blades can introduce disease to fresh plant wounds and blunt shears may damage branches, leading to unhealthy growth or even plant death.
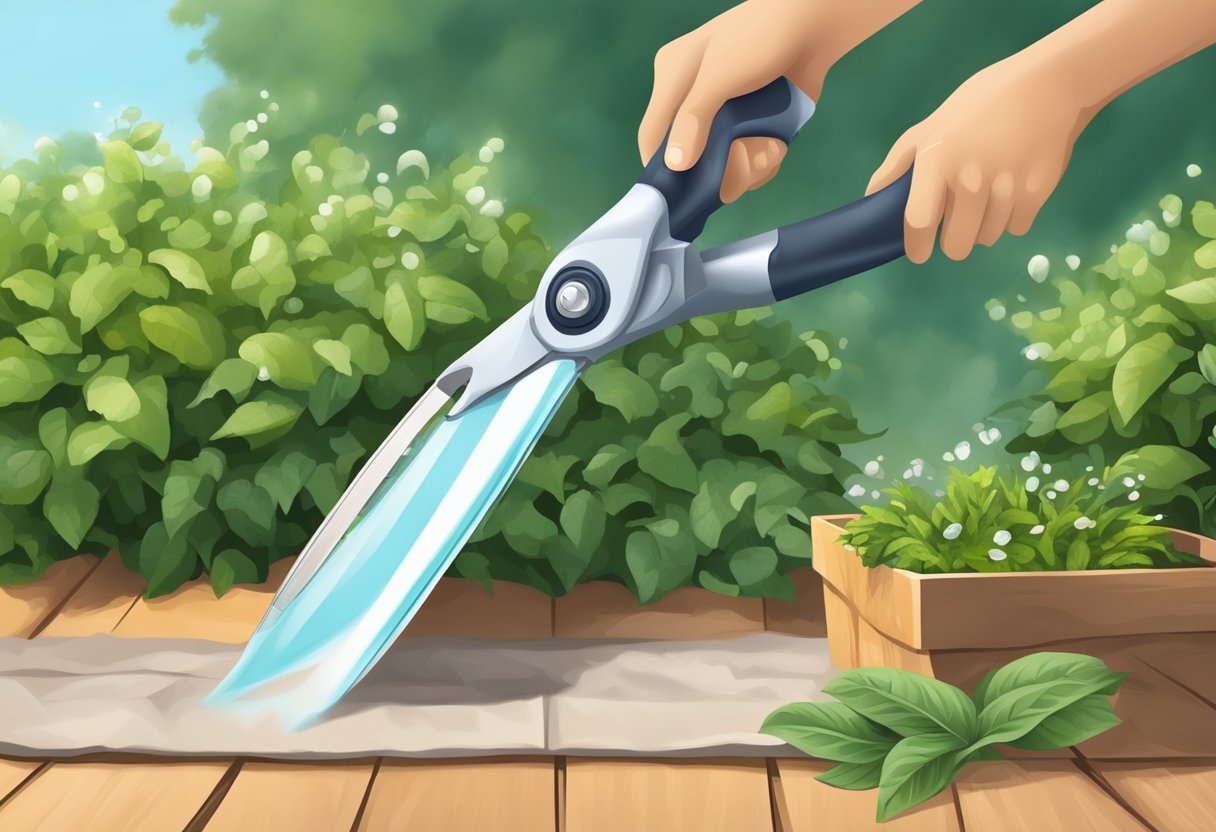
I like to start by giving the shears a good physical clean to remove any sap, resin, or debris that might have accumulated on the blades during the course of pruning. If left unchecked, this gunk can make the shears sticky and less effective, making my pruning tasks more difficult. It’s also essential to disinfect garden tools to prevent the spread of disease among plants. The use of bleach or isopropyl alcohol for this purpose is effective and I ensure to carefully follow safety guidelines when using these chemicals.
JUMP TO TOPIC
Preparing Your Pruning Shears for Cleaning
Preparing pruning shears for cleaning is essential for maintaining their functionality and longevity. Proper preparation prevents damage to the shears and makes the cleaning process more effective.
Disassembling Shears
Before starting the cleaning process, I ensure to disassemble my shears carefully. This typically involves separating the blades from the handle and removing any screws or bolts. Doing so allows me to access all parts that need cleaning.
Disassembly steps I follow:
| Step | Action | Note |
|---|---|---|
| 1 | Find the pivot bolt or screw. | This is where the two halves of the shears meet. |
| 2 | Unscrew the pivot bolt using a suitable tool. | Keep the bolt or screw in a safe place. |
| 3 | Separate the blades and handle parts. | Be cautious of sharp edges. |
Removing Sap and Debris
I start by removing sap and debris using a cloth or brush. For stubborn sap, I apply a solvent like rubbing alcohol to break it down. Afterwards, gently scrubbing with a steel wool pad can help remove any remaining grime.
My cleaning process:
- Wipe blades with a cloth dipped in solvent to soften sap.
- Use a brush or steel wool to scrub off sap and debris.
- Rinse the blades with water to remove residual grime.
- Soak the parts in soapy water if necessary.
Effective Cleaning Techniques
Keeping your garden shears clean is essential for maintaining a sharp cut and preventing plant diseases. Rust and debris accumulation can hinder your garden work, so here is how I tackle these issues effectively.
Scrubbing the Blades
I ensure rust doesn’t take hold of my shears by applying a light coat of vegetable oil after cleaning, which also helps in keeping the blades smooth and easy to operate.
Applying Cleansers
💥 Sanitize to Prevent Disease Spread
After scrubbing, I disinfect my shears to prevent the spread of plant diseases. I create a solution with one part bleach to nine parts water and soak the shears for at least 30 minutes. I make sure to dry them thoroughly afterward to prevent corrosion.
By routinely cleaning and disinfecting my garden shears, I ensure their longevity and optimal performance in my garden.
Sharpening and Maintenance
To ensure optimal performance and longevity of garden shears, regular sharpening and protective maintenance are essential. I’ll guide you through the process, ensuring your tools are kept in the best condition.
Sharpening the Cutting Edge
I begin with a clean, rust-free blade to get a true edge. Using a file or a sharpening stone, I follow the original angle of the cutting edge. Here are the steps I take:
- Secure the shears: I make sure my garden shears are firmly clamped to avoid any movement.
- Check the angle: The blade should maintain its original bevel angle, usually between 10 and 30 degrees.
- File or stone: Gently pushing the file or stone across the blade in one direction—from the base to the tip—I create a new sharp edge.
Always sharpen in one direction to ensure a clean, sharp edge.
Protecting from Corrosion
After sharpening, protecting the shears from corrosion is my next step to maintain their quality:
- Clean thoroughly: Any remaining debris can lead to rust, so I clean my shears thoroughly using a cloth.
- Oil the blades: I apply a light coat of oil to the blades. Mineral oil or a specific tool oil works well to prevent rust.
- Store properly: I store my shears in a dry place to avoid moisture, which can lead to corrosion.
💥 Tip: Regularly oil the moving parts to keep them functioning smoothly and to guard against rust.
Reassembling and Storing Garden Shears
Once your garden shears are clean and dry, it’s important to reassemble them properly before storage to ensure their longevity and functionality.
After cleaning and possibly disassembling your garden shears for a thorough clean-up, make sure all parts are completely dry to prevent rust. Apply a light coating of oil or lubricant to the moving parts of the shears. This helps in keeping them operating smoothly and protects against rust.
💥 Tip: Use gloves when handling oil or lubricant to keep your hands clean and avoid any irritation that may be caused by the chemicals.
When reassembling, ensure that all parts fit snugly. Tighten any loose screws and make smooth cuts with the shears to check that they’re aligned correctly. Proper alignment is crucial for clean and efficient cuts in the garden.
For storing your garden shears:
- Store in a dry location to prevent rust.
- Hang them up or keep them in a tool box to avoid damage.
- If you live in a humid area, consider placing a desiccant, like silica gel packets, in the storage box to absorb excess moisture.
- Keep them out of the reach of children.
Ensuring your garden shears are stored properly will keep them sharp and rust-free, ready for their next use.


