

Connecting two garden hoses together is a practical skill that can save you time and effort in the garden, especially when you need to extend the reach of your water supply. As someone who enjoys gardening, I frequently find myself in situations where a single hose isn’t long enough to cover the entire yard. Thankfully, the process of joining hoses is straightforward provided you have the right fittings. Most garden hoses come with either male or female connectors, and coupling them is as simple as screwing the male end of one hose into the female end of the other.
Handling water pressure and hot water can be a concern with any hose setup. For most residential uses, a standard vinyl garden hose is sufficient to handle typical water pressures. However, if you’re dealing with higher water pressures or hot water applications, ensure that the hoses and their connectors are designed to withstand the increased demand. I’ve also dealt with expandable hoses that stretch under water pressure and retract when not in use, making them very convenient for storage. While these are great for saving space, make sure the connections are secure because they can sometimes come apart more easily than traditional hoses.
JUMP TO TOPIC
Choosing the Right Hose and Fittings
When looking to connect two hoses, selecting compatible fittings and hoses is essential to ensure a secure and effective connection.
Assessing Hose Types and Materials
In my experience, the type and material of your hose dictate the compatibility with different fittings. For garden and air compressor hoses, common materials include rubber, PVC, and polyurethane, each offering varying degrees of flexibility and durability. Rubber hoses, for instance, are quite durable and resistant to kinking, which is why I usually recommend them for heavy-duty use.
- Rubber: Durable, flexible, excellent for high-pressure applications
- PVC: Lightweight, less flexible, budget-friendly
- Polyurethane: Oil-resistant, durable, preferred for industrial tasks
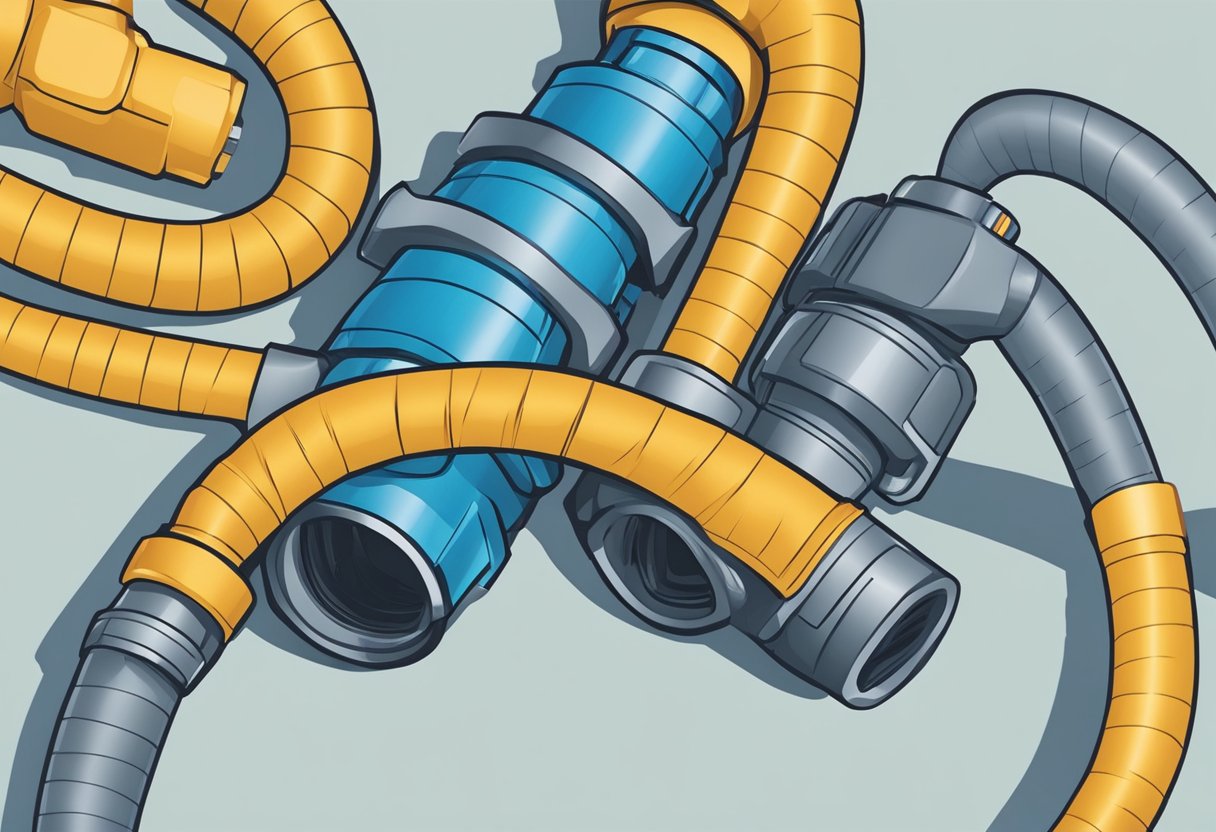
Understanding Fitting Specifications
Fittings are crucial for connecting hoses securely without leaks. My approach is to first check the gender of the hose ends; one needs to have a male connector and the other a female connector for them to join. Then, I ensure they are of the same size. A common standard for garden hoses is a 3/4 inch male or female hose thread (MHT/FHT), which fits most home applications.
| Connector Type | Description |
|---|---|
| Compression Fittings | Use a ring or ferrule for a watertight seal. |
| Barbed Fittings | Have ridges that grip inside the hose, usually need a hose clamp. |
| Threaded Fittings | Have spiral ridges, most common type, can be MHT or FHT. | Quick-connect Adapters | Allow for easy snap-on connections, ideal for frequent hose changing. |
Adapters and connectors should match your hose’s material and type for optimal performance. For specialized hoses and applications, such as those requiring resistance to high pressure, oil, or chemicals, it is crucial to select the appropriate fittings, like compression or barbed fittings, that can handle such conditions. Quick-connect adapters are a convenient choice if you prefer ease of use and quick assembly and disassembly.
Connecting and Extending Hoses
When looking to extend the reach of a garden hose, choosing the right connectors and understanding the proper method to secure them is crucial for a leak-free connection.
Using Quick-Connect Adapters for Ease
I often find that using quick-connect adapters simplifies the process of joining two hoses. These fittings allow you to easily connect and disconnect hoses without twisting or turning. To use these adapters:
- Attach a male connector to one hose end.
- Attach a female connector with a spring-loaded ring to the other hose end.
- Insert the male connector into the female connector and push them together.
- The spring-loaded ring on the female connector will snap into place, securing the connection.
Securing Connections with the Right Equipment
For a more traditional approach, you can use hose clamps and a coupler to create a secure connection. Here’s how I do it:
- Clean the ends of each hose to ensure a tight fit.
- Slide a hose clamp over each hose end before connecting them.
- Using a hose coupling or coupler, insert one hose end into one side of the coupler and the other hose end into the opposite side.
- Tighten the hose clamps around each hose end and the coupler to prevent leaks.
Preventing and Fixing Leaks
When connecting two hoses, ensuring a tight seal is critical to prevent leaks. I’ll share specific points on identifying common leak points and the tools I find essential for hose repairs.
Identifying Common Leak Points
Leaks typically occur at connection points or where the hose has been damaged. After connecting hoses, I usually check the following areas for drips:
- The connection between the hose ends: This is the most common place where leaks develop, especially if the fittings are not properly aligned or tightened.
- Anywhere clamps or fittings are used: Hose clamps and clamp ring fittings need to be secure to prevent leaks. If improperly applied, they can be the source of the issue.
Tools Required for Hose Repairs
In my repair kit, I keep specific tools handy for fixing leaks:
- Screwdriver: Needed for tightening screws on hose clamps and clamp ring fittings.
- Hose Clamps: These can be adjusted to create a tight seal at connection points.
- Hose Menders: If the hose is damaged, I use hose menders to replace the damaged section.
- Push-in Connectors: These can be a quick solution for connecting two hose ends tightly.
💥 Note: Always keep spare hose clamps and menders in your toolkit. They come in handy for unforeseen repairs.
A well-fitted hose clamp or properly installed push-in connector can make the difference between a dry and a leaky connection. It’s all about using the right tools for the job to maintain a tight seal and prevent water waste.
Essential Maintenance and Storage
I like to start by ensuring that both hoses I’m connecting are in top condition. This avoids problems down the line, such as leaks or poor water flow. Before storing any hose, I ensure it’s completely drained to prevent water from freezing inside, which can damage the hose. I also inspect the hose for any cuts that might require a utility knife to trim away damaged portions.
- Hang the hose in a loop on a hose reel or hanger to prevent kinks.
- Avoid leaving the hose exposed to direct sunlight for long periods, as UV can degrade the material.
- If space allows, storing indoors during extreme weather prolongs the hose life.
A reliable connection is critical for hose performance, so I use a wrench to tighten clamps and connectors, ensuring everything is secure without overtightening. After usage, I always detach hoses from the spigot and drainage to prevent damage to the fixtures.
| Equipment | Use |
|---|---|
| Utility Knife | Trim damaged hose sections |
| Measuring Tape | Ensure proper storage length |
| Wrench | Tighten connectors securely |
Lastly, I always dry off spraying nozzles before attaching their protective covers. It prevents rust and ensures they’re ready for the next use. These simple steps keep everything working as it should and extend the service life of my garden tools.


