

Growing mushrooms at home is a fascinating venture that I’ve found can bring both culinary delights and a unique gardening experience. Spearheading this process in a home garden creates an environment where these fungi can thrive, and provides the satisfaction of cultivating something both unusual and edible. Despite their exotic nature, mushrooms can be surprisingly straightforward to grow.
I’ve discovered that mushrooms value certain conditions that are different from typical garden plants, favoring cool, dark, and moist environments. For instance, areas like the basement or a shady garden spot are ideal. Setting up the right environment is key to successful mushroom cultivation.
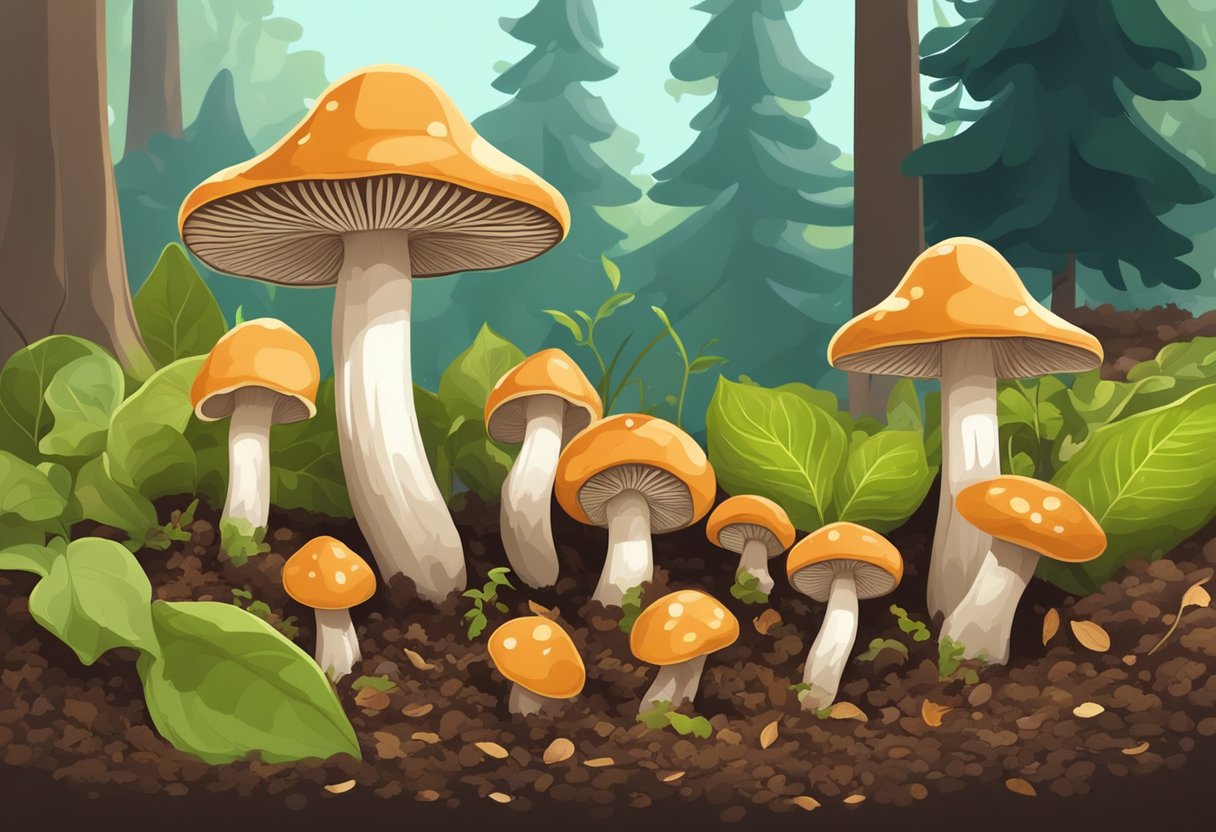
One aspect of the process I pay special attention to is selecting the appropriate substrate—the material on which mushrooms will grow. Commonly used substrates include straw, wood chips, or a specially prepared mushroom growing mix. By ensuring the substrate is properly inoculated with mushroom spores (also known as spawn), I’ve often seen my garden beds become productive mushroom sites. This marriage of the right conditions and materials yields results that are both satisfying and delicious.
JUMP TO TOPIC
Preparing Your Grow Area
Preparing your grow area for mushroom cultivation involves careful selection of the location and substrates to create an environment conducive to mushroom growth. The goal is to replicate the natural conditions mushrooms require to thrive.
Selecting The Right Location
Choosing the right location for your mushroom garden is essential. Gardens must offer appropriate light and temperature conditions.
- The area should be shaded or partially shaded; mushrooms typically do not require direct sunlight.
- Oyster mushrooms are more tolerant to variations, but generally, cooler temperatures are preferred.
- Ensure the area is protected from wind and not prone to flooding.
Choosing Substrates And Containers
Substrate selection and the type of containers used are crucial for successful mushroom cultivation. The substrate is effectively the soil for mushrooms, providing nutrients and a habitat.
💥 Substrate and Container Tips:
- Straw and wood-based substrates like sawdust are commonly used and accessible.
- Substrate must be free from contaminants: pasteurization or sterilization is often necessary.
- Logs can serve as a natural container for growing mushrooms like Shiitake.
- Use containers that allow for airflow yet retain moisture, such as slotted bags, trays, or buckets.
- For beginners, mushroom grow kits are a convenient option providing the right materials and containers.
When setting up the grow area, keep in mind your region’s climate and available resources. Local conditions will determine the exact types of substrates and shelters needed to cultivate mushrooms effectively in your garden.
Cultivating Your Mushrooms
In my experience with mushroom cultivation, success hinges on three main stages: inoculation, optimizing growth conditions, and maintaining care.
Inoculation With Spores Or Spawn
I begin by sterilizing the substrate which could be sawdust, straw, or even hardwood logs. Sterilization is necessary to kill any unwanted bacteria or fungi. Next, I introduce the mushroom spawn or spores. The spawn acts as the seed, containing the fungus’ mycelium, which will spread through the substrate. This process is critical for establishing a healthy mushroom culture.
Optimizing Conditions For Growth
For the mushrooms to fruit properly, I maintain specific temperature and humidity levels, as these factors can vary between species. Generally, I keep the growing area between 55°F to 75°F. Keeping the soil or substrate moist is vital, so I water them carefully to maintain high humidity levels without oversaturating the mycelium. Light is also a consideration, though mushrooms do not require as much light as plants.
Maintaining Proper Care Through Cycles
Consistent maintenance is the cornerstone of healthy mushroom crops. I monitor the environment daily to ensure conditions remain constant. Mushrooms absorb nutrients from the substrate, so I make sure that it’s rich and hasn’t exhausted its supply. When fruiting begins, regular checks become even more crucial to monitor for pests and mold, which I manage promptly to safeguard the crop’s quality.
- Inoculate sterilized substrate with spawn or spores.
- Keep conditions within specific temperature and humidity ranges.
- Regular maintenance is essential for mushroom health and quality.
Harvesting And Utilizing Your Mushrooms
In my experience, understanding the optimal time to harvest mushrooms and the best ways to store and prepare them is crucial to making the most out of your garden’s yield.
When And How To Harvest Mushrooms
From my cultivation of various mushrooms, I can say that each type has its specific harvest time. Oyster mushrooms, for example, are ready to pick when the edges of their caps start to flatten out. For shiitake mushrooms, my cue is when the cap drops its edges and exposes the white flesh beneath. When harvesting, I use a sharp knife to cut the mushroom at the base of the stem to prevent any damage to the mycelium.
Harvest mushrooms when their caps are mature but before they release spores, usually when caps start to open up and flatten out.
Storage And Preparation Tips
Once harvested, fresh mushrooms should be used quickly to enjoy their best taste and texture. If I need to store them, I place them in a single layer on a baking sheet and freeze them before transferring to a container. This method keeps them good for up to 6 months. To prepare mushrooms for recipes, I prefer to slice them and add them directly to dishes like stews or stir-fries where their fresh, savory taste can really shine.
- Use mushrooms fresh for optimal flavor.
- For freezing, slice and spread out on a baking sheet prior to storing in an airtight container.
Expanding Your Mycological Horizons
Incorporating mushrooms into your home garden can enhance both its beauty and productivity. By understanding the dynamics of various mushroom types and innovative cultivation methods, I can significantly improve my yields and enjoy a greater variety of edible fungi.
Exploring Different Mushroom Varieties
Choosing the right varieties is key.
Different mushroom species thrive in different garden setups and offer a range of flavors and textures. Here’s a brief guide on some popular varieties I like to grow:
- Oyster Mushrooms: Great for beginners, they grow well on straw and wood chips.
- Shiitake Mushrooms: Prefer hardwood logs or sawdust and provide a meaty texture.
- Wine Cap Mushrooms: Known to complement garden beds effectively, planting them among vegetables can help make efficient use of space.
Each variety requires different substrates, like wood chips or straw. Edible mushrooms like oyster mushrooms can flourish using a simple mushroom grow kit, which provides the mycelium and a suitable growth medium.
Advanced Techniques For Experienced Growers
Once familiar with the basics, I can experiment with advanced techniques to further optimize production.
Compost and woody substrates like wood chips are great for enriching garden soil. These can act as carriers for mycelium, creating a symbiotic relationship with my garden plants. Here’s how I do it:
I spread wood chips inoculated with mushroom spores around my vegetable garden to support growth. This also improves soil quality as the mycelium breaks down the wood, releasing nutrients.
For those like me who love to see results quickly, certain mushrooms, such as the oyster, can be cultivated in straw bales or on logs kept in shaded areas of the garden. However, patience is necessary when dealing with varieties that take longer to fruit, such as Shiitake, which can also be grown on logs but require a longer colonization period.
By continually learning and applying new techniques, I ensure a diverse and productive garden that benefits both my vegetables and my taste buds.


