

Harvesting Thai basil is a rewarding experience. I find that it not only enhances my dishes with its unique flavor but also brings a sense of accomplishment as I use fresh herbs grown with my own hands. The key to successful harvesting is to choose the right moment and method. When the plant reaches a good size and the leaves look vibrant and full, it’s time to pick them.
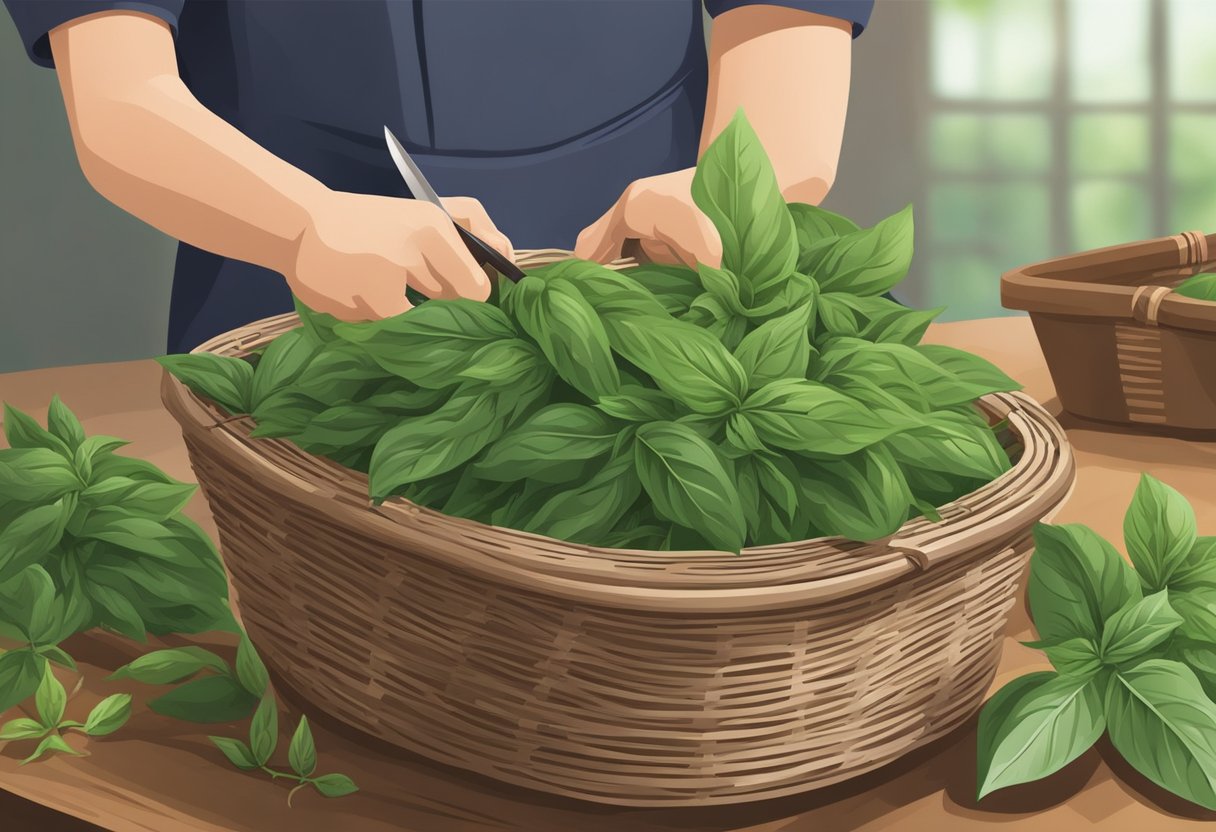
The best technique is to use scissors or your fingers to cut just above a set of leaves, ensuring that I don’t damage the plant and encourage more growth.
To maintain a bushy and productive plant, I prune my Thai basil regularly. This means avoiding the common mistake of harvesting too much from one spot or waiting too long to start picking leaves. By cutting the stems just above the leaf nodes, new branches form and the plant grows fuller. It’s the same principle as cutting hair; regular trims promote better, thicker growth. This approach not only provides me with a steady stream of Thai basil for my kitchen but also keeps the plant healthy and robust throughout the season.
JUMP TO TOPIC
Cultivating Thai Basil Successfully
In my experience, to successfully cultivate Thai basil, it’s crucial to focus on the essential aspects: seed quality, soil conditions, climate, and plant health.
Seed Selection and Germination
Soil Requirements and Preparation
💥 Soil quality significantly affects growth.
My experience has shown that Thai basil thrives in well-draining soil enriched with compost, which ensures adequate nutrients. The ideal pH for the soil should be between 6.0 and 7.0. I prepare my planting beds by integrating compost and ensuring the soil is loose and friable.
Optimal Growing Conditions
Thai basil requires plenty of light, with at least six hours of direct sunlight per day. In terms of temperature, I’ve found that it develops best between 70˚F to 90˚F. If I am growing indoors, I make sure to provide enough light and warmth, or if outdoors, I choose a spot that meets these temperature and light requirements.
Common Pests and Diseases
Thai basil can be affected by pests like aphids, slugs, and Japanese beetles, and diseases like fusarium wilt. Regular inspection and prompt action when pests or symptoms of disease appear are crucial. I usually control pests by using organic pesticides and improve air circulation to keep diseases at bay.
Maintenance and Care for Thai Basil
In my experience, the success in growing Thai basil boils down to diligent maintenance, particularly ensuring adequate water and nutrients, coupled with proper pruning methods.
Watering and Fertilization Practices
Thai basil requires consistent watering. I find it crucial to keep the soil moist but not waterlogged, as overwatering can lead to root rot. A well-draining soil ensures excess water can escape. As for fertilization, Thai basil benefits from regular feeding. I use a balanced, all-purpose liquid fertilizer diluted to half strength every 4-6 weeks during the growing season.
- Keep soil moist, but avoid waterlogging.
- Water when the top inch of soil feels dry.
My Fertilization Strategy:
- Apply a diluted all-purpose fertilizer once monthly.
- Avoid over-fertilization to prevent weak growth.
Pruning and Harvesting Techniques
Pruning is essential, both for the health of the plant and to encourage a bountiful harvest. I begin by pinching off the tips of the plant to promote bushier growth, which can be done every few weeks. Come harvesting time, I use scissors to cut just above a pair of leaves to encourage regrowth.
💥 Harvesting Tips:
Cut stems just above a node or pair of leaves.
Harvest regularly to enable new growth.
Utilizing Thai Basil in Cuisine
Thai basil is a distinctive herb that enhances the flavor profiles of various dishes. Beyond its visual appeal as a garnish, it is integral in Asian cuisines, particularly Thai and Vietnamese. Its taste is somewhat spicy, with hints of clove, anise, and licorice. Here’s how I incorporate this aromatic herb into meals.
For an immediate enhancement of aroma and taste, I add Thai basil to **soups** and **salads** right before serving.
Salads and soups benefit from Thai basil’s fresh, peppery taste. I often sprinkle finely-chopped leaves over a pho bowl to amplify its aroma. My recipes where Thai basil is the star include:
- Classic Thai Basil Chicken
- Spicy Basil Beef Stir-fry
- Thai Basil Pesto Pasta
When cooking, I add Thai basil during the last few minutes to retain its essence and prevent it from becoming bitter. If you’re looking to create authentic Thai dishes, having Thai basil on hand is essential.
- Proteins: Chicken, beef, tofu
- Vegetables: Bell peppers, green beans, eggplant
- Noodles & Rice: Rice noodles, jasmine rice
💥 Remember: The herb’s flavor profile includes spicy, peppery notes with a subtle sweetness that complements a variety of dishes.
In summary, Thai basil transforms meals not only with its flavor but also through its aromatic presence. It’s a herb that I find invaluable in my kitchen, and it pairs wonderfully with a myriad of ingredients across multiple cuisines.
Expanding Your Herb Garden
Expanding your herb garden, particularly with Thai basil, can be both rewarding and aromatic. Taking careful steps to propagate new plants and transitioning them appropriately from indoors to outdoors is crucial for a thriving herb garden.
Propagating New Plants
I always start by selecting healthy Thai basil stems to ensure the best chance of successful propagation. About a four-inch stem with several leaves is perfect for this. Here’s what I usually do:
- Cut: Snip a 4-inch stem just below a leaf node.
- Remove: Strip off the lower leaves to expose the nodes.
- Water: Place the stem in a glass of water, ensuring the nodes are submerged.
- Roots: Wait for roots to form, which typically takes about 2 weeks.
- Soil: Once roots appear, plant the stem in potting soil in a container.
The new plants benefit from consistent moisture and good air circulation. Encourage root growth before transplanting by using a well-draining container and keeping the soil evenly moist.
Transitioning from Indoors to Outdoors
When moving Thai basil outdoors, the process should be gradual to prevent shock. This is called “hardening off,” and here’s how I manage it:
- Start by placing the plants outdoors in a shaded area for a few hours each day.
- Gradually increase their time outside over a week, exposing them to more sun.
- Ensure that the outdoor temperature is consistently above 50°F before leaving them out overnight.
- Finally, transfer the plants to a sunny spot in the garden where they receive full sun for optimal growth.
Remember to choose containers that allow for adequate drainage if you aren’t planting directly in the garden. Full sun is essential for Thai basil, but if you live in a particularly hot climate, some afternoon shade can prevent wilting. Keep in mind that proper spacing allows for better air circulation, reducing the risk of fungal diseases.


