

With spring’s arrival, it’s an exhilarating time for garden enthusiasts to start planting flowers that signal the end of cold days. Among the popular choices for both garden beds and container gardening are the stunning, trumpet-shaped calla lilies. Known for their elegance, these perennials are surprisingly straightforward to plant and grow. What truly excites me about calla lilies is their versatility; they thrive in both full sun and partial shade, making them suitable for various garden settings.
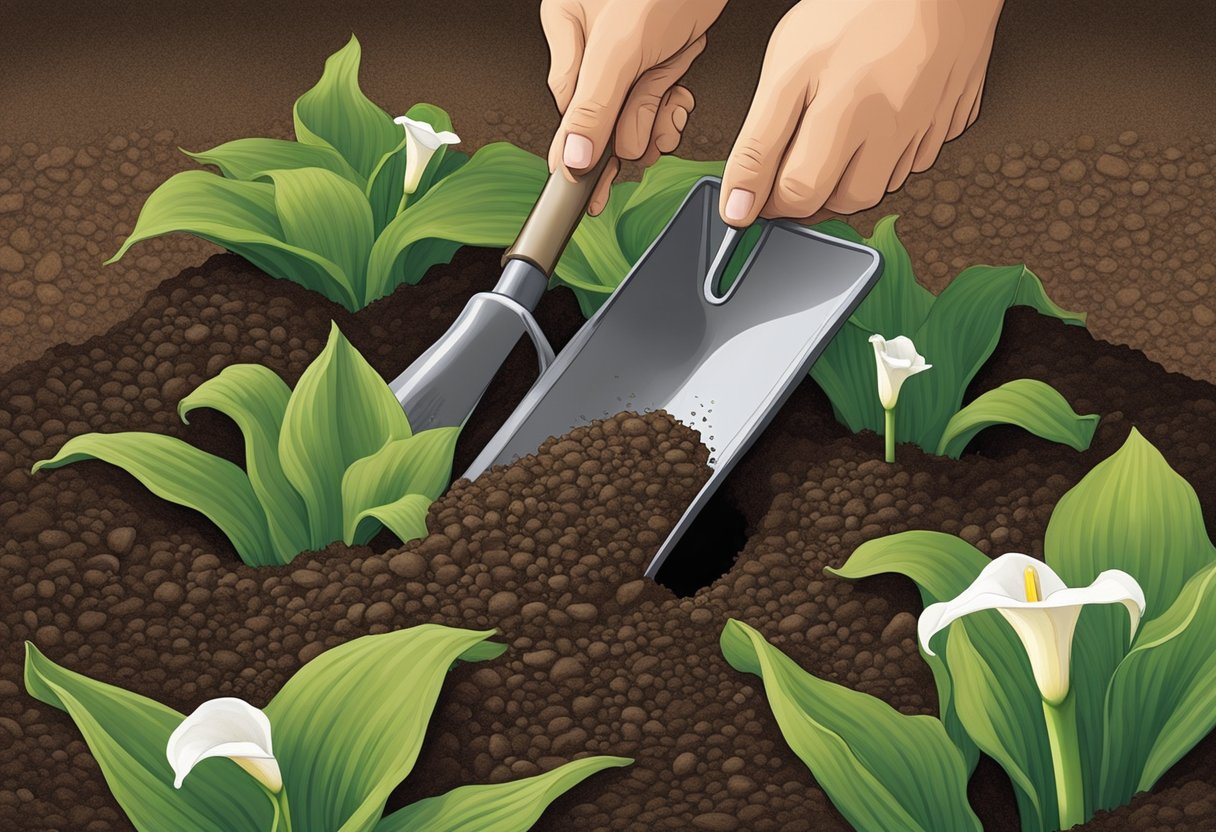
Before I plant my calla lily bulbs, I always wait for the frost threat to pass and the soil temperature to rise, ideally above 65°F. This ensures that the bulbs can establish themselves without the setback of cold snaps. I’ve found that planting them about 4 inches deep with the growing tip facing upwards creates an ideal condition for them to develop strong roots and shoots. The bulbs should be spaced around a foot apart to provide sufficient room for growth. This spacing is a simple yet crucial step for vibrant blooms.
Water management is key in the early days after planting. Ensuring the soil remains moist but not waterlogged provides the hydration calla lily bulbs need to grow. Over my years of gardening, I’ve learned that while calla lilies are somewhat drought-tolerant once established, consistent watering during their growth phase contributes greatly to their overall health and is reflected in the beauty of their blooms. Selecting a well-draining location or pot also helps prevent the bulbs from rotting, which preserves the hard work put into planting.
JUMP TO TOPIC
Planting Calla Lilies
I understand that proper planting ensures vibrant growth of calla lilies. These flowers thrive in specific conditions which I will outline below.
Choosing the Right Location
When picking a location in my garden for calla lilies, I adhere to the principle that location is paramount. These plants relish a spot that gets partial sun to light shade. Calla lilies can be grown in USDA zones 8 to 10 as perennials, indicating they require a warmer climate. However, for those living in cooler zones, I plant them each spring as annuals or in containers, which can be brought indoors when temperatures drop.
Plant calla lilies in partial sun to light shade, ideally in USDA zones 8 to 10.
Soil Preparation and Planting
For the soil, I make sure it is well-draining, yet able to stay moist. Calla lilies don’t like soggy soil, so I often amend the garden bed with organic matter to improve drainage. I plant the bulbs or rhizomes in the spring, 3 to 4 inches deep into the soil, ensuring that the more indented or ‘bumpy’ side, which I’ve learned indicates the eyes or growth points, is facing up.
- Ensure soil is moist, well-draining, and enriched with organic matter.
- Plant bulbs 3 to 4 inches deep with the eyes facing up.
Through these steps, I set the stage for the calla lilies to flourish, showcasing their elegant blooms through the growing season.
Calla Lily Care and Maintenance
Cultivating calla lilies requires balancing adequate moisture, nutrients, and environmental conditions to maintain their captivating blooms.
Watering and Moisture
I always keep calla lilies evenly moist, especially during their growing season. Overwatering or allowing the soil to dry out can lead to poor plant health.
- Water calla lilies to keep the soil moist, but not soggy.
- In containers, ensure there is good drainage to prevent root rot.
Knowing when to water is crucial, and I do so once the top inch of the soil feels dry to the touch. In containers, consistent moisture is important, but excellent drainage is non-negotiable to prevent root issues.
Fertilizing and Nutrient Management
I’ve found that a balanced approach to fertilizing calla lilies promotes healthy growth and vibrant blooms. A high-potash liquid fertilizer monthly during the growing season can provide the necessary nutrients.
Managing Sunlight and Temperature
For optimal growth, ensuring the right balance of sunlight and temperature for calla lilies is essential. I place them in a location with partial shade and protect them from harsh afternoon sun.
- Position calla lilies in partial shade to avoid scorching the leaves.
- Maintain daytime temperatures around 70°F for happy plants.
As calla lilies prefer warmer temperatures, I watch out for cold snaps and provide protection if unexpected frosts threaten. In my experience, calla lilies thrive when they’re not subjected to extreme temperature changes.
Propagating and Growing Calla Lilies
I find propagating and growing calla lilies to be a rewarding experience. To ensure healthy growth and reproduction, understanding the correct methods for division and seed propagation is key.
Division and Repotting
I recommend commencing division in the fall after the foliage has died back. Gently unearth the rhizomes, taking care not to damage them. Look for natural divisions—sections with at least one growth point or “eye.”
| Step | Action | Tip | Frequency |
|---|---|---|---|
| 1 | Clean and Dry | Allow rhizomes to dry for 1 day. | Once after digging up. |
| 2 | Cut | Use a sterilized knife. | As needed. |
| 3 | Plant | Plant with growth points facing up. | Immediately after division. |
| 4 | Water | Ensure even moisture. | After planting and regularly. |
After dividing, I always plant the rhizomes immediately into well-draining soil, ensuring the growth points face upwards, and spaced sufficiently apart to allow for adequate growth.
Growing Calla Lilies from Seeds
Propagating calla lilies from seeds requires patience, as the process is lengthier compared to division. I start by harvesting the seeds from the spathe, the colorful leaf-like part of the plant, once they are fully ripe.
💥 Fresh seeds have a higher germination rate.
Here’s my step-by-step approach:
- Clean the seeds and let them dry for a day.
- Sow the seeds in a moist starter mix, barely covering them.
- Keep the soil moist and maintain a temperature of around 70°F (21°C) to encourage germination.
- Expect seedlings to emerge in a few weeks. Once large enough, transplant them into individual pots.
Growing calla lilies from seeds can take a couple of years to produce flowers, but witnessing the transformation from seed to spathe is quite fulfilling. These practices, combined with consistent care and proper growing conditions, lead to flourishing calla lilies, ensuring their beauty for seasons to come.
Common Issues and Solutions
I know growing calla lilies can sometimes have its challenges. Here, I’ve outlined common issues with straightforward solutions.
When my calla lilies enter into dormancy, I’ve learned that cutting the stems to 1-2 inches above the ground and gently extracting the rhizomes from the soil helps.
💥 Dormant Bulbs
It’s vital to then cure the rhizomes in a cool, dry place before storing them.
In terms of disease, the most common issue I face is root rot. This often stems from poor drainage.
Pests like aphids and spider mites sometimes threaten my calla lilies. For aphids, a strong water spray or insecticidal soap is an effective measure I take. As for spider mites, I keep a close eye on the underside of leaves and utilize miticide if needed.
It’s crucial to correctly identify these pests early to prevent a full-blown infestation.
I find that consistent vigilance and maintaining a balanced growing environment generally keep my calla lilies thriving despite these common issues.


