

Planting bulbs in the fall is a rewarding endeavor that sets the stage for spring’s vibrant display of colors. Through my experience, I’ve come to appreciate the foresight and preparation that goes into burying these unassuming spheres, which magically transform into springtime wonders. Choosing the right spot for planting is crucial, as most bulbs thrive in full sun, which assures ample energy for their forthcoming bloom.
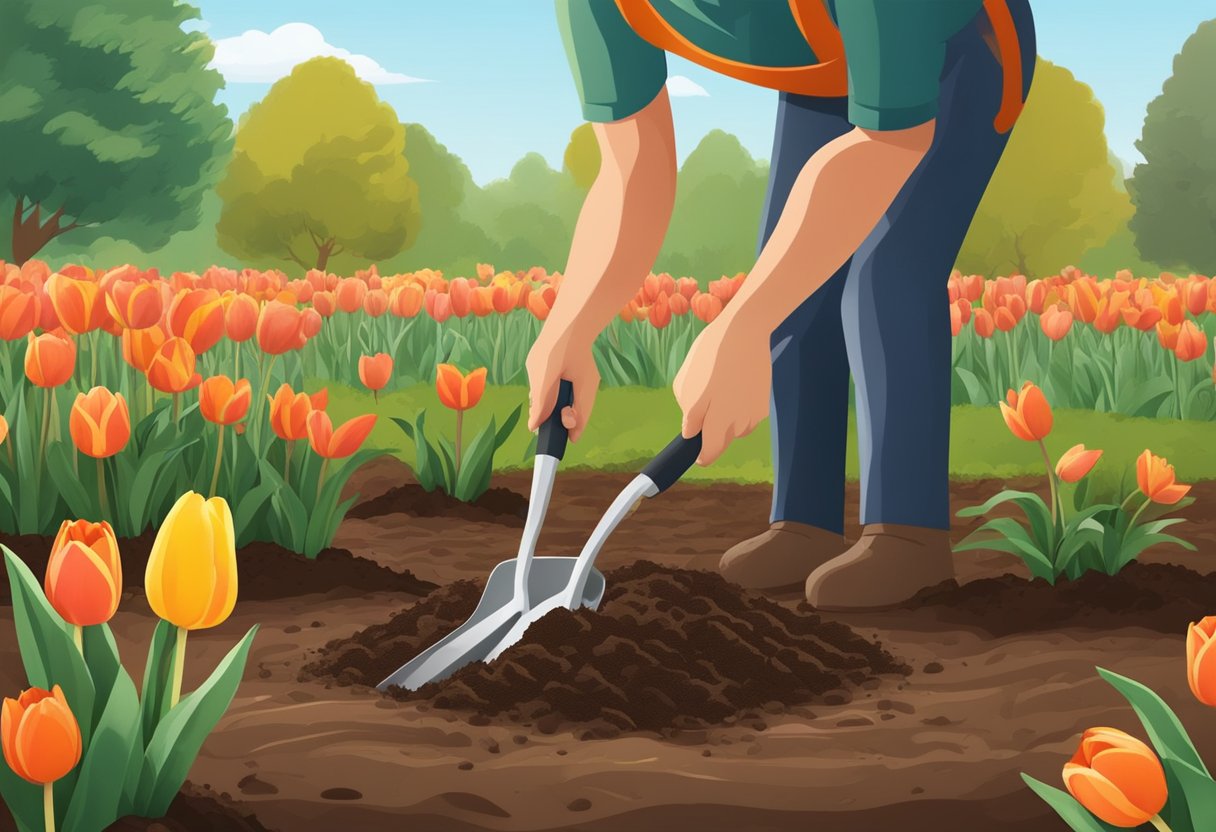
The secret to a successful bloom begins with well-drained soil, as excess moisture can cause bulbs to rot. Before planting, I make it a point to enrich the soil with organic matter—this could be compost or well-rotted manure—which helps in providing the necessary nutrients for the bulbs to grow. After planting, it’s beneficial to cover the soil with a layer of mulch to regulate temperature and moisture levels. This extra layer acts as a shield against harsh winter temperatures, providing a stable environment for the bulbs to overwinter and emerge triumphantly in spring.
JUMP TO TOPIC
Choosing the Right Bulbs for Your Garden
Before we look at the various considerations for selecting fall bulbs, I’ll stress the importance of understanding your specific climate zone and garden’s sunlight exposure. Knowing these factors and the bulb varieties that thrive within them ensures a colorful and vibrant spring garden.
Analyzing Climate and Sunlight Exposure
First, it’s essential to identify your climate zone as it dictates the types of bulbs that will flourish in your garden. For example, tulips and daffodils are hardy in cooler climates, while dahlias and anemones prefer warmer areas. When considering sunlight, remember that most bulbs, including tulips and hyacinths, need a good amount of direct sunlight to bloom well. On the other hand, some, like snowdrops and fritillaria, can tolerate partial shade.
Understanding Bulb Varieties
Each bulb variety, from daffodils and tulips to the delicate blooms of crocus and muscari, has its specific planting requirements and bloom times. I research to ensure the bulbs I choose will provide a continuous burst of color throughout the spring. For instance, crocus bulbs are among the first to bloom, followed by the brilliant display of daffodils, then tulips, and finally, alliums as the season progresses.
Selecting Bulbs for Naturalizing
Naturalizing bulbs means to plant in clusters or groupings that increase over time, creating a more wild and natural look. Examples of bulbs that are excellent for naturalizing include daffodils, snowdrops, and crocus. They not only proliferate over time but also are quite fragrant, adding another layer of enjoyment to your garden.
Ensuring Deer Resistance and Low Maintenance
Lastly, if you’re like me and live in an area where deer browsing can be an issue, it’s wise to choose deer-resistant bulbs such as daffodils, allium, and hyacinths. I also aim for low-maintenance options, like naturalizing bulbs and some species of lilies and muscari, which require minimal care once established.
In my gardening, I consider resilience, bloom time, aesthetics, and ease of care to make the most of my planting efforts. With these factors in mind, your garden can become a source of pride and beauty each spring.
Optimal Planting Techniques
Planting fall bulbs at the perfect time, depth, and with the right soil amendments are critical choices for a stunning spring display. I’ll detail how to achieve the best results from each of these pivotal steps.
Determining the Best Time to Plant
For optimal results, plant fall bulbs when the soil temperature drops below 55°F but before the first hard freeze.
My experience tells me that in most regions, this equates to late September through October, though in colder zones, I often aim for earlier in September. The key is to provide enough time for the roots to establish before winter sets in, so checking local frost dates is essential.
Depth and Spacing Details for Bulbs
| Bulb Type | Planting Depth | Spacing |
|---|---|---|
| Tulips | 6-8 inches | 4-6 inches |
| Daffodils | 6-8 inches | 4-6 inches |
| Crocus | 3-4 inches | 2-3 inches |
I have found that as a general rule, planting bulbs two to three times deeper than their height is recommended for most fall bulbs. Each variety might have specific needs, so I always consult the packaging or seek expert advice for unique or less common bulbs.
Incorporating Organic Matter and Fertilizing
I ensure the soil is fertile and well-draining before planting. I blend in organic matter, such as compost, to enrich the soil. Perennial bulbs benefit from this because it improves soil structure and nutrient content.
I also apply a balanced, slow-release fertilizer at planting to provide a steady supply of nutrients. However, I’m careful not to over-fertilize, as this can be counterproductive. Optimal soil moisture is maintained, not waterlogged, to prevent bulb rot, especially during cold winters.
Protecting Bulbs from Wildlife
Protecting your fall bulbs from wildlife such as squirrels, voles, and deer involves several strategies including physical barriers and natural repellents. Establishing these defenses helps ensure the growth and blooming of your bulbs come spring.
Combating Squirrel and Vole Intrusion
Squirrels and voles pose a significant threat to bulb plantings, often digging up and eating the bulbs. To deter these critters, I have found a few methods that work well:
- Use ½-inch galvanized hardware cloth to create underground cages for bulbs, preventing rodents’ access.
- Place bulbs inside these cages with proper spacing and bury at the recommended depth.
Natural Deterrents:
- A layer of sharp gravel or rocks at the bottom and top of the planting hole can deter digging.
- Plant bulbs amidst deer resistant varieties which can serve as less appealing options for wildlife.
- Install fencing around the planting area if rodent intrusion is a consistent problem.
I also recommend mulching over the soil, which helps in concealing the freshly planted bulbs from inquisitive animals.
Utilizing Natural Repellents and Barriers
Natural repellents and strategically designed garden layouts significantly reduce wildlife interference with bulb plantings.
- Apply blood meal or crushed dried chili peppers around planting sites to create an undesirable environment for squirrels and voles.
- Commercially available repellents can be effective if regularly applied to the soil.
Garden Design:
- Planting bulbs near the home or within viewing areas where human activity is frequent can discourage wildlife visits.
- Raised beds with secure borders can make it more difficult for animals to access the bulbs.
By integrating these methods and staying vigilant, I ensure that my bulbs have the best chance of surviving and thriving, despite the local wildlife’s curiosity and appetite.
Maintaining and Cultivating Bulbous Plants
I find the key to flourishing bulbous plants lies in careful maintenance and strategic planning. From the proper seasonal care to the division of bulbs, each step ensures vibrant blooms and a healthy lifecycle for your plants.
Seasonal Care for Ensuring Bloom
In my experience, seasonal care for bulbous plants starts with understanding your growing zone and the specific needs of your bulbs. For instance, bulbs in containers often require more frequent watering than those in the ground. Here’s a seasonal guideline to follow:
Summer: Allow foliage to die back naturally post-blooming, as this recharges the bulb for next year.
Fall: This is the time to plant new bulbs and add bone meal or bulb-specific fertilizer for nutrient-rich soil preparation.
Winter: For bulbs that require a cold dormancy, a pre-chill period may be necessary if your climate doesn’t provide adequate cold temperatures.
Strategies for Prolonged Flowering Periods
To achieve prolonged flowering, I stagger bulb planting in clusters, ensuring that early, mid, and late-season bloomers are included in my garden layout. This technique results in a layered spring display that transitions smoothly as the season progresses. Additionally, I use these methods:
- Fertilizing: I apply a low-nitrogen, high-potassium fertilizer after blooming to support next year’s growth.
- Naturalizing: I let hardy varieties self-seed and spread naturally, which often benefits from leaving the last round of flowers to form seeds.
Propagating and Dividing Bulbs
After several years, I find that bulb clusters can become overcrowded, leading to smaller blooms. To counter this, I dig up and divide the bulbs when they’re dormant. Here’s how I do it:
Step 2: Separate the bulbs gently, looking for natural divisions.
Step 3: Replant the divisions at the correct depth and spacing, providing them with rich soil and adequate water.


