Maybe you are you wondering how to preserve moss for an extended period of time? We bring secret tips and tricks for you to preserve this beautiful and delicate plant with which you can make stunning wall art and add more interest to any garden.

Turn it into an artistic masterpiece and display it on a wall, or preserve it as dying moss for later use – we have all the secrets to share with you. The following guide offers a couple of easy-to-follow steps to preserve moss like a pro.
JUMP TO TOPIC
How to Preserve Moss
You can preserve moss by treating it with a professional preservative mixture or a solution that is made using a few easy to find ingredients like glycerin. Glycerin is an odorless, transparent, non-toxic substance that conserves moisture in the moss. Let us look at this method as well as the others in depth.
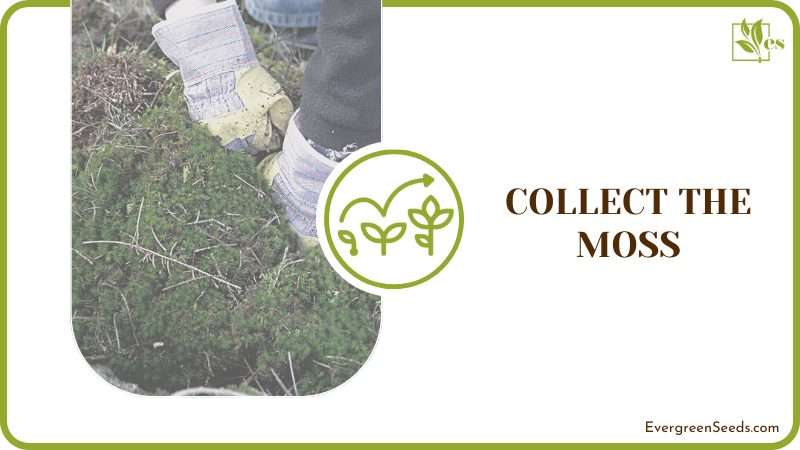
1. Collect the Moss
You can collect or harvest moss for preservation from various sites. The trick to success is how you do it. Pick a location where you see lush green, moss growing. It must look healthy and vibrant. This will be a place that is damp and has loads of shade. Carefully lift the moss in good quantity so that you have enough of it for you purposes.

The first step is to harvest moss from places that are flat and clear of any rocks or pieces of logs. This will allow you to take moss that is clean from any debris and soil back home. If it is wrapped around a log then you can gently pick the edge of the delicate plant and lift it as if you are peeling it off from the log or the rock.
Use both hands to lift it carefully. Peel off one square foot in one go, do not try to go bigger.. Do not pull it hard and in an uncontrolled manner. If it does not come out easily, you can look for other places to find moss.
Make sure you leave half of the moss in its natural place so that it regrows. Shake off excess soil from the moss carefully so that insects, pieces of rock, or twigs are also removed.
Transport the green moss in a secure cardboard container. Once you have the moss at home you can now use it for any art project.
Make sure that the moss that you pick is not infected or diseased – signs of disease include yellowing and browning – there may even be mold on it. Otherwise, it will be a lot more work to clean it and safely bring it close to other plants in your garden.
You can also, of course, simply buy moss. That has the advantage of usually being from a sustainable source. Search for reputable sources online and buy to your heart’s content. Some mosses are endangered so this really is the most responsible route to follow.
2. Wash the Moss
There are a few reasons to wash the moss – the most important being getting out any detritus so whatever you use it for does not get dirty and also that it breathes life into the moss. You’ll need a bowl, water, the moss, and paper towels on which to lay it flat to dry.
- Break the moss into manageable pieces. Press on it with your fingers to find any rocks, gravel, soil or living creatures. Remove said items.
- Submerge the moss in the water, all the while still pressing and agitating it with your fingers to dislodge any impurities.
- Repeat with all the pieces you have broken it into.
- If your water gets very muddy replace it with fresh water.
3. Use a Glycerin and Water Mixture to Preserve Moss
The easiest method you can use to preserve moss is by using a glycerin and water mixture. Here is what you will need: Hot water in a jar or container, glycerin and moss. It is very important that the water is hot, and not merely warm.

- Once you have everything in front of you, take the hot water and mix it with the glycerin. The ratio is three parts water to one part glycerin.
- Next, carefully place the moss into the water mixture and leave it there to soak in the liquid for an hour. You can leave it in for even longer if you wish, with the water method.
- After it has soaked up the magic mixture, place it on a dry paper towel to allow it to naturally dry out in the air.
- You can preserve the moss in an air-tight container to use in the future, or use it directly for whatever purpose you have in mind.
4. Use a Glycerin and Methyl Hydrate Mixture to Preserve Moss
There is another way of saving moss which includes using methyl hydrate with glycerin instead of water. For this method, you will need the best quality methyl hydrate. Please note that methyl hydrate is extremely flammable and poisonous. Do not work near any heat sources and wear gloves.
- To begin, mix 2 parts of glycerin with 1 part of methyl hydrate in a jar.
- Allow the preserved reindeer moss or the forest moss to soak in this solution for ten minutes
- Let it dry on a paper towel
- Store it in an air-tight container.
5. Dry Moss for Preservation
Drying moss after soaking it in any of the mixtures above is a very important step and takes the longest time. Once you lift the moss from the liquid solution, squeeze it as much as possible and then place it on a dry paper towel so that it spreads evenly and dries out completely. In case you are working with large quantities, you will need to do this in batches.
How to Dye Moss For Preservation
Yes, you can even dye moss and then preserve it for future use. For this exciting project, you will need the following:
- Freshly picked healthy moss
- Glycerin
- Water
- Natural fabric dye or food coloring
- A pan or container to work with
- Gloves
Once you have all the things ready, follow this step-to-step guide to dye your preserved moss.
- Mix 1 part glycerin with 3 parts water in a pan.
- Add the fabric dye and moss using gloves.
- Bring the mixture to a boil and let it simmer for a few minutes before you remove it from the heat.
- Let the moss cool down for an hour and then bring it out on a dry towel and let it dry.
- Preserve it in an air-tight container.
Preserve Moss on Wood
Here is a guide for you to follow for using preserved moss wall art using wood.
1. A Wooden Frame
To create a wooden frame you first need a background or a wooden sheet to place your moss or artwork on that will be framed later. Wood is best for such projects as it gives a natural look, is durable, and it is easy to work with.

The size and shape depend on your design. Play with shapes and create frames that are round, rectangles, squares, or even hexagons.
2. Construct
After cutting the frame, secure all sides of it with strong glue. The type of glue that you will use will play an important role in the life of your artwork. Super glue will do the trick. Find the most powerful glue for this project so that the frame can survive for years to come.
3. Add Preserved Moss
This is where the fun begins. Add preserved moss to the background of the frame. The trick is to add enough so that it lifts from the frame and gives the robust look of living moss. At this point, you can add other natural materials like rocks and logs to create an artistic project.
You can choose a variety of moss for such projects. For example, you might want to use cushion moss, reindeer moss, or sheet moss. Feel free to use a combo of all these along with artificial plants if you like.
Preserved ferns pair with preserved moss perfectly well and look very classy. The best plants to use will be those that droop down rather than the ones that stick out. Plants should complement your design and should not be used if they are not needed.


