

- When to Plant Corn in San Diego: Optimal Seasons and Tips - July 19, 2024
- When to Plant Hydrangeas in Illinois: Best Timing for Optimal Growth - July 19, 2024
- Why Are My Radishes Growing Above Ground: Uncovering the Causes - July 19, 2024
Pruning a bay tree (Laurus nobilis) is an essential step in ensuring its optimal growth and aesthetic appeal in a garden setting. My experience in horticulture has taught me that the right time to prune is pivotal. I typically begin pruning in the spring, as the plant recovers from winter and is ready to grow. During this time, the bay tree can adapt to shaping without the stress that winter might cause. I start by trimming the tree into a rough outline of the desired shape, keeping in mind that the final form can be refined in the subsequent trimming.
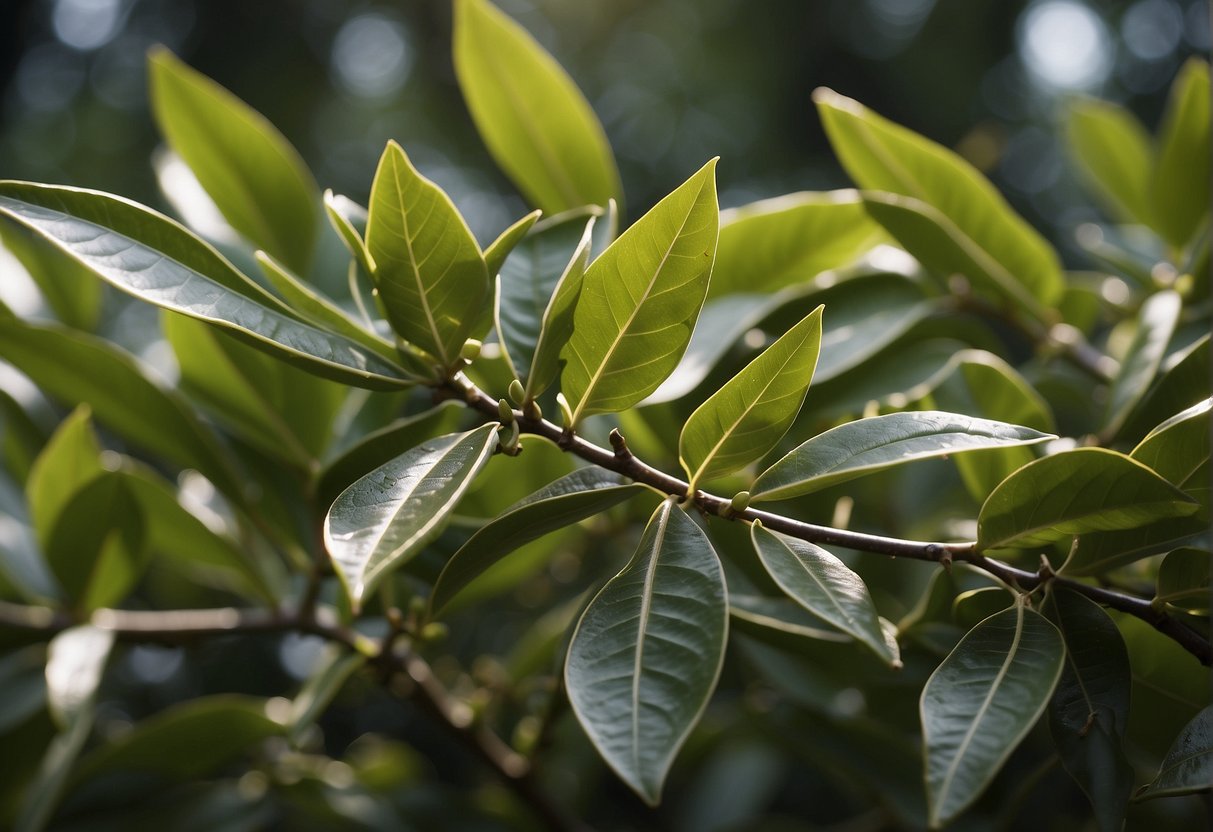
As the seasons progress, I conduct a second pruning in the summer. This is when the bay tree has put on new growth, providing an opportunity to do more precise shaping and to manage any unwanted or excessive branches. The goal is to complete all pruning activities before the end of summer to prevent any new growth from being too tender before the colder months. I’ve found that bay trees, when pruned correctly, can be transformed into stunning topiary that not only enhances the garden’s design but also produces aromatic leaves for culinary use. It is crucial to ensure that while trimming for shape, I never remove the top main growing shoot, as bay trees grow from their height and this could stunt their growth.
My approach focuses on removing extraneous shoots, particularly those sprouting between a leaf and the main stem. This method retains the tree’s structural integrity and encourages a healthy, upward growth pattern. My understanding is further underpinned by the bay tree’s value as an evergreen shrub. When cultivated in containers or planted in the ground, properly pruned bay trees add structural elegance to a garden. Whether they’re framing an entrance or sitting pretty on a patio, these trees not only serve an ornamental purpose but are practical too—the bay leaves I harvest from them enrich my cooking with their unique, fragrant flavor.
JUMP TO TOPIC
Cultivating Bay Trees for a Lush Garden
Cultivating bay trees (Laurus nobilis) correctly ensures they grow into a beautiful and aromatic addition to any garden. Here, I detail how to establish these evergreen shrubs for a thriving presence in your garden landscape.
Selecting the Right Bay Tree
When choosing a bay tree, I opt for a healthy specimen with a strong central leader and dense foliage. This forms the backbone of a well-shaped mature plant. Bay trees are versatile, thriving in both containers and open soil, making them suitable for varied garden spaces.
Common nursery varieties include the Traditional Bay and the Willow Leafed Bay.
Ideal Planting Conditions
Bay trees flourish in hardiness zones 8-10, and I plant them in an area that provides full sun to partial shade to ensure they receive ample sunlight. The soil should be well-draining, and if planting in a container, a quality potting mix with added grit for better drainage is crucial. I test the soil pH; bay trees prefer a slightly acidic to neutral pH.
| 🌞 Sun Exposure | 💧 Watering Needs | 🤎 Soil Type | 🔍 pH Preference |
|---|---|---|---|
| Full Sun to Partial Shade | Consistent but moderate | Well-draining | Slightly Acidic to Neutral |
Watering and Feeding Your Bay Tree
Bay trees don’t require excessive watering; I ensure the top inch of soil is dry before watering again. Overwatering can lead to root rot, so moderation is key. In spring and summer, I feed my bay tree monthly with organic fertilizer or compost to promote healthy growth. Less fertilization is needed in the colder months when the plant’s growth naturally slows.
Pruning and Shaping for Optimal Growth
To ensure a healthy and aesthetically pleasing bay tree, precise pruning and shaping are essential. I’ll guide you through the optimal techniques and timing for pruning, along with creating elegant topiary designs.
When and How to Prune Bay Trees
Pruning a bay tree isn’t just about maintaining its size and scale; it’s about encouraging strong, healthy growth. The best time to start pruning is in the late spring, just as the plant comes out of dormancy and begins a period of vigorous growth. This is the period when the main stem and branches establish their structure and when new growth should be monitored for shape.
For the initial cut, focus on creating the general contour of the desired shape, be it a ball, pyramid, or another form. Through the summer, you should continue to prune lightly, cutting back any wayward shoots, especially those growing inward which can impede air circulation.
| Pruning Stage | Action | Goal |
|---|---|---|
| Late Spring | Shape the main structure | Define the tree’s basic form |
| Summer | Trim back new growth | Maintain shape and size |
Always use clean and sharp tools to avoid damaging the tree. Removing dead or damaged leaves and branches should be a continuous process to keep the tree healthy.
Creating Artistic Topiaries
Topiary art is shaping plants into intricate designs, a process that melds horticulture with sculpture. When creating a topiary from a bay tree, patience and attention to detail are your allies. Start molding the tree while it’s young, and aim for simplistic shapes like balls or pyramids initially. Over time, depending on your experience and the tree’s response, you can progress to more complex patterns.
Encourage new growth by strategically cutting back leaves and branches. Remember that each cut influences the direction in which the tree will grow. Light consistent trims maintain the topiary shape and discourage overgrowth. During the initial years, focus on establishing a solid frame to support detailed designs later.
Key Points for Topiary Pruning:
- Start with simple shapes like a ball or pyramid.
- Trim regularly to maintain the topiary design.
- Be patient as intricate topiary shapes take time to develop.
If you desire a tree with a central upright stem and a spherical head, known as a ‘standard lollipop’, remove secondary stems and shape the main stem to rise straight. For this, the early formation of the stem is critical and must be managed with great care. Always remember that good topiary is the result of consistent work and cannot be rushed.
Protecting Bay Trees from Common Threats
Properly caring for bay trees requires an awareness of the various diseases, pests, and environmental threats they face. By being proactive and knowledgeable about these hazards, I can ensure my bay trees remain healthy and thriving.
Diseases and Pests Management
Diseases like bay sucker pests and leaf spot can afflict bay trees, leading to poor health and aesthetic damage. In my experience, regular inspection and early intervention are key. To combat pests, I often use horticultural oil, which is effective and less harmful to beneficial insects than chemical pesticides.
Management Strategies:
- Diseases: Leaf spot can be minimized with proper spacing and airflow to reduce humidity.
- Pests: Horticultural oil or insecticidal soap can be applied to manage bay sucker pests.
- Inspection: Frequent monitoring to identify issues in the early stages.
Guarding Against Weather Damage
Bay trees are evergreen, and while they’re quite hardy, they can be susceptible to extreme cold, frosts, and strong winds which may cause wind scorch. During dormancy in the winter, it’s vital to protect them from frost and cold damage, which I achieve through mulching and sometimes providing windbreaks.
To guard against weather threats, I focus on the following actions:
- Winter Damage: Apply mulch to the base to protect roots from freezing.
- Frost: Use burlap wraps for frost-sensitive young trees or during extreme temperature dips.
- Strong Winds: Implement windbreaks or move container plants to sheltered locations to prevent wind scorch.
Please note, it’s important to remember that bay leaves are toxic to pets if consumed, so I’m mindful to plant bay trees away from areas where pets frequent to avoid any accidental ingestion.
Harvesting and Utilizing Bay Leaves
I harvest bay leaves before flowers or berries form to ensure the richest flavor for kitchen use.
When I harvest bay leaves from my garden, I select mature, dark green leaves. The oldest and largest leaves tend to have the best flavor and are ideal for drying and using in soups and stews. I ensure they are free from blemishes before harvesting.
💥 Harvesting Tips
For a small number of leaves, I pluck them directly from the tree. If I’m harvesting a larger quantity or pruning, I use a sharp pair of secateurs or kitchen scissors to make a clean cut, which helps prevent damage to the plant.
After harvesting, I use the following method to dry my bay leaves:
Dry leaves for 48 to 72 hours—this timeframe helps retain their aromatic oils, leading to a deep flavor when used in cooking.
After drying, I store the leaves in an airtight container to preserve their potency.
Pruning my bay laurel tree not only promotes healthy growth but provides me with fresh bay leaves to use as seasoning in my dishes. When fewer flowers and berries appear, the best leaves for culinary use are ready for harvest. While bay leaves are a staple in my kitchen, I also sometimes craft laurel wreaths—to celebrate victories in my own small ways.


