

Revitalizing a garden bed can transform an outdoor space from a tired plot of earth into a vibrant oasis of beauty and tranquility. As a gardening enthusiast, I’ve seen first-hand how a fresh approach to an existing bed can do wonders not only for the plants but also for the overall design and enjoyment of the outdoor area. It’s not simply about planting new flowers; it’s an opportunity to reassess, reimagine, and recreate a space that resonates with your taste and the natural environment.
The process begins with careful planning. I like to observe my garden during different times of the day to understand how the light plays across the space. This observation guides my choices on plant selection and bed design, ensuring that vibrant colors and structures are not just randomly placed but thoughtfully arranged to enhance the garden’s aesthetic. The plan also includes a list of materials needed, a visual outline of the design, and a timeline for execution. By being meticulous in the planning stage, I set a clear course for the entire renovation project, ensuring a successful transformation of the garden bed that will be enjoyed for seasons to come.
JUMP TO TOPIC
Designing Your Garden Bed
When redoing a garden bed, approaching the design with a clear plan can make all the difference. I focus on plant selection, sunlight exposure, and accessorizing to create a cohesive aesthetic.
Choosing the Right Plants
I carefully select plants based on their color scheme, texture, and how they will fit within the layout of my garden. I take into account the balance between perennials and annuals to ensure a beautiful display throughout the seasons. When redoing my garden bed, I consider:
- Foundation Plants: Shrubs and evergreens as a backdrop for stability.
- Focal Points: Eye-catching plants placed strategically to draw attention.
- Fillers: Perennials and annuals to fill in gaps and add color variety.
Understanding Sunlight Exposure
💥 Sunlight is crucial for plant health.
I analyze the sunlight patterns of my garden bed throughout the day to ensure optimal growth. I place sun-loving flowers and shrubs in the brightest parts, while I reserve shaded or partially shaded areas for plants that require less light. This consideration is key in maintaining the vibrancy and health of the garden.
Incorporating Garden Ornaments
Garden ornaments can add a unique touch to a garden bed, improving its overall curb appeal. I choose ornaments that complement the garden’s aesthetic without overshadowing the natural beauty of the flowers and plants. Options include:
| Type | Material | Placement | Function |
|---|---|---|---|
| Birdbaths | Stone or Metal | Center or Side | Attract Wildlife |
| Sculptures | Wood or Metal | Focal Point | Add Personality |
| Pathways | Stone or Gravel | Leading Lines | Guide Movement |
Preparing for Planting
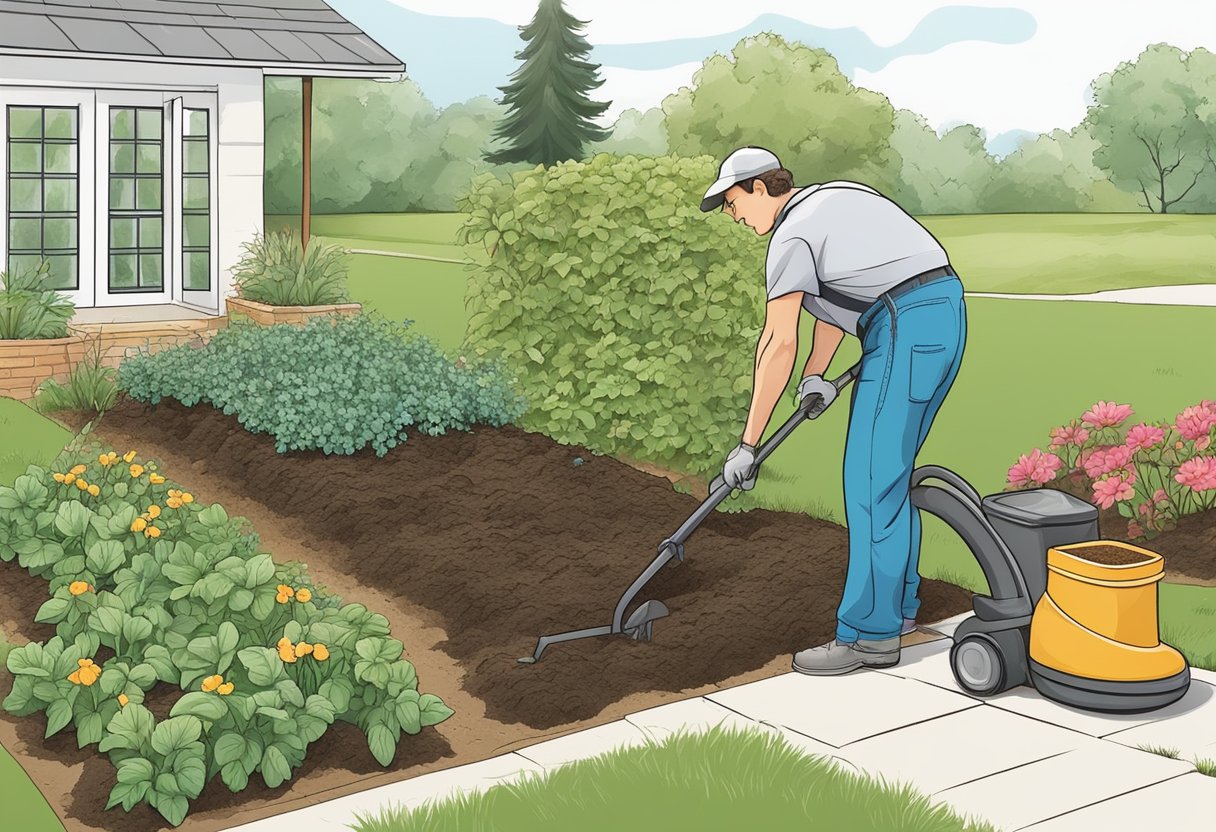
When redoing a garden bed, proper soil preparation, creating a robust foundation, and implementing efficient watering techniques are crucial. Ensuring these elements are addressed lays the groundwork for a thriving garden.
Amending the Soil
💥 Key to Soil Prep
Starting with soil amendment is essential. I first test the soil to determine its pH and nutrient levels. Tailoring the soil amendment process to these results, I incorporate organic matter to enhance fertility. This can include:
- Compost: for nutrient-rich organic material
- Manure: as a natural fertilizer
- New Soil: to refresh depleted ground
Mixing these into the top few inches of soil with a garden fork encourages healthy root growth.
Laying the Foundation
I establish the garden bed’s base by turning the soil over to a depth of at least 12 inches. It’s important to break up large clods and remove rocks or debris, which could impede root development. Layering mulch can then assist in moisture retention and weed suppression. For effective layering:
| Material | Layer Thickness |
|---|---|
| Mulch | 3-4 inches |
| Compost Top Dressing | 1-2 inches |
I use the mulch to create a protective layer that will serve through the growing season.
Effective Watering Techniques
Good watering practice is vital to establish plants. The technique I use depends on the soil type and climate. Here are some strategies:
- For clay soil: I water less frequently but deeply to reach the roots.
- For sandy soil: More frequent, lighter watering is necessary to compensate for quick drainage.
- Mulched beds: Require less watering as mulch preserves moisture.
Additionally, during the initial stages, I monitor the soil’s moisture closely with early morning watering to establish a routine that suits the new bed.
Maintenance and Care
Proper maintenance and care are crucial for a thriving garden bed. I focus on weed management, timely pruning, and correct watering and mulching to promote the health and aesthetics of my plants.
Combating Weeds and Pests
I tackle weeds and pests promptly to prevent them from overtaking the garden. For weeds, I prefer a two-pronged approach: physical removal and preventive measures. Pulling weeds by hand or using a trowel ensures removal of roots, decreasing the chance of regrowth. Edging the garden bed helps maintain a clear boundary against invasive lawn grass. I often apply natural weed killers like vinegar solution early in the morning for the best effect.
For pests, I inspect plants regularly and, if necessary, use organic pest control methods to minimize the impact on beneficial garden fauna.
Pruning and Trimming
Pruning and trimming are essential for plant health and garden aesthetics. Removing dead or overgrown branches and leaves enhances air circulation and light penetration vital for growth. I usually do this in early spring, when it’s easier to see the plant’s structure and avoid new growth. Mowing around the garden bed also keeps it tidy and reduces habitat for pests.
Tip: Always use clean, sharp tools for pruning to prevent disease transmission between plants.
Mulching and Watering
A proper mulch layer conserves moisture, maintains soil temperature, and reduces weed growth. I apply mulch up to a few inches thick but avoid direct contact with plant bases to prevent rot. For watering, I depend on a consistent schedule that adapts to rainfall patterns, watering deeply but less frequently to encourage strong root growth. Good drainage is crucial to prevent waterlogging and root diseases.
| Gardening Tip | Water in the morning to reduce evaporation and allow foliage to dry, decreasing the chance of fungal diseases. |
Redesign and Renovation
In tackling a garden bed redesign and renovation, my focus is on careful assessment, methodical clearing and preparation steps, and selecting durable materials. This process can transform an overgrown garden bed into a vibrant and sustainable part of the landscape.
Assessing Your Current Garden Space
I always begin with a thorough evaluation of my garden’s current state. Essential here is identifying plants worth keeping, like flourishing hydrangeas or irises, and those that need removal, such as dead trees or invasive species. Documentation of “before” conditions provides a valuable reference for the “after” transformation.
Steps to Redo an Overgrown Garden Bed
-
Clearing the Area: Remove all weeds, dead plants, and debris.
-
Soil Cultivation: Loosen the soil with a fork, incorporating organic compost to improve fertility.
-
Plant Identification: I prioritize identifying and preserving valuable plants – dogwood, ornamental grasses, and perennials.
-
Spacing and Design: Arranging flowers, shrubs, and grasses to create an aesthetic and practical layout, leaving room for growth.
Choosing Materials for Longevity
I select materials like bark mulch, landscape fabric, or black plastic with care.
These materials play a crucial role in weed suppression and moisture retention. Bark mulch adds a finished look, while landscape fabrics and black plastics are long-term solutions for weed control. It’s critical to choose quality materials that serve the specific needs of my large garden and its variety of flower beds.


