

As a gardener, I understand the importance of starting with healthy soil, which is why sterilizing soil before use can be a crucial step. Sterilizing soil effectively eliminates harmful organisms, such as bacteria, fungi, and insect larvae, that could otherwise wreak havoc on plants. It’s a preventative technique that not only ensures the soil is clean but also reduces the chances of disease spread among your plants.
I’ve found that one efficient method to achieve soil sterilization is by using an oven. This process involves heating the soil to a specific temperature that is lethal to pathogens but still preserves the beneficial properties of the soil. This method is ideal for small batches of soil and is particularly useful for seed starting or potting mixes, ensuring that young plants have a sterile and safe growth environment.
Stable soil structure, preserved beneficial soil components, and reduced plant loss.
The advantages of sterilizing your soil are clear: it preserves the soil structure, maintains key beneficial components, and ultimately results in robust plant growth with diminished risk of disease. It is a straightforward practice that can lead to significant improvements in the health and vitality of garden plants.
JUMP TO TOPIC
Methods for Sterilizing Soil at Home
To ensure your garden’s health, it’s crucial to sterilize potting soil eliminating pests and diseases. Whether harnessing the power of the sun or using kitchen appliances, these methods offer effective soil sterilization solutions.
Using the Sun for Solarization
Solarization utilizes the sun’s heat to sterilize the soil. This method is simple yet powerful:
- Moisten the soil – Irrigate the soil you want to sterilize, making sure it’s damp up to 12 inches deep.
- Cover the soil – Spread a transparent polyethylene sheet over the area, securing its edges with heavy objects to trap heat.
The solarization process usually takes 4 to 6 weeks during hot summer months when the sun’s rays are the strongest. The heat trapped beneath the plastic sheet elevates soil temperatures, effectively killing pathogens, insects, and weeds.
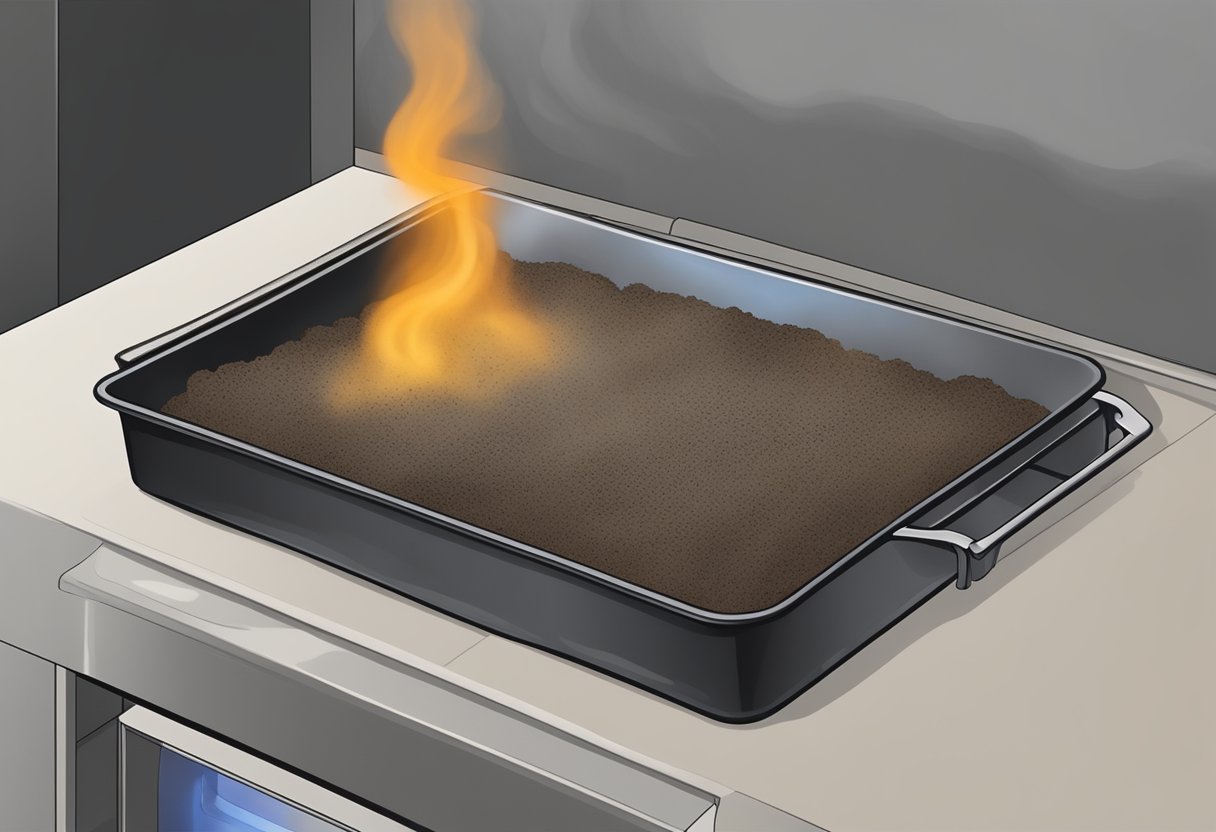
Applying Heat in the Oven
The oven is a reliable tool for sterilizing smaller batches of soil:
- Preheat your oven to a range of 180 to 200 degrees Fahrenheit.
- Prepare the soil – Place the soil in an oven-safe container and cover it with aluminum foil to maintain consistent heat distribution.
- Bake – Monitor the soil’s temperature with a thermometer and bake until it reaches the desired range, typically maintaining it for at least 30 minutes.
Let the soil cool in the container before use, keeping the foil on to prevent recontamination. This method ensures a sterile environment for seeds and seedlings, reducing the risk of soil-borne diseases.
Steaming Soil With a Pressure Cooker
Steaming is an excellent, chemical-free way to sterilize soil:
- Fill the pressure cooker with a few inches of water and place a rack at the bottom to elevate the soil above the water level.
- Prepare the soil – Put the soil into a heat-proof, polypropylene bag, leaving enough space for expansion and poke a few ventilation holes.
- Steam – Place the bag in the pressure cooker, secure the lid, and steam for at least 15 to 30 minutes once high pressure is achieved.
Allow the soil to cool down in the bag before using it to fill pots or garden beds. With this method, steam penetrates the soil, efficiently killing off unwanted pests and diseases.
Factors to Consider When Sterilizing Soil
There are several critical factors to consider when sterilizing soil in an oven: maintaining precise temperatures, ensuring adequate ventilation, and monitoring the soil’s moisture and nutrients. I’ll guide you through each of these to help ensure your soil is sterilized properly without compromising its quality for plant growth.
Maintaining the Right Temperature
Temperature is crucial for sterilizing soil effectively. The goal is to eliminate pathogens without overheating, which can damage the soil’s structure. I use a thermometer to ensure the soil reaches, but does not exceed, 180 degrees Fahrenheit.
- Minimum temperature: 180°F (82°C)
- Maximum temperature: 200°F (93°C)
I find it best to keep an eye on the thermometer throughout the process to avoid any temperature spikes.
Ensuring Proper Ventilation
It’s vital to ventilate the area well during and after sterilization. This allows steam to escape and helps to cool the soil safely once sterilized. I make sure to open windows or use an extractor fan. This is not only for the soil’s sake but for safety, as the process can produce strong odors.
Monitoring Moisture and Nutrients
The moisture content in your soil is a fine balance: too dry, and it won’t steam sterilize effectively; too wet, and you risk nutrient loss. I moisten the soil slightly before sterilizing it to enable proper steam creation. It’s similar to the moisture you’d want for a wrung-out sponge. After sterilizing, let the soil cool and rest to allow its structure and nutrient balance to stabilize before planting. Using a pressure cooker is also a method for sterilizing smaller batches of soil, but for today, I’m sticking to the oven method as it is safe and effective for the quantities I need.
Preventing and Managing Soil-Related Issues
Sterilizing soil is key to protecting your seedlings from a multitude of issues, such as pests, diseases, and weeds, ensuring a healthy start for your plants.
Protection Against Pests and Diseases
When I sterilize soil in my oven, I’m eradicating harmful organisms like bacteria, fungi, and viruses that can cause diseases such as damping off and root rot. Heat treatment also helps control soil-dwelling insects and gnats, which can be detrimental to plant health. By removing these pests and diseases, I ensure that the health of the seedlings isn’t compromised, fostering a more robust growth environment.
- Eliminates fungi, bacteria, and viruses causing plant diseases.
- Controls pests like soil-dwelling insects and gnats that can harm seedlings.
Advantages of Sterile Soil for Seedlings
Sterile soil is especially beneficial during seed starting. It offers an uncontaminated medium that’s free from weeds and detrimental fungi, giving seedlings the best possible beginning. By providing a sterile environment, I’m also not inadvertently introducing competing or harmful microbes, which allows beneficial microbes to colonize the soil as the plant grows, leading to better health and vigor in the long run. It’s a simple but effective way to give my plants a head-start.
💥 Quick Fact: Sterile soil ensures that seedlings are free from competition and harmful elements like weeds and fungi right from the start.
Conclusion
Sterilizing garden soil in the oven is a straightforward process that ensures I provide a clean environment for my plants’ health.
💥 Keeping Soil Sterile
For my indoor plants and garden, sterile soil can be essential in preventing the spread of diseases. I’ve found that using an oven to sterilize my garden soil is an effective and safe method. By maintaining a temperature between 180-200 degrees Fahrenheit and monitoring the process, I ensure that my soil is free of harmful organisms.
It’s important not to overheat the soil as this can burn and change its composition.
Crop rotation remains a crucial agricultural practice. However, when introducing new soil to my garden or when I suspect soilborne diseases, sterilization is a tool I rely on to manage soil health. Preparing my soil properly supports a thriving garden season after season.


