

As an experienced gardener, I understand the value of healthy and vibrant Hosta plants in the garden. Known for their lush foliage and ability to thrive in shaded areas, Hostas are a favorite among gardeners looking to add texture and color to less sunny spots. However, there comes a time when a Hosta plant may outgrow its space or needs a new location to continue flourishing. This is where the process of transplanting comes into play, which, if done correctly, can ensure that your Hostas remain as a stunning part of your garden landscape.
Transplanting Hostas is ideally carried out during the cooler parts of the year, either in the spring or fall. This timing takes advantage of the Hostas’ dormant phases and shields them from the stress of the summer heat. When preparing to move a Hosta, I choose an overcast day, especially after rain, when the soil is moist and manageable. This reduces the immediate shock to the plant. I then select an appropriate new site, one that provides the right amount of shade and has well-drained, rich soil. It’s crucial to consider the mature size of the Hosta to avoid overcrowding and ensure a welcoming environment for new root growth.
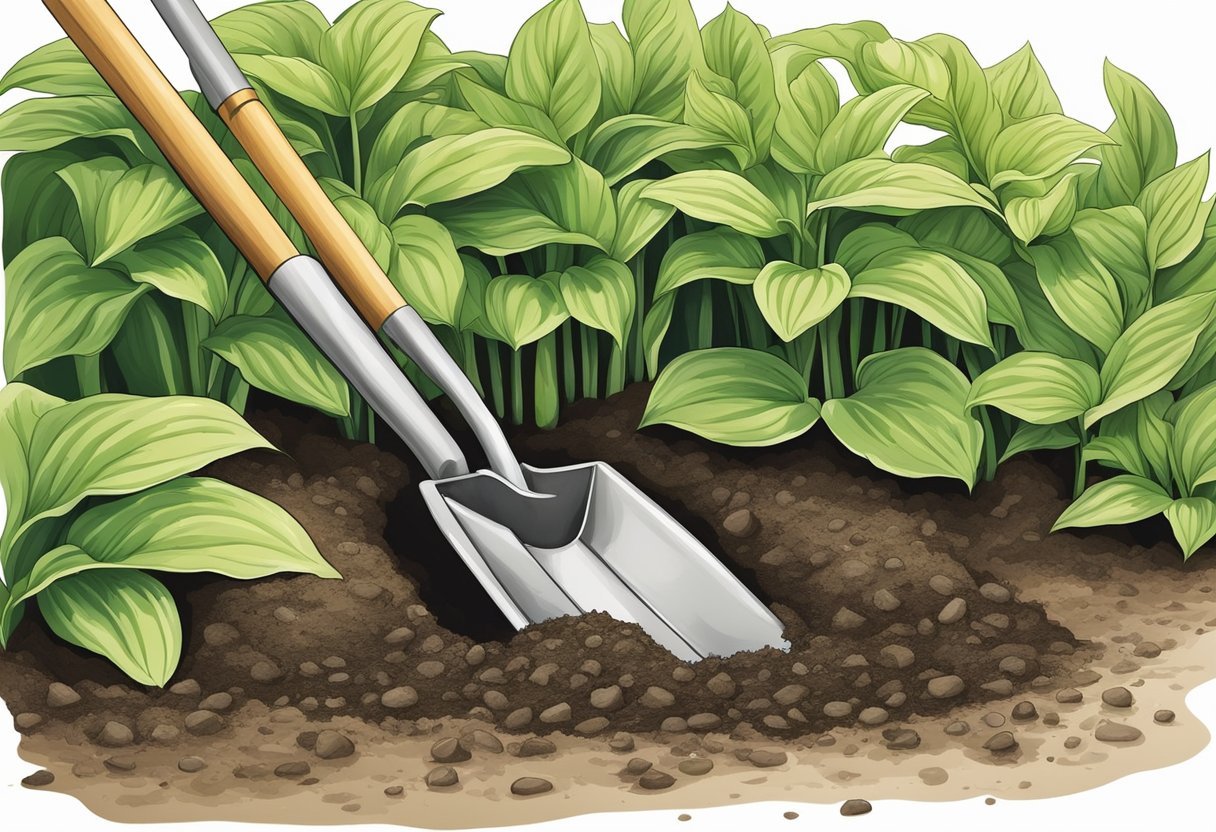
My goal when moving a Hosta plant is to limit the trauma to its root system, which is key to a successful transplant. I dig a generous and careful perimeter around the Hosta, keeping a safe distance from the base to avoid cutting into the root ball. I then lift the plant gently, maintaining as much of the surrounding soil as possible to preserve the delicate roots. After re-homing the Hosta in a prepared hole — making sure it’s neither too deep nor too shallow — I water it thoroughly to help settle in its new location, always keeping an attentive eye on the moisture level during the initial adjustment period.
Planning and Preparation
Transplanting hostas requires a thoughtful approach to ensure these shade-loving plants thrive in their new location. I aim for success by meticulously preparing the site and timing the move to avoid stressing the plants.
Choosing the Ideal Location
- Light conditions: Dappled morning sun with afternoon shade
- Transportation: Easy access for a garden cart to move the hostas
Soil Conditions and Amendments
Ensuring the soil is rich in organic matter is key for a successful hosta transplant. I check the soil pH, aiming for a slightly acidic to neutral range.
💥 Soil preparation:
- I add compost, well-rotted manure, or other organic matter to enrich the soil.
- A well-draining soil composition is essential to prevent waterlogged roots.
- Mulch is applied post-planting to maintain moisture and temperature stability.
Determining the Best Time for Transplanting
Timing is crucial for hosta transplants. I avoid the heat of summer which can be too stressful for the plants. Instead, I aim for early fall or spring.
The best time to transplant hostas is early fall or spring before the heat of summer sets in.
Transplanting Process
Transplanting hostas requires care to minimize root disturbance and ensure they thrive in their new location. Key steps involve careful digging, protecting the root ball during transport, and proper planting techniques to establish the hosta in its new home. Let’s look at the specifics of each part of the process.
Digging Up Hostas
Moving to the New Location
I transport the hosta clump carefully to avoid damage. If it’s a large hosta, I’ll use a wheelbarrow or a tarp to move it to its new location. For smaller clumps, a sturdy container might suffice. I keep the roots damp and shaded during the move, especially if there is any delay in replanting.
Planting and Backfilling
💥 Planting the hosta at the correct depth is critical.
The new hole should be as deep as the root ball and twice as wide. I place the plant so the crown sits at or just slightly above ground level. Backfilling is done carefully with soil mixed with compost, ensuring no air pockets remain. After planting, I water thoroughly and may apply a light layer of mulch around the plant to keep the soil moist and to regulate temperature.
Post-Transplant Care
After transplanting your hosta, it’s essential to focus on proper post-transplant care to ensure the health and vitality of the plant. This care will help the hosta establish itself in its new location, mitigate transplant shock and encourage vigorous growth. We’ll look at watering and nutrients, monitoring for stress and growth, and how to use mulching and weed prevention effectively.
Watering and Nutrients
I make sure to keep the soil moist around newly transplanted hostas, as consistent moisture is crucial for the re-establishment of the root system. Regular watering is necessary, especially in the first few weeks after transplanting. Here’s a quick guide to the watering routine I follow:
Second week and beyond: Taper off to every other day, then gradually reduce to normal watering as the plant shows new growth and establishes.
In terms of nutrients, I don’t immediately fertilize after transplanting since the hosta needs time to heal and excessive nutrients can cause stress. After a month, I apply a balanced, slow-release fertilizer to encourage healthy growth.
Monitoring for Stress and Growth
Post-transplant, I keep an eye out for signs of stress such as wilting or yellowing leaves. If I spot these, I adjust care techniques—usually, this means the plant either needs more water or there’s too much direct sunlight. As the hosta recovers from the transplant, I watch for new growth, which is a positive indicator that the plant is establishing well.
Mulching and Weed Prevention
I apply a layer of organic mulch around the transplanted hosta, ensuring it’s not touching the plant’s stem to prevent rot. The mulch I prefer includes shredded leaves or pine needles; it helps keep the soil moist and deters weeds.
- Keeps soil moisture consistent,
- Regulates the soil temperature,
- Prevents weed germination.
To prevent weeds, I regularly inspect around the hosta and remove any weeds by hand, ensuring minimal competition for nutrients and water. Maintaining a healthy mulch layer is key to suppress weed growth and protect the hosta during its establishment phase.


