

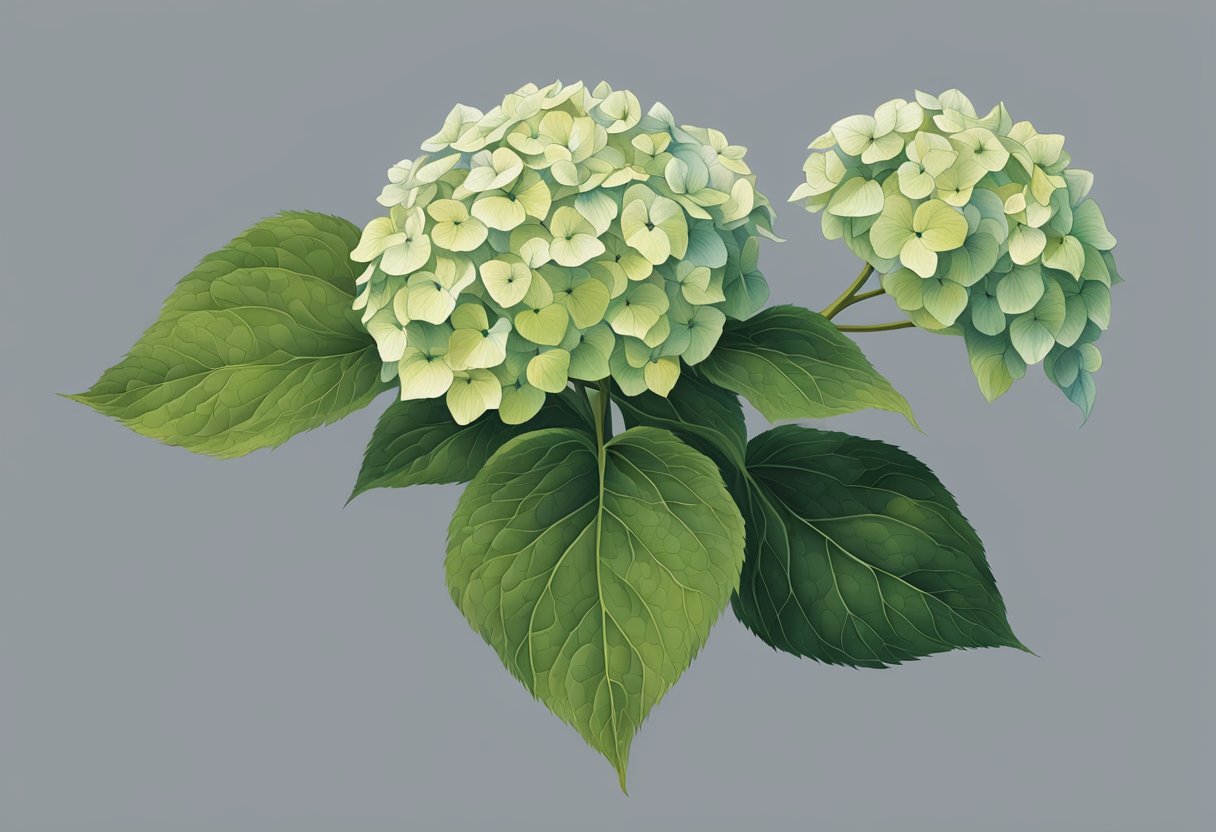
As a gardener, I’ve seen my share of plant distress signals, and wilted hydrangeas can be particularly alarming. Hydrangeas are prized in gardens for their large, lush flowers and their ability to bring a splash of color from spring through fall. When they start to wilt, it can be a sign that they’re in need of immediate care. The first step is identifying the cause, which can range from environmental factors to pest problems.
In my experience, the most common reason for hydrangeas wilting is inadequate moisture. These plants thrive with consistent soil moisture, but too much or too little can lead them to wilt. If the soil around your hydrangea dries out too often, the leaves and blooms may droop as a plea for water. Conversely, if the soil is waterlogged, the roots can rot, preventing them from absorbing the water and nutrients they need, resulting in wilted, discolored foliage.
Environmental stress can also cause a hydrangea to wilt. If your garden exposes the plant to excess sun or harsh winds, it might lose moisture faster than it can be replenished, stressing the plant. Ensuring your hydrangea has protection during the hottest parts of the day and isn’t in a location where winds can dry it out quickly is essential for its health. My hydrangeas have flourished once I found the perfect spot where they receive morning sun and afternoon shade, with shelter from harsh weather conditions.
JUMP TO TOPIC
Selecting the Right Hydrangeas for Your Garden
To cultivate a thriving garden, it’s vital to choose hydrangea species that harmonize with your garden’s specific conditions.
Understanding Hydrangea Species and Their Requirements
When selecting hydrangeas, it’s key to consider that various species have different needs. As someone who adores their nuanced beauty, I always advise fellow gardeners to delve into hydrangea types such as the popular Hydrangea macrophylla, which prefers morning sun and afternoon shade, or Hydrangea arborescens, more tolerant of sunnier spots.
💥 Species like the**Hydrangea quercifolia**, the Oakleaf hydrangea, thrive in partial shade and can handle more sun if the soil stays consistently moist.
For example, I have found that Hydrangea paniculata is more forgiving and can thrive in full sun to partial shade conditions.
The Importance of Planting Hydrangeas in the Appropriate Location
Hydrangeas thrive in moist, but well-draining soil. My experience has taught me that poor placement can lead to stress, affecting the plant’s health and its susceptibility to wilting. So, keep in mind the sunlight preferences of your chosen species:
Most hydrangeas prefer locations with morning sun and afternoon shade to protect them from intense heat.
If native species of hydrangeas are available, I prefer these as they are better adapted to local conditions and usually require less maintenance.
| Species | Sun/Partial Shade | Soil Preference |
|---|---|---|
| Hydrangea macrophylla | Morning sun, afternoon shade | Moist, well-draining |
| Hydrangea arborescens | Flexible, tolerates more sun | Moist, well-draining |
| Hydrangea quercifolia | Partial shade to more sun with moist soil | Moist, well-draining |
| Hydrangea paniculata | Full sun to partial shade | Moist, well-draining |
Mastering Hydrangea Care to Promote Healthy Growth
To ensure your hydrangeas thrive and avoid wilting, it’s crucial to focus on proper watering, soil conditions, and sunlight management.
Watering Practices for Optimal Moisture and Preventing Wilt
Proper watering is fundamental for hydrangeas, as both underwatering and overwatering can lead to wilt and root rot. I make it a point to maintain consistent moisture in the soil, especially during hot weather. Here’s my approach:
- Water the base, not the leaves, to minimize disease risk.
- Use mulch to retain soil moisture.
- Avoid watering in full sun to reduce evaporation.
- Ensure the soil is well-draining to prevent waterlogged roots.
The Role of Soil Conditions in Hydrangea Health
Hydrangeas prefer rich, well-draining soil that can retain moisture without becoming waterlogged. I’ve found that soil with good organic content promotes healthy growth and prevents wilt. For soil pH, hydrangeas typically thrive in slightly acidic to neutral soil—this affects nutrient availability and flower color. Amending soil with compost not only improves its texture and moisture retention but also delivers essential nutrients to the roots.
Sunlight Exposure and Protecting Hydrangeas from Heat Stress
While sunlight is essential for photosynthesis and bloom development, too much sun can cause heat stress, leading to wilting. I provide my hydrangeas with:
💥 Ideal Sunlight Conditions:
- Morning sunlight with afternoon shade helps prevent the burn.
- Planting under trees or using shade cloth can help manage direct sun exposure.
- Monitor temperature changes, as hydrangeas can be sensitive to heat above 85°F (29°C).
Adhering to these care elements prevents the common pitfalls that lead to wilting, fosters healthy root systems, and encourages lush growth.
Troubleshooting Common Hydrangea Problems
In my experience, proper diagnosis is key to reviving a wilting or ailing hydrangea. Here, I’ll guide you through identifying diseases and pests, correcting water imbalances, and environmental and care issues that affect hydrangeas’ health.
Identifying and Addressing Signs of Hydrangea Diseases and Pests
If the hydrangea leaves are discolored or spotted, fungi or pests might be the culprits. Fungal infections, such as powdery mildew, usually require a fungicide. Aphids and other pests might need an insecticidal soap or neem oil treatment.
Symptoms like spotting, discoloration, and hole-punched leaves often suggest diseases or pests. I always recommend:
- Inspecting leaves and stems for unusual patterns or holes.
- Using fungicides for fungal diseases and insecticidal soaps for pests.
Reviving Overwatered or Underwatered Hydrangeas
Hydrangeas convey their need for water through their leaves. A droopy, wilting plant can be suffering from too much or too little water. One must assess the soil moisture – it should be moist, not soggy or dry.
- Underwatering: If the soil is dry, I gradually increase watering, ensuring that the soil is consistently moist.
- Overwatering: When the soil is soggy, I reduce watering to permit the soil to partially dry out.
Dealing with Environmental and Care-Related Hydrangea Issues
Environmental stress, including heat, frost, and drought, can cause hydrangeas to droop. I’ve found that it’s essential to ensure:
- Proper Drainage: Hydrangeas need well-draining soil to prevent root rot.
- Protection from Elements: Shield hydrangeas from direct afternoon sun and winter frost.
- Fertilization: Over-fertilization can harm, so I balance the applications as recommended.
Too much fertilizer can weaken the plant, leading to more wilting – I use compost to enrich the soil and only fertilize as necessary.
When hydrangeas are affected by environmental factors or improper care, I consider proper placement for light exposure, shield against frost, and create a fertilizing schedule that prevents over-fertilization.
Hydrangea Transplanting and Propagation Techniques
Transplanting and propagating hydrangeas are crucial to maintaining plant health and encouraging new growth. I will share how to minimize transplant shock and ensure successful propagation.
Best Practices for Transplanting Hydrangeas Without Shock
Transplanting hydrangeas requires a delicate touch. I always ensure to transplant hydrangeas during cooler parts of the day to avoid excessive transpiration. I dig a wide perimeter around hydrangeas to preserve the root ball. Here’s what has worked for me:
- Select a Cloudy Day: Decreased sunlight aids in reducing transplant shock.
- Maintain Soil Moisture: Water hydrangeas thoroughly one day before transplanting.
- Prepare the New Site: The new location should have rich, well-draining soil mixed with plenty of organic matter.
Tips for Successful Hydrangea Propagation and New Growth
Propagating hydrangeas to spawn new plants is straightforward. I take healthy, non-flowering stems with at least three nodes for cuttings. For soil, I use a mixture of peat, sand, and potting soil to ensure proper drainage. Here’s what I do:
- Cutting Selection: Choose stems from current season’s growth.
- Rooting Hormone: I apply rooting hormone to the base of the cutting.
💥 Plant the Cuttings
Place the cuttings in the soil and water them with a gentle stream from a watering can. Keep the soil consistently moist but not soaked. To keep the humidity around the cuttings, I cover them with a plastic bag, being careful to prop it up with sticks to avoid contact with the leaves.
- Observation: Monitor the cuttings for growth and gradually acclimate them to outside conditions.
By keeping the soil moist, ensuring proper drainage, and protecting the plants from late frost or high heat, both transplant and propagation efforts can lead to robust new growth and a thriving garden of hydrangeas.


