

Zinnia seeds are distinctive and easy to identify once you know what to look for. As a gardener, I’ve come across numerous seed shapes and sizes, but zinnia seeds stand out due to their unique form. They can be described as arrow-shaped or spindle-shaped, tiny spears that are somewhat flattened. The seeds range from about 1/4 to 1/2 inch in length, making them fairly easy to handle when sowing or storing.
Zinnia seeds have a unique appearance resembling an arrowhead, with one end pointed and the other broader and flatter, with a rough texture.
The color of the seeds can vary, but they are typically cream to light brown. Observing the seeds from a spent zinnia flower head, you’ll notice they may still have a piece of petal or flower material attached. It’s important to remove any chaff to ensure the seeds are clean before storing them, which I can confirm helps to avert any potential issues with mold or disease when the seeds are saved for the next planting season.
JUMP TO TOPIC
Choosing and Planting Zinnia Seeds
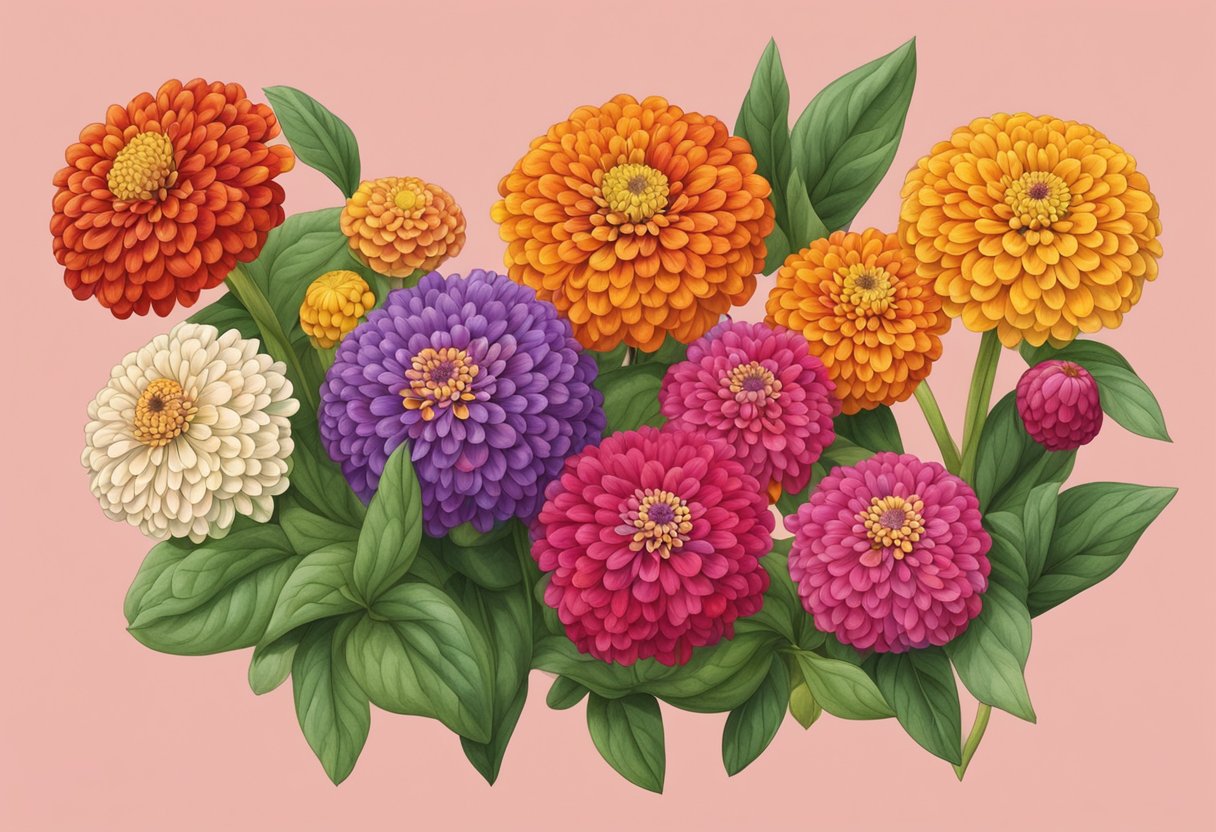
In my hands, zinnia seeds are diverse in appearance, but they’re consistently rewarding to plant. Knowing the seed varieties and proper planting conditions ensures a vibrant garden.
Understanding Seed Varieties
Zinnia seeds display a wide range, from flat to spear-shaped. I’ve found that thick, gray or brown seeds generally have a better germination rate. While every seed has the potential to become a beautiful flower, spear-shaped seeds may have a slightly lower viability.
Optimal Conditions for Germination
I ensure that my starting soil mix is light and has good drainage to promote healthy germination. A dash of compost worked into the soil provides the nutrients these seeds crave.
💥 Well-drained soil and consistent moisture are key
Avoid overwatering to prevent rot, providing just enough moisture to keep the soil slightly damp.
When to Plant Zinnia Seeds
Never sow zinnia seeds before the last frost.
I wait for warm weather to settle in, ensuring temperatures consistently stay above 60°F (16°C). Planting a round of seeds every week or so can stagger bloom times and extend the array of flowers throughout the growing season.
Caring for and Maintaining Zinnia Flowers
Caring for zinnia flowers in your garden involves regular watering, fertilizing correctly, managing pests and diseases, and timely deadheading to encourage more blooms. Additionally, proper transplanting techniques can ensure the health and vigor of your zinnias throughout the growing season.
Watering and Fertilizing
Zinnia flowers thrive when they receive adequate water. I ensure that my zinnias receive about an inch of water per week, but I’m careful not to overwater to prevent rot. For fertilizing, I apply a balanced 10-10-10 fertilizer monthly to provide essential nutrients that promote healthy growth and vibrant blooms.
- Maintain moist soil about 6 to 8 inches deep.
- Water at the base of the plant to avoid foliage diseases.
- Reduce watering in the case of rain to avoid over-saturation.
Dealing with Common Pests and Diseases
In my experience, the most common issue with zinnias is powdery mildew, a fungal disease that can be thwarted by proper plant spacing and airflow. I also keep an eye out for aphids and spider mites and treat infestations promptly with insecticidal soap or neem oil.
The Importance of Deadheading
To extend the blooming period of my zinnia garden, I regularly deadhead the spent flowers. This practice encourages the plant to produce more flowers instead of using energy to make seeds. It’s a simple step that keeps my garden looking tidy and full of color.
- Identify faded or dead zinnia blooms.
- Use clean scissors or pruners to snip off the flower head just above a leaf or bud.
When and How to Transplant
I transplant zinnia seedlings into the garden well after the last frost date to avoid any risk of cold damage. When doing so, I carefully space the plants to allow ample room for growth. Transplanting in the morning or on a cloudy day helps reduce transplant shock.
💥 Transplanting Tip: Always water the zinnias deeply after transplanting to settle the soil around the roots and to help recovery.
Harvesting and Saving Zinnia Seeds
In my experience, saving zinnia seeds ensures a vibrant garden year after year. It’s a simple process that involves selecting the right flowers, allowing them to dry, and storing them properly.
The Harvesting Process
I’ve found that the best time to harvest zinnia seeds is when the flowers have fully matured and the petals begin to fade and drop off. I look for seed heads that are brown and dry. Open-pollinated varieties are best for seed saving, as they will produce plants true to the parent, unlike some hybrids that result from cross-pollination.
To harvest zinnia seeds from cut flowers, I wait until the flowers are dry and the seeds are easily pulled from the seed head. I cut the flower from the plant and gently shake or tap the seed head to release the seeds onto a paper plate or towel.
Procedures for Drying and Storing Seeds
Once the seeds have been harvested, the process of drying and storing begins. I spread the seeds out in a single layer on a paper plate or a screen to ensure good air circulation and leave them to dry in a warm, dry place away from direct sunlight. This can take about a week or until the seeds are brittle.
For storage, I place the dried seeds in paper envelopes or glass jars. Labeling with the date and variety of the zinnia is crucial for organizing my seed collection.
Ensuring Seed Viability for Future Planting
To increase the chances of viability, I ensure the seeds are completely dry before storing them. It’s important to separate zinnia seeds from chaff to prevent mold and to sort out any seeds that may have been damaged during harvesting. I perform a simple test by pressing a seed between two hard surfaces. Viable seeds are hard and do not crush easily.
I keep the storage conditions optimal – cool and dry environment is key for maintaining viability. Checking the seeds periodically for any signs of moisture or mold will help prevent any loss of the seeds’ viability.
Never store seeds before they are fully dry; it’s a common mistake that can lead to a non-viable seed stock.
Enhancing Your Garden’s Ecosystem with Zinnias
Zinnias are not only vibrant and colorful, but they play a vital role in enhancing the garden ecosystem by attracting a diverse array of pollinators and beneficial insects.
Attracting Pollinators and Beneficial Insects
I choose to plant zinnias in my garden knowing they’re excellent at attracting bees and butterflies, increasing pollination and the overall health of my garden.
Zinnias are magnets for pollinators like bees and butterflies. The variety of colors and the structure of the flowers make them accessible and attractive to these garden visitors. By planting zinnias, I directly contribute to the increase of pollination in my garden, which helps in the growth of other plants and vegetable crops.
List of Pollinators Attracted by Zinnias:
- Honey bees
- Bumblebees
- Butterflies
- Hoverflies
In addition to these pollinators, zinnias also draw in beneficial insects like ladybugs and lacewings, which help control pests like aphids. This reduces the need for chemical pesticides, making my gardening practices more environmentally friendly and sustainable.
By growing zinnias, I not only enhance the visual appeal of my space but also bolster the health of the garden ecosystem. The relationships formed between zinnias, pollinators, and beneficial insects establish a balanced and thriving garden environment.


