

Cleome, commonly known as spider flower, adds a unique texture and height to garden displays. I’ve found these annuals to be a statement in full-sun areas, drawing attention with their tall, colorful blooms. Planting cleome seeds at the right time is crucial for their growth cycle and to ensure they thrive in the garden setting.
Timing is critical, and my personal success with cleomes has come from sowing seeds directly into the garden in early spring, after the danger of frost has passed. Alternatively, they can also start indoors before being transplanted to ensure a more controlled germination environment.
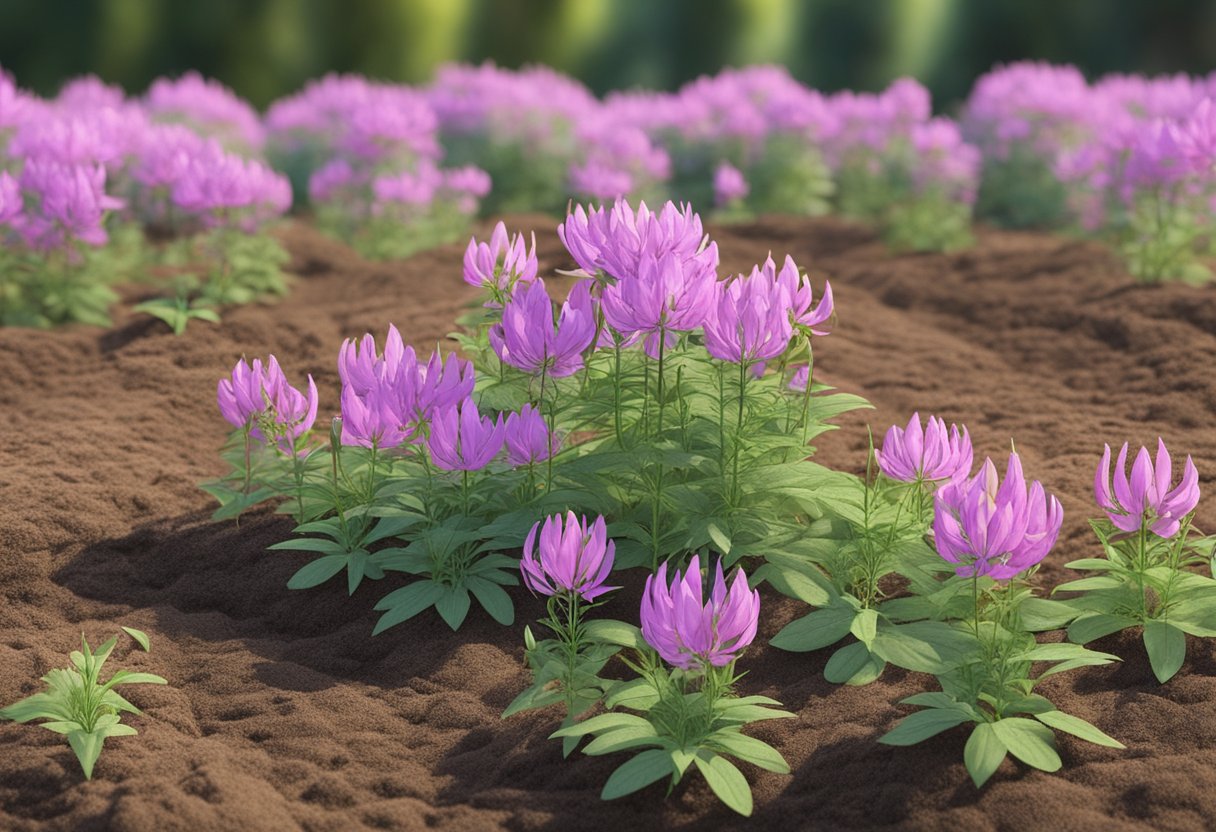
Selecting an ideal location within the garden that receives full sun is key, as cleomes perform best when provided with ample sunlight. From my experience, these plants prefer well-draining soil, which prevents potential root diseases, often caused by excess moisture. Thus, preparing the site properly before planting is as important as the timing of the planting itself.
JUMP TO TOPIC
Preparing Your Garden for Cleome Planting
Before you start planting Cleome, also known as Spider Flowers, there are a few key aspects to ensure your garden is ready. From selecting the appropriate soil to choosing the best spot in your garden, getting these details right will help your Cleomes thrive.
Selecting the Right Soil Type and pH
Cleomes flourish in well-drained garden soil with a neutral to slightly acidic pH. I test the soil pH using a pH meter to ensure it is between 6.0 and 7.0, ideal for these flowers. If adjustments are necessary, I use limestone to raise the pH or sulfur to lower it.
Amendment and Fertilization
A well-drained soil is paramount for healthy Cleomes. I mix in plenty of organic material like compost to improve soil structure and drainage. While Cleomes are not heavy feeders, I give them a good start by adding a balanced fertilizer or compost into the soil before sowing the seeds.
Choosing the Perfect Location
Cleomes need an outdoor location where they can receive full sun for the majority of the day. I search for a spot that ensures at least 6 hours of direct sunlight. If you’re planting in containers, make sure they are spacious and position them in a sunny spot; Cleomes can grow large and need room to expand.
To prepare your garden for Cleome planting, focus on well-draining, compost-amended soil with a neutral to slightly acidic pH, and choose a location that receives full sun.
Cultivation Techniques for Cleome Seeds
For experienced and novice gardeners alike, understanding the proper methods for sowing cleome seeds ensures successful germination and a vibrant display. In this section, I’ll impart my knowledge on the best practices for indoor and outdoor sowing, how to strategize transplantation, and the ideal conditions for germination timing.
Sowing Seeds Indoors and Outdoors
Starting cleome seeds indoors allows for a head start on the growing season. Cleome seeds need light to germinate, so when sowing, do not bury them deep in the soil. Instead, press seeds gently into the surface of a well-draining seed starting mix, making sure to maintain adequate moisture without causing waterlogging. Here’s an important tip:
💥 Sow seeds shallowly, about 1/8th inch deep, and do not cover with soil.
For those who prefer to sow directly outdoors, the soil temperature should be closely monitored. Wait until after the danger of the last frost has passed and the soil has warmed sufficiently. For cleome seeds, this generally means aiming for a soil temperature around 70 degrees Fahrenheit.
Outdoor Transplantation Strategies
When seedlings have reached a height of 3 inches and show a set of true leaves, they ought to be thinned or transplanted to their final location. Thinning should leave the strongest seedlings approximately 18 to 24 inches apart to allow for ample growth space. Here’s how to do it without damaging the roots:
- Water seedlings thoroughly before transplanting to reduce shock.
- Gently loosen the soil around the seedling’s base.
- Lift the plant with care, preserving as much of the root system as possible.
Germination Conditions and Timing
To optimize germination, maintain consistent environmental conditions in the early stages of seedling development. This involves keeping a higher humidity level (around 90 to 100 percent) and ensuring the temperature fluctuates between:
Day: 80 to 85 degrees Fahrenheit
Night: 68 to 70 degrees Fahrenheit
I achieve the necessary bottom heat and humidity using a seedling heat mat and sometimes cover trays with clear plastic. Look to germinate seeds early spring, timing it about 6 to 8 weeks before the anticipated last frost date of your region.
Ongoing Care and Maintenance of Cleomes
For flourishing Cleomes, it is critical to provide a balance of water, nutrients, and proper pruning practices. My experience highlights these as the cornerstones of vibrant blooms and healthy plants.
Watering and Fertilization Recommendations
Cleomes are somewhat drought tolerant, but consistent moisture helps them thrive. I water my Cleomes once a week, ensuring the soil doesn’t dry out completely. They benefit from a slow-release fertilizer applied at planting and can be fed mid-summer to support robust growth. Avoid over-fertilization as it can lead to excessive foliage at the expense of blooms.
Supporting and Staking Tall Varieties
I’ve noticed some Cleome varieties can reach heights of three to five feet and may require support. To prevent them from toppling over, I stake them early in the growth cycle. I use stakes that are at least as tall as the expected height of the plant and tie them loosely to allow for natural movement and growth.
Deadheading and Disease Management
Pruning or deadheading spent blooms promotes the growth of new flowers. It’s essential to remove dead flowers to prevent self-seeding if you wish to control their spread. Vigilance against pests and diseases is necessary; I regularly inspect Cleomes for signs of distress. With good air circulation and proper spacing, I minimize the risk of diseases taking hold on my plants.
These practices have ensured my Cleomes remain attractive and healthy throughout their growing season.
Attracting Pollinators and Wildlife with Cleome
Cleomes are excellent for drawing a vibrant array of pollinators to the garden due to their nectar-rich flowers. My goal is to encourage biodiversity by detailing how this plant supports ecological gardening and provides tips for maximizing wildlife attraction.
The Role of Cleome in Ecological Gardening
As a gardener, I’ve noticed that Cleome, commonly known as spider flower, plays a significant role in supporting local ecosystems. Their flower heads are not only striking visually but also serve an important purpose: attracting pollinators. Hummingbirds, bees, and butterflies are frequent visitors, attracted by the flowers’ fragrance and abundant nectar.
| Pollinator | Attraction |
|---|---|
| Bees | Abundant nectar and pollen |
| Butterflies | Large flower heads for easy landing |
| Hummingbirds | Vivid flower colors and sweet fragrance |
Tips for Maximizing Attraction
To effectively draw in more pollinators with Cleome, I employ a few strategies. Planting in groups rather than individually helps create a substantial visual impact and increases fragrance distribution, making the area more detectable to wildlife. Ensuring full sun exposure maximizes flower production, which in turn offers more nectar. Regular deadheading encourages continuous flowering, keeping the plant attractive to pollinators throughout the growing season.
Here’s a concise tip list for gardeners:
- Plant in groups for a stronger visual and olfactory presence.
- Select a sunny spot as Cleome thrives in full sun.
- Deadhead spent flowers for prolonged blooming and attraction.
- Don’t use pesticides that could harm the pollinators visiting the plants.


