

As a gardener, I find hollyhocks to be among the most visually striking additions to a summer garden. With their tall spires of large, colorful blossoms, they add height and a touch of old-fashioned charm. It’s important to time your planting correctly to ensure these flowers thrive. Typically, hollyhock seeds are planted either in the fall or spring. A fall sowing allows for a jumpstart on growth, as the seeds can germinate and establish a root system before the cold winter months, leading to earlier blooms in the summer.
I’ve learned that if you sow seeds in the spring, it’s best to wait until after the last frost date to prevent the seeds from being killed by cold temperatures. However, spring-planted hollyhocks may not flower until the following year, especially if they’re planted late in the season or if they’re varieties that are biennials by nature. These flowers enjoy full sun and well-drained soil, so I ensure these conditions are met when planting my seeds.
To maximize bloom time, plant hollyhock seeds in late summer to early fall, or right after the last spring frost.
JUMP TO TOPIC
Cultivating a Vibrant Hollyhock Garden
To foster a thriving hollyhock garden, choosing the right location, preparing the soil properly, and planting hollyhock seeds at the ideal time are crucial steps.
Selecting the Perfect Location
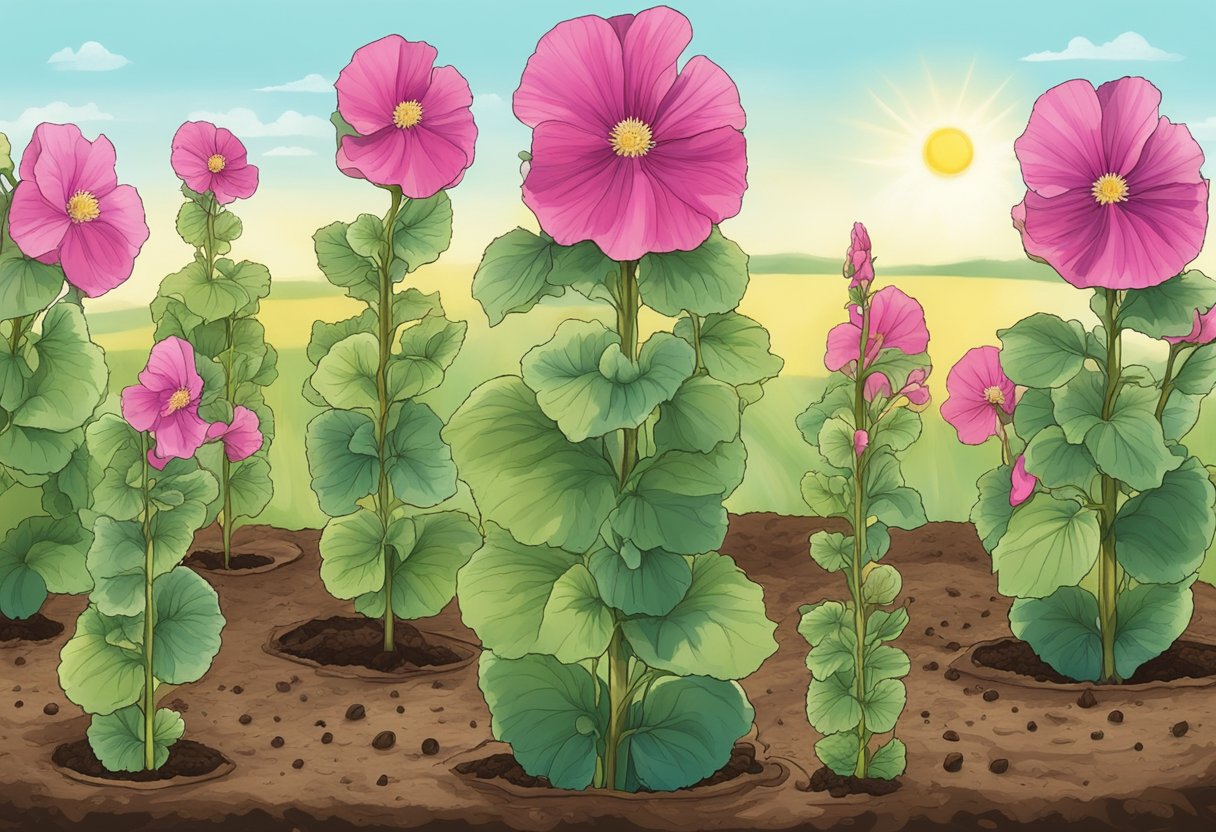
Hollyhocks thrive in full sun and can grow to substantial heights, often reaching up to 8 feet tall. I always ensure that I choose a location that provides at least six hours of direct sunlight each day, as hollyhocks need ample light to bloom profusely. I also consider the backdrop, positioning my hollyhocks against a fence or building to support their tall stalks and create that classic cottage garden aesthetic. However, in regions with intense midday heat, a spot with afternoon shade can prevent scalding of the blooms, especially the whites and yellows known for their delicacy.
Soil Preparation and Requirements
The soil should be rich, well-drained, and slightly moist. A pH level near neutral is best for hollyhocks. Before planting, I like to work in a generous amount of compost to enrich the soil. Here’s how I prepare the site:
- Dig to a depth of 12-15 inches.
- Turn over the soil and break up clumps.
- Mix in ample compost to encourage good drainage and nutrient-rich beds.
- If necessary, amend with sand to improve drainage.
Planting Hollyhock Seeds
When considering when to plant hollyhock seeds, the timing is critical for their success. Hollyhock seeds require light for germination, so I gently press them into the soil surface without covering them too deeply. In temperate climates, I recommend sowing seeds directly into the garden in late summer. This allows the plants to develop strong roots before winter. Also, by planting in this season, it’s often unnecessary to provide extra water due to autumn rains. For areas with harder winters, planting hollyhock seeds indoors in early spring is advisable, allowing seedlings to be transplanted after the last frost.
I sow my hollyhock seeds under light cover, and outdoors during late summer or early spring, depending on my region’s climate.
I find that careful attention to these steps ensures that the hollyhocks I grow are healthy, minimize the risk of rust, and enable them to be a haven for bees and other pollinators. Remembering to stake the plants or provide a structural backdrop like a fence can prevent damage from wind and make for a stunning display in your garden.
Maintenance and Growth of Hollyhocks
Growing hollyhocks is rewarding as they provide tall spikes of colorful blooms that can create a dramatic backdrop for any garden setting. Understanding their maintenance needs ensures these perennials and biennials thrive season after season. Here’s how I ensure my hollyhocks remain healthy and vibrant.
Watering and Nutrient Management
Hollyhocks require regular watering and prefer well-draining soil to prevent root rot. I water my hollyhocks deeply to encourage root growth but allow the soil to dry out slightly between waterings. Fertilizer isn’t essential, but I occasionally use a balanced, slow-release formula to promote healthy growth, especially when the plants are establishing or blooming.
- Sunlight areas: Weekly deep watering
- Partial shade: Adjust based on rain; less frequent
Supporting Tall Varieties
As hollyhocks can reach towering heights, they often require support to prevent them from falling over. I use stakes or trellises to keep my hollyhocks upright, especially those in exposed areas where wind is common. It’s best to add support early in the season before the plants get too large.
Dealing with Pests and Diseases
Hollyhocks are susceptible to pests like Japanese beetles and spider mites, as well as fungal diseases. My approach to pests is to use insecticidal soap or neem oil treatments, which are effective and environmentally friendly. For fungal diseases, good air circulation and avoiding wet foliage are key. Here’s how I prevent and manage these issues:
Prune to improve air circulation and apply organic pest control methods early in the season.
Regular inspections for early signs of infestation or disease enable me to act swiftly and minimize damage. Additionally, allowing hollyhocks to self-seed not only perpetuates their growth cycle but also encourages vigour in new plants which can sometimes show greater resistance to pests and diseases than their parents.
Seasonal Care and Lifecycle
As a gardener, focusing on the lifecycle of hollyhocks and managing their care throughout the seasons is essential to ensure vibrant blooms. Biennials by nature, hollyhocks require specific attention during different times of the year to thrive and bring forth their signature tall spires of flowers that range in color from pink to red and even black.
Managing Hollyhocks through Seasons
To manage hollyhocks, start seeds indoors in early spring or sow directly into a sunny, well-draining area after the last spring freeze for optimal germination.
In spring, I prepare the soil in a sunny location, ensuring it’s enriched with compost for the nourishment of tall Alcea rosea, and has good drainage, especially if dealing with clay or loam. As the seedlings emerge, I keep a keen eye out for hollyhock rust, anthracnose, and leaf spot, diseases that often plague these plants. Regularly checking the underside of leaves and employing good air circulation practices helps with prevention.
As cooler weather approaches, I ensure that the area around my hollyhocks is mulched to protect the taproot from frost. These robust plants can survive a fall frost, especially if they are mulched properly.
Encouraging Reblooming and Self-Seeding
Hollyhocks, once they bloom in their second year, can be encouraged to rebloom and self-seed, ensuring a continual presence in the garden.
For self-seeding: I allow some spent flowers to develop seed heads. Once they dry, I collect them or let them drop seeds for new growth the following season.
In addition to deadheading for reblooms, I stay cautious of overwatering and overcrowding, as wet conditions and poor air flow increase susceptibility to hollyhock rust. When planning for propagation, I select the healthiest plants to collect seeds from, ensuring genetic strength and resilience pass on to the next generation. Post the first killing fall frost, I cut plants back and mulch around the base for winter protection, creating ideal conditions for seed germination come spring.


