

Growing pumpkins successfully starts with planting pumpkin seeds at the opportune time. I like to consider both the climate and the specific goals for the pumpkin crop when deciding on the ideal planting window. Pumpkins typically require a growing season of around 75 to 100 days, so I aim to plant the seeds after the danger of frost has passed and the soil has warmed up sufficiently, ensuring a harvest in time for fall festivities like Halloween and Thanksgiving.
For most regions, the best time to plant pumpkin seeds is from late May to early July, giving them ample time to mature by Halloween.
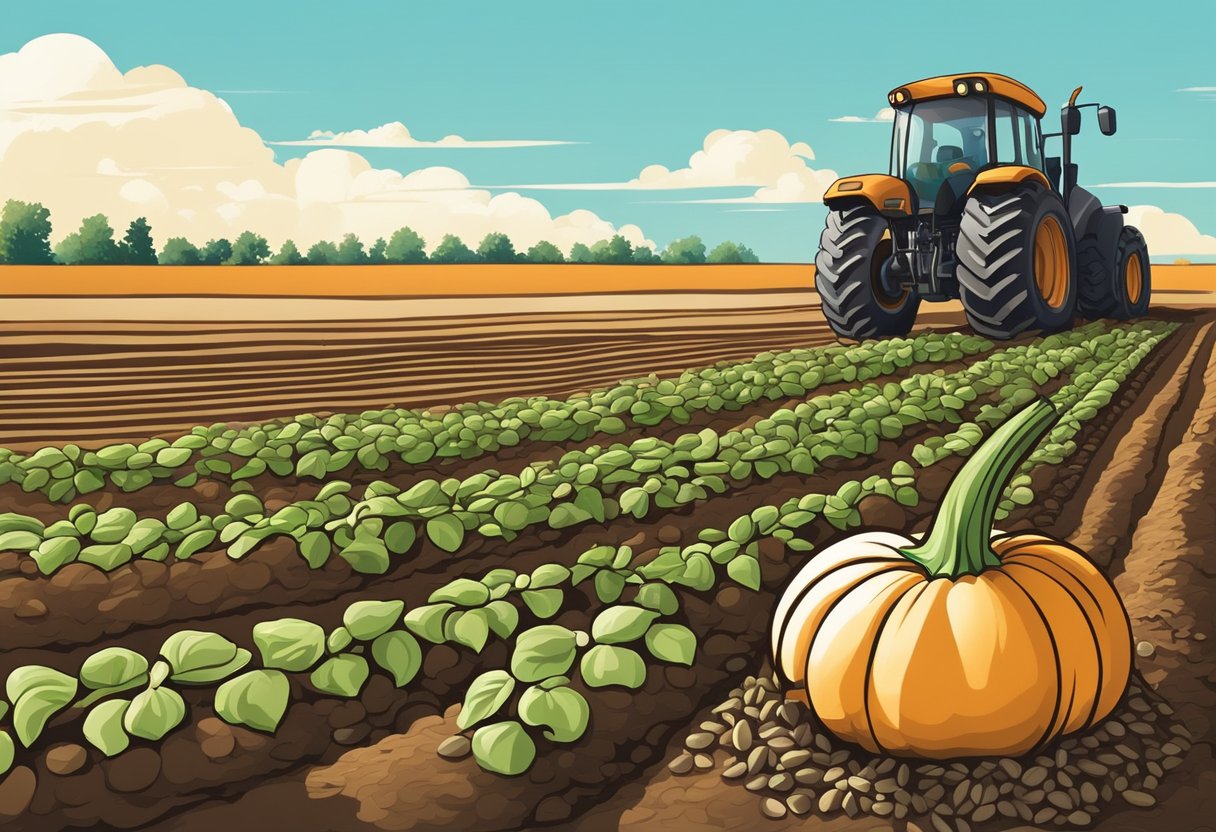
I’ve found the depth at which pumpkin seeds are planted also makes a significant difference in their growth. Planting seeds 1 inch deep into the soil in mounds helps with soil warming and drainage, promoting better germination rates. If I decide to start seeds indoors, I keep the soil temperature between 70 and 80ºF, which gives my seedlings a strong start before transplanting them outside.
JUMP TO TOPIC
Selecting the Right Pumpkin Varieties
When planting pumpkins, choosing suitable varieties is crucial whether you’re aiming for a bountiful harvest for cooking, carving, or decorative purposes. Each variety has its specific characteristics and best use, and knowing the difference between heirloom and hybrid types can greatly influence your gardening success.
Understanding Heirloom and Hybrid Varieties
Heirloom pumpkins have been passed down over generations and are often celebrated for their distinct flavors and traditional shapes. As a gardener, I’ve found that heirloom varieties like ‘New England Pie’ and ‘Connecticut Field’ are excellent choices for those looking to grow pumpkins with a history and for culinary use. I take pride in these types as they are also typically better for seed saving, ensuring I can continue the legacy of these plants in my garden.
Hybrid varieties, on the other hand, are bred for specific traits, such as disease resistance or uniformity. A popular hybrid that I often recommend is ‘Big Max’, known for producing large pumpkins—perfect for those who want to make a statement with their fall displays. While hybrids can be exceptionally reliable and vigorous, it’s important to note that seeds from these plants may not produce true-to-type offspring, which means I seldom save seeds from hybrids.
Best Varieties for Cooking and Carving
When it comes to the best pumpkin varieties for culinary use, the ‘New England Pie’ is a classic. Its dense, sweet flesh makes for superior pumpkin pies—a staple in my kitchen every fall. For carving, the ‘Connecticut Field’ is a traditional favorite with its large size and sturdy skin, making it a go-to for my Jack-o’-lanterns.
However, every pumpkin variety has its ideal use. Here is a quick overview of my top picks for each category:
| Variety | Type | Best Use |
|---|---|---|
| New England Pie | Heirloom | Cooking |
| Connecticut Field | Heirloom | Carving |
| Big Max | Hybrid | Display |
| Jack Be Little | Miniature | Decorative/Tabletop |
In my garden, each pumpkin variety serves a specific purpose: heirloom varieties connect me to the past and enhance my culinary dishes with their unique flavors, while hybrids provide consistent results and often astound with their impressive sizes. Selecting the right variety ensures a rewarding pumpkin growing experience.
Preparing the Pumpkin Patch
When planting pumpkin seeds, meticulous preparation of the pumpkin patch is paramount, as it can significantly affect your future crop.
Soil Preparation and Requirements
I focus on ensuring the soil is rich in nutrients and has good drainage before planting pumpkin seeds. To achieve this, I mix in generous amounts of organic matter such as compost and aged manure. This not only enriches the soil but also improves its structure and drainage capabilities. Additionally, maintaining the correct soil pH, which is ideally between 6.0 and 6.8, is crucial because it affects the availability of nutrients to pumpkin plants.
For best results, soil should be well-drained, rich in organic matter, and have a pH between 6.0 and 6.8.
Spacing and Planting Techniques
Pumpkins require ample space due to their sprawling vines. In my garden, I use the hill method, where I plant groups of seeds in mounds, which helps with soil warming and drainage. Each mound should be spaced about 4-8 feet apart to provide enough room for growth. When I plant the seeds, I make sure they are about 1 inch deep. This spacing technique not only gives plants enough room but also promotes better air circulation and sunlight exposure, both of which contribute to the overall health of the pumpkin patch.
To optimize germination, I pay close attention to soil temperature before planting. Ideally, the soil should be between 60°F to 85°F for pumpkin seeds to germinate successfully. Warm soil temperatures encourage quick sprouting and vibrant growth.
| Planting Technique | Depth | Mound Spacing | Soil Temperature |
|---|---|---|---|
| Hill Method | 1 inch | 4-8 feet | 60°F to 85°F |
Growth and Care of Pumpkin Plants
Growing healthy pumpkins requires diligent care from planting to harvest. Proper irrigation and pest management are crucial to cultivating a thriving pumpkin patch.
Irrigation and Watering Schedules
Water is essential for pumpkin plants, especially when plants are young and establishing roots. I ensure to water my plants deeply, providing at least one inch of water per week. I recommend the following:
- Consistent Watering: Keep the soil moist but not waterlogged. Overwatering can lead to root rot, while under-watering can stress the plant, affecting pumpkin growth.
- Drip Irrigation: If possible, use drip irrigation to deliver water directly to the roots, minimizing moisture on leaves and reducing the risk of mildew.
Protecting from Pests and Diseases
Pumpkin pests like squash bugs, cucumber beetles, and aphids can destroy plants if not controlled. I stay vigilant, regularly inspecting the leaves and vines for any signs of pests or diseases. Here are my strategies for protection:
Always act promptly at the first sign of pests or mildew to prevent widespread damage.
| Control Method | Target Pest/Disease | Frequency | Notes |
|---|---|---|---|
| Handpicking | Squash Bugs | Weekly | Check under the leaves and along the vines. |
| Neem Oil | Aphids, Beetles | As Needed | Apply in the evening to avoid sunburned leaves. |
| Fungicide | Mildew | At First Sign | Follow label instructions carefully. |
I find that staying consistent with these irrigation and pest management techniques greatly enhances the chance of harvesting bountiful and healthy pumpkins.
Harvesting and Utilizing Pumpkins
After a season of careful tending, the reward of plump, homegrown pumpkins is unmatched. My focus here is to guide you through the steps of determining when your pumpkins are ripe for the picking and how to make the most of your harvest—be it for Halloween carving or baking delicious treats.
Determining Ripeness and Correct Harvest Time
Pumpkins signal their readiness for harvest when they achieve a deep, solid color and the rind hardens enough to resist fingernail marks. I ensure the vines have dried and the pumpkin’s stem is tough before I pick them. The ideal time to harvest is before the first frost. When the time comes, I use a sharp knife or pruners to cut the stem, leaving several inches attached to the pumpkin, which helps prevent premature rot.
For the best pumpkin growing experience, harvest when the rind is hard and the color is uniformly orange, or true to the variety’s expected color.
Post-Harvest Preservation and Uses
Once harvested, I clean my pumpkins with a damp cloth to remove any dirt and cure them in a cool, dry place for about two weeks to harden the skin further and extend their shelf-life. For culinary use, I select the best specimens for cooking and baking. The seeds are separated from the pulp, rinsed, and roasted—either plain or with seasoning—as a healthy snack. The flesh can be cooked down and pureed or cut into chunks for savory dishes. The pumpkins that are not up for immediate use, I store in a cool, dry place, where they can last several months.
For Halloween, the ripened pumpkins turn into canvases for carving. Once the Halloween season is over, rather than discarding the pumpkins, I repurpose them into compost for my garden or cook the remaining uncarved ones into various dishes.
💥 Tip: Make sure to roast the seeds for a nutritious treat and compost the remnants to enrich your garden soil for next year’s planting.


