

Rhubarb is a hardy perennial that is often one of the first crops to emerge in the garden, heralding the start of the spring growing season. I prefer to plant rhubarb in late fall or early spring, taking advantage of the cooler temperatures that are critical for the plant’s successful establishment. The soil temperature should be 50°F (10°C) or above to ensure that the rhubarb roots can establish themselves properly.
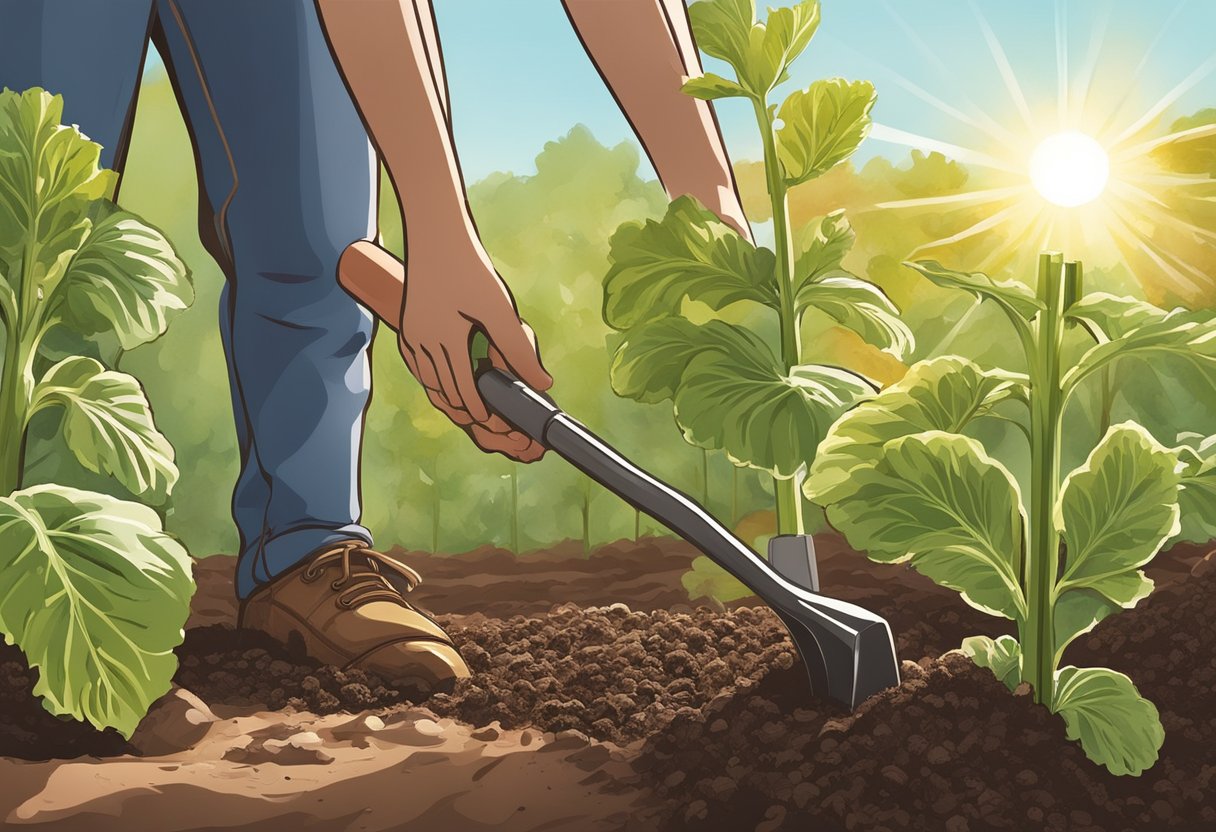
Planting this robust vegetable involves finding a suitable spot in the garden where the plant will have plenty of room to grow, as rhubarb can become quite large. The area should also provide ample sunlight. Introducing organic matter into the soil prior to planting will enrich the soil and promote better growth. A well-prepared garden bed, rich in organic matter with good drainage, sets the stage for a healthy rhubarb plant that can produce tart-flavored stems for years to come.
For the best results, plant rhubarb in late fall or early spring when soil temperatures are above 50°F (10°C).
JUMP TO TOPIC
Getting Started with Rhubarb
In this section, I’ll guide you through the critical first steps for successfully cultivating rhubarb, covering everything from selecting the ideal location to the proper technique for planting and nurturing your rhubarb plants.
Choosing the Right Planting Site
Rhubarb thrives in areas with full sun and well-drained, fertile soil with a pH between 5.5 to 6.5.
The location where you plant rhubarb can make a significant difference in how well it grows. Rhubarb requires full sun, meaning it needs at least six hours of sunlight each day to produce the best yield. Soil quality is equally important; rhubarb prefers well-drained soil rich in organic matter. To test your site, you might dig a hole and observe how quickly it drains after a heavy rain. If water seems to linger, consider raised beds or amending the soil with organic material to improve drainage.
Planting and Growing Rhubarb
Rhubarb plants start either from crowns—a section of a rhubarb plant’s roots—or from seed. I’ve found that using crowns is the more effective approach; they establish themselves quicker than seeds and produce a harvest sooner.
💥 Crowns Over Seeds
Crowns should be planted in the early spring as soon as the ground is workable. Dig holes that are 4-5 inches deep, spacing them 3-4 feet apart to provide ample room for growth. Here’s how to plant the crowns:
- Place each crown in a hole with the buds facing up.
- Fill the hole so that the top of the crown is 1-2 inches below the soil surface.
- Water generously at planting to settle the soil around the roots.
Rhubarb is a perennial and, if well-maintained, can produce for ten years or more. I like to incorporate a good amount of compost into the soil when planting, as rhubarb is a heavy feeder. Each spring, a top dressing of compost or a balanced fertilizer will give your plants the nutrients they need to flourish.
As the plants grow, keep the soil moist but not waterlogged, and add mulch to conserve moisture and suppress weeds. Remember, excessive moisture can lead to root rot, so finding a balance with watering is essential.
By following these practices, you’ll create the ideal environment for your rhubarb to thrive.
Care and Maintenance
In my experience with rhubarb, consistent attention to watering and feeding, as well as vigilant pest and disease control, are fundamental for healthy growth. Proper care practices maintain plant vigor and productivity.
Watering and Feeding Rhubarb
Rhubarb thrives when it receives ample water and nutrients. I water my rhubarb to maintain a light but consistent moisture level in the soil, especially during dry periods.
To feed my rhubarb, I incorporate organic matter into the soil before planting. Each spring, I apply a layer of well-rotted manure around the plants to replenish nutrients.
| Organic Fertilizer | Chemical Fertilizer |
|---|---|
| Well-rotted manure | Nitrogen-heavy fertilizer |
Protecting from Pests and Diseases
I keep my rhubarb safe from pests like the rhubarb curculio by checking regularly for insects and damage. It’s crucial to catch issues early before they escalate.
💥 I remove any infected leaves and destroy them to prevent the spread of diseases.
Additionally, consistent weeding is a pivotal part of my routine to reduce competition for nutrients and remove habitats for pests.
Incorrect temperatures can accelerate disease development, so I keep an eye on regional weather forecasts to anticipate and mitigate risks.
Harvesting and Storage
Harvesting rhubarb at the right time and storing it properly ensures a bountiful supply for your favorite desserts.
When and How to Harvest Rhubarb
I start harvesting rhubarb in the third season after planting. This patience allows plants to establish properly and ensures more productive harvests in the future. I look for stalks that are at least 10 inches long and around ¾ to 1½ inches in diameter. To harvest, I grab the stalk at the base and gently twist and pull; alternatively, I use a sharp knife to cut it at the base.
💥 Always leave at least two-thirds of the stalks on the plant to ensure it remains healthy and productive.
Preserving Rhubarb for Later Use
To preserve the freshness of the rhubarb, I cool it rapidly after harvesting, aiming for a temperature of 32 degrees Fahrenheit within one day. A refrigerator serves as a convenient short-term storage solution, keeping the stalks crisp for up to two weeks. For longer storage, I wash and cut the rhubarb into the desired size before freezing. It’s important for me to dry the pieces well before bagging them to prevent ice crystals from forming.
Frozen rhubarb is perfect for making pies, jams, jellies, and other desserts later in the year. I find blanching before freezing helps in maintaining color and flavor. This method also allows me to have rhubarb available for my recipes throughout the year, even when it’s not in season.
Never eat the leaves of the rhubarb plant, as they contain oxalic acid, which is toxic. It’s safe to compost them, though.
Advantages of Growing Rhubarb
As a gardener, I find rhubarb an exceptional addition to my garden for a multitude of reasons.
Rhubarb is a perennial vegetable, meaning once I plant it, it comes back year after year. This aspect is cost-effective and time-saving, as I don’t need to replant each season. Its hardiness makes it suitable for Canada and other regions with cooler climates, bearing red and green stalks come summer.
💥 Perennial & Hardy
I appreciate that rhubarb is long-lived, often flourishing for ten years or more. The plant’s edible stems, which are typically a vibrant red, are versatile ingredients for culinary use, ranging from pies to jams.
- Long-Lived: Thrives for a decade or more.
- Edible Stalks: Red and green stalks used in various recipes.
- Cooler Climate Friendly: Ideal for the Canadian climate.
- Low Maintenance: Minimal care post-establishment.
As I tend to my garden, I notice that rhubarb requires very little maintenance once established. It’s not just a plant, but an investment in my garden’s future, one that continues to yield delicious results year after year with minimal input from me.


