


Blue star fern care is easy and straightforward, even though it is part of the fern family, which have a notorious reputation for being fussy and difficult to keep. With its iconic blue leaves and stunning displays, the blue star fern of the Polypodiaceae family is a top choice among houseplant enthusiasts.
Unlike other ferns, this Phlebodium genus plant is not too difficult to grow your own at home either, especially if you follow the expert tips and tricks in this comprehensive care guide!
JUMP TO TOPIC
Blue Star Fern Care Guide
Ferns are notoriously difficult to grow. They need a lot of humidity and regular watering, they hate sudden temperature changes, and even if you spend a lot of time fussing over them, a day may come when they decide to simply dry out. Luckily, the blue star fern is nothing like that.
In this guide, we’ll show beginner gardeners why the blue star fern gets a place of honor on the list of plants anyone can grow. And for the experts, we’ll crack open our box of tips and tricks that will result in truly spectacular growth. Let’s get started with the basics.
 Light Requirements
The blue star fern prefers growing in bright indirect light. In its native habitat, you’ll find it growing in the canopy of tropical forests, where it usually receives dappled sunlight throughout the day. Like all tropical epiphytes, it’s used with low light conditions. But if it finds a gap among the tree branches, you can be sure that it will enjoy that extra sunlight.
When grown indoors, the blue star fern can adapt to a wide array of light conditions. It’s not too pretentious when it comes to your home’s exposure and can grow in partial shade as well as bright indirect light. The only rule is to always avoid full sun exposure. Direct sunlight will scorch the leaves, resulting in yellowing fronds and crispy edges.
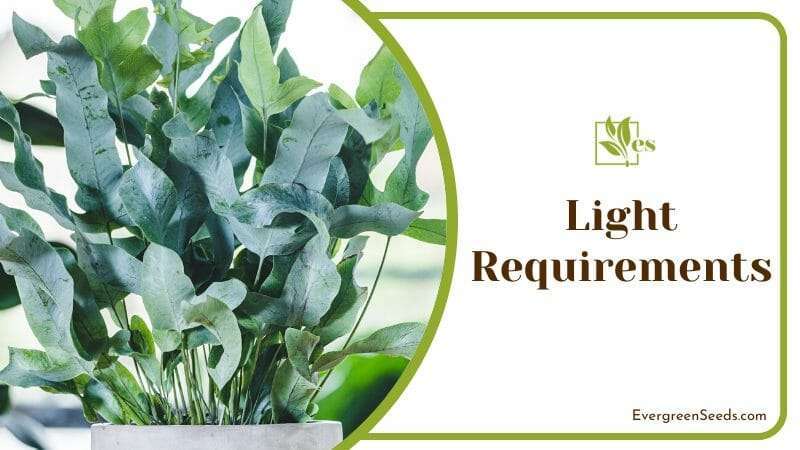
You’ll often find this plant listed among low-light indoor ferns. Although the blue star fern can indeed tolerate shade, there’s a difference between the shade found in the forest canopy and the one in your living room. Ferns can survive in indoor shade, but they will not thrive and will become leggy, discolored, and grow very slowly. To keep this fern happy, make sure that it receives filtered or bright indirect light for at least four hours a day.
Temperature Requirements
The blue star fern can be grown at the average room temperature or between 64 and 77 F (18 to 25 C). Make sure that it’s not exposed to any sudden changes in temperature, as this can cause it to wilt or shed its leaves. Your fern should never sit next to a radiator, a heating vent, an air conditioning unit, or even drafty windows and doors, especially in winter.
You can grow the blue star fern outside in your garden if you live in USDA zones 9 to 11. If you live in cooler areas, we recommend keeping it in a pot and bringing it indoors when temperatures drop below 49 F (5 C) during the night. This fern is not frost tolerant and will suffer permanent damage if left outside in the cold. In dry climates, it will exhibit a deciduous habit and will shed its leaves until the rainy seasons return.
Humidity and Misting Requirements
All ferns love humidity, including the blue star fern. If you can keep the humidity levels at least 60 percent, it would be perfect for this plant. High humidity will encourage abundant growth, and larger leaves and help the fern maintain its unique blue-green color. Meanwhile, low humidity levels can result in crispy tips, dull leaves, and fronds that fall off before they get a chance to unfurl.
To meet the blue star fern’s humidity requirements, we recommend keeping it close to a humidifier or on top of a pebble tray. A bathroom with a window, or even a kitchen, will also be moist enough for this plant.
Absolutely! Opinions are often mixed on this topic, and some gardeners suggest that misting can result in bacterial and fungal diseases, while others give it an all-around thumbs up. But if you think about it, there’s no reason why the blue star fern wouldn’t like being misted. After all, this is a tropical plant, often found in cloud forests and regions where its leaves and rhizomes get wet all the time.
The main reason why many gardeners advise against misting is that, as a beginner, this can easily damage or even kill your plant. But even if you’re not born with a green thumb, you can definitely grow one. So if you want to make the leap from beginner to expert, here’s what you need to know about correctly misting your plants.
- Only mist your plants if your room has good air circulation. Remember the fungal diseases we mentioned earlier? They can be a real threat to your plant if the air is stagnant and if the leaves are always wet. Keep the room well ventilated, and you can mist your plants with no worries.
- Don’t overcrowd your plants. This will result in poor air circulation, and misting can even help spread pests and diseases from sick plants to healthy ones.
- Know the difference between misting and spraying the leaves. Misting aims to cover the leaves in a light sheen of tiny droplets, not to get them soaking wet. When misting your plant, stay about one foot away from it.
- Use room temperature water to mist your plants to avoid shocking them.
- Allow the leaves to dry out before misting them again. If the leaves stay wet all the time, this will only result in those fungal problems everyone warns you about.
- Keep in mind that misting is not the best solution to increase humidity. Those tiny droplets will evaporate very quickly, and to achieve any noticeable results, you will need to mist your plants several times a day.
Water Requirements
Keep the soil of your blue star fern moist but not soaked. This plant is not drought tolerant, although admittedly in the wild this fern will tolerate dry conditions by shedding some of its leaves. But when you’re growing it indoors, the last thing you want is a deciduous fern.
Water the fern once a week during its growing season, from spring until mid-autumn. In winter, you can reduce your watering schedule to once every 7 – 10 days. Test the soil with your finger, and water your fern when the top inch feels dry to the touch. Always use the soak and drain method for watering this plant.
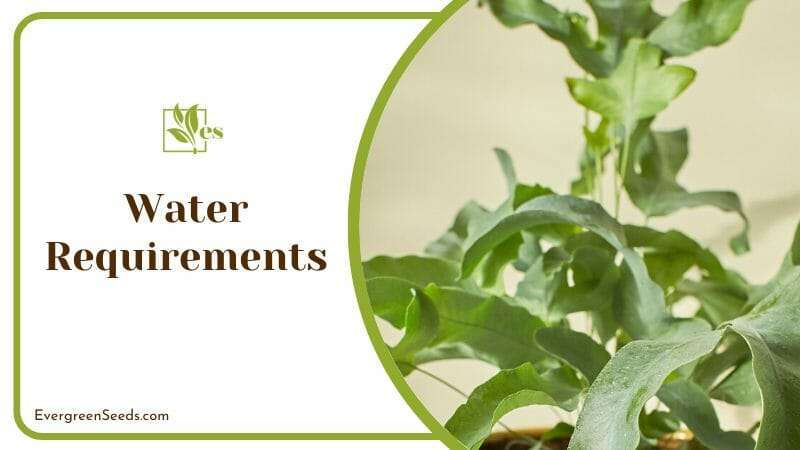
The blue star fern can be sensitive to the harsh minerals in tap water, which can result in brown leaf tips. Whenever possible, we recommend using distilled water for both watering and misting this fern. Also, remember to use room temperature water, to prevent shocking the plant.
One thing the blue fern plant is very sensitive to is root rot. Like most tropical epiphytes, it requires a perfect balance between moist substrate and excellent drainage. If the soil is constantly wet, it will become a breeding ground for pathogens, and before you know it, the roots will begin to rot. The amount of water you use plays an important part, but most overwatering problems are caused by using the wrong potting mix. Prevention is the best cure, so let’s take a look at the best soil for this plant.
Soil Requirements
The ideal potting soil for the blue star fern should be well-draining, moisture-retentive, porous, slightly acidic, and rich in organic matter. In the wild, this plant is an epiphyte, and it grows in little substrate, usually just clumps of organic debris found between tree branches. This type of substrate provides plenty of air circulation to the roots, drains very well, and allows the fern to withstand long periods of rain without developing root rot.
If you’re a beginner gardener, the easiest potting mix you can make for your blue star fern is combining two parts universal soil with one part perlite. Universal potting soil is mostly made from peat moss, pieces of bark, compost, and a blend of fertilizers. It provides the plant with root support, nutrients, and moisture retention, but it needs perlite for improved drainage.
If you want to step up your plant potting game, here’s a great soil mix we recommend using for your blue star fern:
- two parts peat moss
- one part pine bark
- one part perlite or pumice
- one part coarse sand
- one handful of horticultural charcoal
Fertilizer Requirements
The blue star fern is a light feeder but will benefit from a nutrient boost throughout the growing season. Once a month, we recommend using a balanced liquid fertilizer, diluted to half strength. Avoid overfeeding this fern, as it can be sensitive to fertilizer salts building up in the soil. In autumn, it’s a good idea to give the soil a flush, preferably with distilled water.
If your blue star fern has been repotted recently, it’s best if you don’t give it any fertilizers for the next six or so months. Also, the fern won’t need any fertilizer applications in winter, when it enters a brief period of dormancy.
Pruning and Maintenance
Your blue star fern won’t need much pruning. You can trim some of the longer fronds, especially if you want to keep the plant contained. Always use a sharp, sterilized blade when pruning your plants, and sterilize the blade after each cut.
Most blue star ferns are sold when they’re still young, with small leaves that have only one or three lobes per frond. As the plant matures, it will gradually shed these leaves, and replace them with large, deeply pinnate fronds that have long petioles.
When the old leaves fall off, they leave a small, circular scar on the rhizome that won’t be replaced by a new leaf. This process is normal, but it will result in a fern that doesn’t look as bushy as the one you originally bought.
One trick we recommend to keep your blue star fern bushy is to gently mist the rhizome once every two days. This method works best in summer, and should only be used if you have good air circulation in your home. If you use this trick, you will notice that the fern is producing bigger leaves, and the gaps in the foliage will soon begin to fill out.
Repotting
The blue star fern has a medium growth rate and should be repotted once every two to three years. The best time to repot it is in spring or early summer when the plant is actively growing. Once you notice that the roots are coming out of the drainage holes, it’s time to move the fern to a container that’s one size larger.
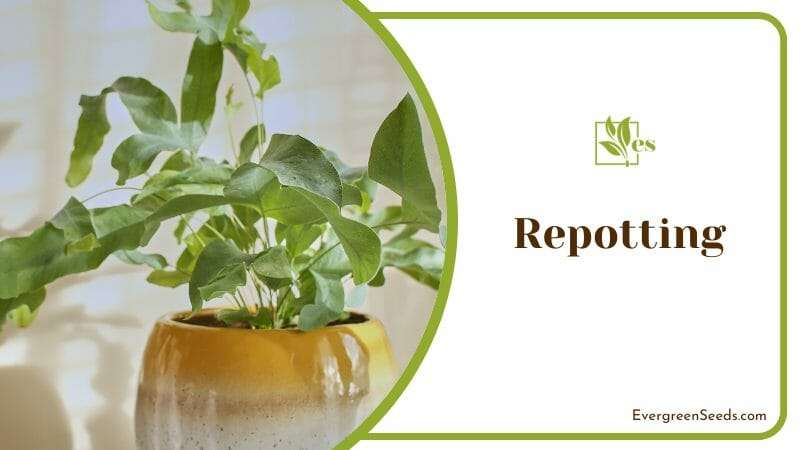
Avoid disturbing the roots of your blue star fern too much when repotting it. They are very thin and delicate, and if they’re torn or mishandled, this can result in transplant shock. One way to minimize this is by repotting the plant two days after you have watered it. The moist soil should allow the plant to adjust faster to its new pot.
Don’t be alarmed if you notice that the roots are brown. In most plants, this is a sign of root rot, but this is the natural color of the blue star fern roots. As long as they don’t feel soft and mushy, or have an unpleasant smell, they should be perfectly healthy.
The blue star fern is not too picky when it comes to the container you use. You can go for ceramic, terracotta, or even just plastic. Whichever type of pot you use, always make sure that it has at least one drainage hole at the bottom. This fern doesn’t like having wet feet, and if the roots are constantly sitting in water, they will begin to rot.
Young blue star ferns look best in standing pots. After two or three years, when the fern starts growing large, pinnate leaves, it can make a gorgeous statement piece if you put it in a hanging basket.
Propagation Guide
You can propagate your blue star fern through rhizome division. We recommend using this method in spring or summer, which allows the fern to use the rest of the growing season to become established.
One key thing to bear in mind is the fact that this plant doesn’t like having its roots disturbed. Always propagate it at the same time as repotting it to minimize any chance of damage to the roots.
Here’s our step-by-step guide for propagating the blue star fern:
- Give the fern a good soak two days before you decide to propagate it. This will loosen the soil and will make it easier to handle the roots without damaging them.
- Take the fern out of the pot and gently remove as much of the soil as you can.
- Using a sharp, sterilized blade, cut the rhizome into several sections. The blade needs to be very sharp to cut through the thick, woody rhizomes, especially in older plants. Make sure that each rhizome section has several leaves attached.
- Plant each new plant into a well-draining potting mix that has been moistened in advance. The rhizome should stay above the soil level. If you bury it in the soil, it will begin to rot, and the plant will die.
- Monitor the new plants for the next month, and keep the soil moist but not soaked. You will start seeing new fronds after two or three weeks.
Common Pests and Problems
The blue star fern is resistant to most pests and diseases. Its leathery leaves are covered in a thin, wax-like coating, which makes them unappetizing to pests.
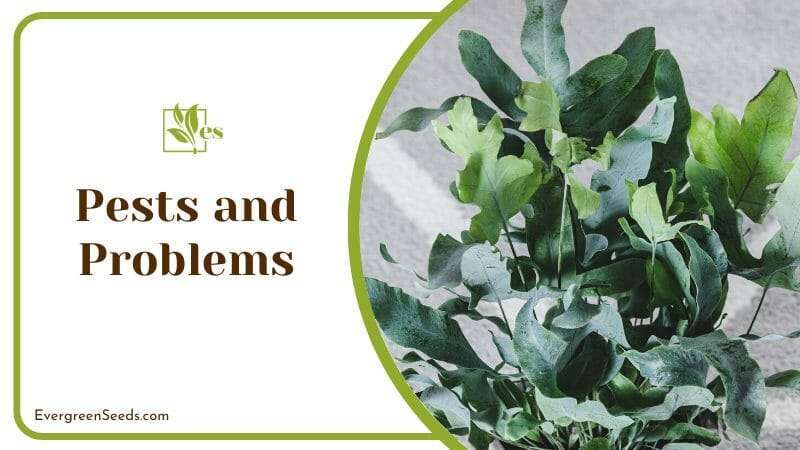
However, the blue fern plant can suffer if it’s not growing in the right conditions. Let’s take a look at the most common signs that your plant is distressed.
– Brown Leaf Tips
This is a common problem for the blue star fern and can have several causes. It’s usually a symptom of either; low humidity, your tap water is too hard, or a build-up of fertilizer salts in the soil. If large sections of the leaf are turning brown and crispy, it could indicate that the soil is too dry.
– Leaves Falling Off
Another common problem for the blue star fern, this is often a sign of water-related stress. You are either giving the plant too much water or letting the soil dry out. If your fern is exposed to hot or cold drafts, this could also result in it shedding its leaves.
– Yellowing Leaves
Yellowing leaves are a telltale sign of overwatering, especially if they fall off before they dry out. If your fern is putting out new growth that falls off before it unfurls, this could be a sign of root rot.
Identifying root rot in the blue star fern is a bit tricky because its roots are naturally brown. But if they feel soft, mushy, start turning black, or if they have an unpleasant, musty smell, then you’re dealing with rot. Use a sterilized blade to remove as much of the damaged roots as possible, then repot your fern in a well-draining potting mix.
– Pests
Mealybugs and spider mites are the most common pests for the blue star fern. You can get rid of them by spraying the leaves with water and isopropyl alcohol solution once a week.
Phlebodium aureum, or the blue star fern, is an epiphytic plant with blue leaves and one of the easiest fern species you can grow indoors. Native to the tropical regions of the Americas, it is very adaptable, and you can find it growing in regions ranging from Florida and Georgia to all the way in Argentina.


: A Guide To Growing It Yourself at Home!")


