

Caladium propagation is a very easy task to do and is guaranteed to be error-proof if done correctly. It is best to do this activity in the spring and autumn, as caladiums grow best during these seasons.
In this complete guide, we will take you through the crucial steps of propagating your caladium genus plants. Just follow this simple and foolproof guide and pretty soon, you will have new plants to take care of!
JUMP TO TOPIC
Essentials of Caladium Propagation
Caladium is a beautiful indoor plant ideal for decorative pots. Caladium leaves are large, heart- or arrow-shaped, and variegated, boasting colors of green, red, white, and pink and sometimes even appearing as striped or veined.
Home gardeners are growing caladiums because these plants are mainly prized for their foliage and also have the ability to produce flowers, which makes them more lovable and attractive. Other common names for this plant are Elephant ears, Heart of Jesus, and Angel wings.
– Tubers
Caladiums are tuber types of plant, meaning that they can be cut into pieces and then be re-grown using the tubers. You just need to make sure that each tuber has an eye. When one says caladium bulbs, one is referring to a caladium tuber or “tubers.” These tubers are what you need, as you are going to divide them for use in propagation.
Take note that using tubers is the only way to propagate caladium plants. Planting a leaf cutting from a mature caladium will not give you new plants because the essential roots of the plant grow from its tubers.
– Reasons for Propagation
Home gardeners usually decide to do propagation because of several reasons. It may be to create numerous duplicates of their caladium plant to spread their beauty in different parts of their home. These propagated plants also make a perfect gift to someone, or they can be something to sell to make money.
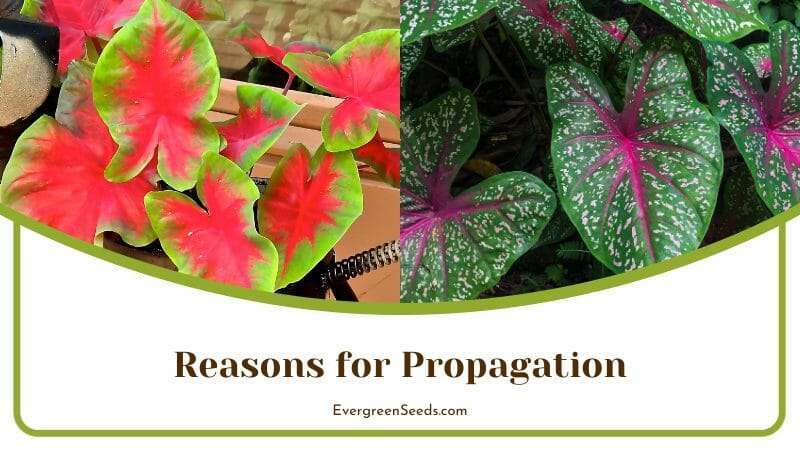
Sometimes, gardeners engage in propagation to save a dying caladium plant. This happens when a plant is suffering health issues and has to be thrown away.
This is when propagation becomes a necessity for plant growers, who have no other choice but to cut out the healthy parts and just try to grow new plants rather than trying to revive the diseased parts.
– Division Method
There is only one type of propagation that is used for caladium plants, and that is the division method or division of the mother plant while keeping the roots and crown of each part intact.
Cutting a tuber from a mother plant provides a healthy root system for another caladium that can be grown from it. The tuber appears as a fleshy storage organ that helps the plant survive while it is in a state of dormancy.
We know you are already excited to know how to propagate your caladium plant. So here, we cover everything you need to learn about how you can properly propagate caladiums. We have even included a care guide so you can meet your new caladium plant and make it thrive within just a few weeks!
Tools or Equipment You Need to Propagate Caladium
The tools that you need when you start doing propagation are a healthy and mature caladium plant, scissors or shears, a spare pot, and fresh soil or water. Make sure to prepare all these tools or equipment before doing the propagation to make the process easier and faster.
– Healthy and Mature Caladium Plant
Given that caladium plants do not reproduce from their leaf and stem cuttings but rather from a tuber alone, it is important that you have a mature plant that can provide you with a tuber with at least one to three eyes.
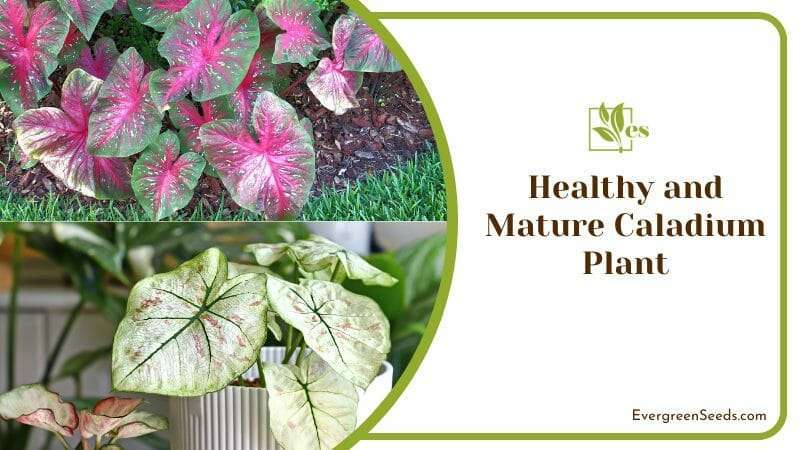
Make sure to give extra care to the mother plant after cutting out the tubers.
– Handheld Shovel, Sharp Scissors, or Shears
Make sure you use sharp and sterile shears or a pair of scissors to easily cut out and separate the part that will be propagated. It is important that you disinfect these tools before and after the propagation because caladiums can cause poisoning and reactions upon contact or ingestion.
To disinfect, soak your garden tools for about 30 minutes in a diluted bleach solution and then rinse them thoroughly.
– Spare Pot
Use a spare pot to plant the divided section that you would like to propagate. Make sure this pot is well-aerated and has holes at the bottom where excess water can leak through.
– Fresh Soil and Water
It is best to use either fresh soil and water, depending on the maturity of the roots of the new plant. If the roots are pretty small and immature, you may want to place the plants first in water to help them mature and wait for a few weeks. However, if you see that the root system is already mature and firm, you can plant them straight in fresh soil.
– Newspaper or Plastic Sheet
If propagating indoors, you will need these materials to catch the dirt that comes from the plants when you remove them from the pot. This will help make cleaning up easier and less messy.
Steps on How to Propagate Caladium
If you think you have all the tools and materials that you need, then you are now ready to do the propagation. Here is the complete guide to lead you step by step toward the successful propagation of your caladium plant.
– Divide Your Caladium
Before deciding to divide the mother plant, check each stem first and follow them down to the soil to see the separate offshoots growing out of the pot. Prepare your hands to be soiled as you dig the plant out of the pot.
You may want to use something to cover your hands like gloves or wash your hands thoroughly because as mentioned above, caladiums are toxic if ingested. Separate the sections by carefully loosening the area with a little spade, removing them from the soil, lifting them up, and shaking off the soil clinging around them.
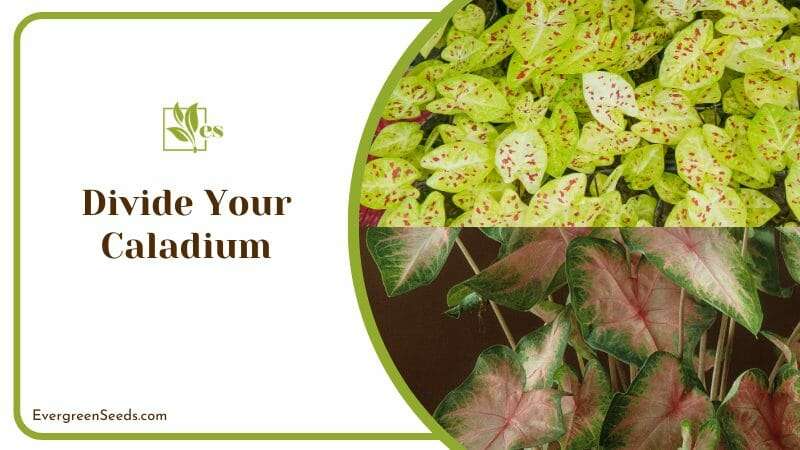
Use your fingers gently to easily loosen the potting mix in the roots and to avoid creating damage to the root system. If some of the roots are hard to detangle, you may have to cut through them using sharp shears or scissors to be able to gently pull the sections apart from each other.
It is now time for you to decide how many new caladium plants you want to create, especially if the mother plant is mature enough to have plenty of tubers.
Ensure that each section has a fair share of the root system to allow it to immediately recover from the shock of the propagation and repotting and to be able to grow healthily. Lastly, allow the tubers that you have separated from the mother plant to dry out for a few days and callus over before replanting.
– Overwinter the Caladium
Overwintering is commonly done in cold regions. It is the process by which plants wait until the winter season passes before continuing their normal activity because they struggle in cold climates.
In the case of the caladiums, they are largely in a state of dormancy during winter as they are seasonal plants, even in the tropics. Caladium grow in heat and humidity. That is why it is recommended to plant them in the spring and summer months.
If you live in a cold region, it is best to dig the tubers, divide them, and then store them first in a greenhouse or indoors where you can provide a temperature that is between 70 to 75 degrees Fahrenheit. Then plant them when the spring season comes. If not, you can continue doing the steps below.
– Replant Your Caladium
After successfully separating the tuber from the mother plant, place the mother plant back in its pot, or you may want to use a smaller pot if you have taken a big portion of it. Then decide whether you want to put the tuber in fresh potting soil or in water.
As mentioned earlier, if the tuber looks mature, you can grow it immediately in a new pot with fresh potting mix, but if the tuber does not look mature enough, plant it first in water to help it to mature and become strong enough to be planted and thrive in soil.
Keep in mind that your new caladium might be in shock after you have used this method. That is why you should help it to develop and grow on its own by giving it the right nutrient balance with the use of a high-quality potting mix.
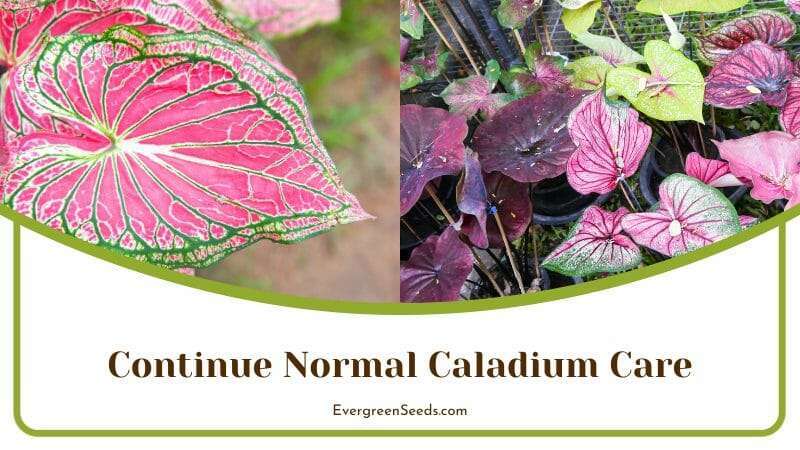
– Continue Normal Caladium Care
Let your caladium plant thrive and flourish in its new home while you continue giving it the same normal care as you are giving the mother plant.
Below is a basic caladium care guide for you to recall how to properly take care of caladium plants.
-
Soil
In a garden setting, caladium grows best in rich and well-draining soil. Meanwhile, where it is planted in containers indoors, it is best to use a high-quality potting mix. These plants prefer a slightly acidic soil pH that ranges from 5.5 to 6.2.
-
Light
When grown indoors, caladium thrives when it receives bright but indirect sunlight or moderate shade. However, when growing your plant outdoors, give it partial to full shade because too much harsh sun will burn the leaves.
-
Water
Keeping the soil evenly moist creates a big impact on your caladium’s overall health. Ensure that you avoid letting the soil dry out as it may cause the drooping and yellowing of the leaves.
When you notice that the plant starts to die, that is normal during winter, so stop watering during that period and resume your watering schedule when the spring season comes.
-
Temperature and Humidity
Given that caladiums are tropical plants, a warmer temperature is always better. They tend to grow in hot climates where humidity is high, so keeping the recommended temperature of 70 to 75 degrees Fahrenheit will do wonders.
-
Fertilizer
Caladiums are heavy feeders. You need to feed them every two weeks during the growing season by using a liquid fertilizer or slow-release pellets.


