

Learning how to separate snake plants is one step closer to helping you divide this beautiful plant instead of buying new ones. Snake plants of the Asparagaceae family grow and spread using underground rhizomes, sending new leaf shoots next to the mother plant.
When growing in a container, there won’t be more room for the plant to spread. This causes ceramic and clay pots to break, and plastic pots bulge and split with rhizomes creeping out of the drainage holes – that’s why you should learn to do it right! Also, you may want to move them to a bigger area, so you can add some snake plant companion plants.
JUMP TO TOPIC
How To Separate Snake Plants in 7 Simple Steps?
To separate snake plants in seven simple steps, you must gather everything you need before you begin, and inspect the plant you want to divide. Thereafter, remove it from the pot gently, loosen the soil, separate it from the new shoots, and plant all of them afresh.
1. Gather All That You Need
Before starting to separate your plants, gather everything you need to use. You will need new pots, potting soil, a trowel or something to scoop the soil, a clean, sterilized, sharp knife or pair of pruners, rooting hormone, gloves, and newspaper for covering your workspace if need be. These are the essential tools; however, if you need to add to the list, you are free to do so. Also, make sure to properly identify the snake’s plant variety.
Remember to get at least 4-inch pots for one plant as you choose the pots. If you plan on having two plants in one pot, use 6-inch pots. To prepare your soil, use one part potting mix, one part coco air or peat moss, and two parts perlite or sand.
2. Inspect Your Plant Before Dividing
Take time to inspect the plant you are dividing, looking for areas it can naturally separate or where it seems like two or more plants. Look for sprouts that are coming up so you don’t destroy them.
Count the sprouts and separations before starting the task to know how many new plants you will get. Getting more than one snake plant pup from one mother plant is possible.
Finally, once you know how many plants you will get, water the mother plant deeply a few days before the project. This reduces stress on the plant as it is easy to get a well-moistened plant out of the pot and makes it easy to work on.
3. Remove the Snake Plant From the Pot
To remove this plant, lay the pot horizontally and gently pull the plant loose from the pot. Grasp the leaves gently with one hand and tug on the pot with the other hand. If it doesn’t easily slide off, gently squeeze the pot all around to loosen the roots and soil.
If the pot is ceramic, you can tap it with a stick or use a chopstick to help release the roots. Ensure in any of these instances that you don’t damage the roots.
4. Loosen the Soil
Use your fingers to loosen or hold the roots under a running faucet and remove the soil around the root ball to expose the root system. This is helpful if you divide your plant using the pups. It also allows you to remove any old mushy roots.
Once the roots are clean, look for an L or J-shaped protrusion from the main plant. The fleshy white rhizome is the pup, which you will cut away from the main plant.
5. Remove the Pups or the Separate Plant
Once the roots are clean, it’s time to isolate the pups. Carefully cut off the pups, plus their delicate roots. Use a sterile knife or box cutter to slice through the rhizome while keeping as many roots on the pups as possible. Thin out as many pups as you want to remove.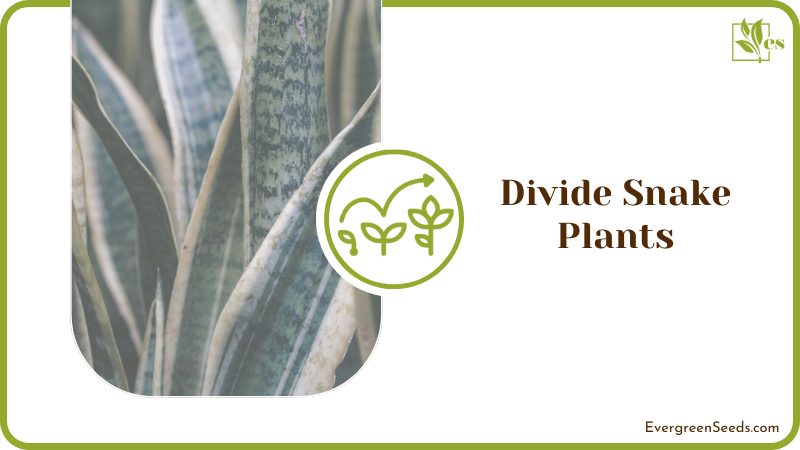
6. Plant the Snake Plants
It’s time to get all these plants in the new pots and soil you have prepared. Add rooting hormone powder to the little pups before placing them in pots. Plant them in the ready soil by making a small hole in the middle of the pot if you are planting one in each container. If you want to grow two plants, make holes side by side across from each other.
Take the parent plant and repot it in a new pot with a new soil mix larger than the previous one. Ensure you don’t mound the soil too far to keep the leaves from rotting. Press the roots down firmly to secure the plant. You can support it with a bamboo stake in case it’s leaning until it gets the roots established.
Do not use extra large pots as they can lead to root rot because the root system is not large enough to absorb the water from the bottom of the soil.
7. Water your Plants
Finally, water your plants lightly to moisten the soil. Allow the water to flow before placing the pot on a cover top. Place the pots in a medium-lit area and not under direct sunlight.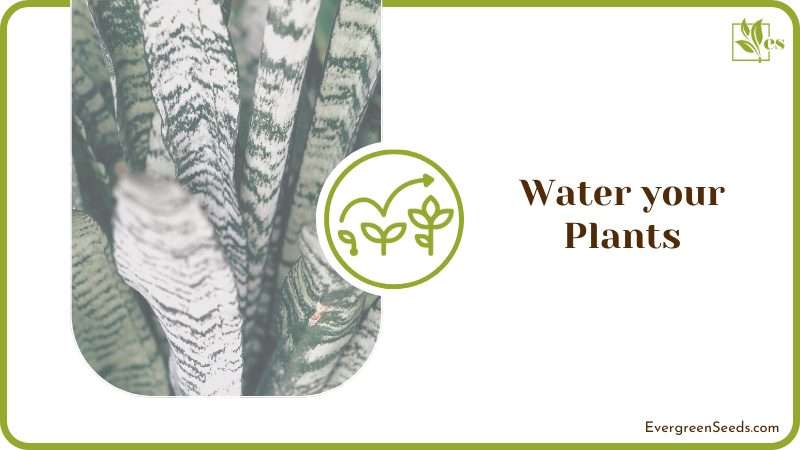
The best place is near a north-facing window away from indirect sunlight. This is to enable the roots to grow and get established, and direct light may cause stress to the plant.
How To Repot the Mother Plant After Separating It?
To repot the mother plant after separating it from the new shoots, you will need to prepare a new pot and potting soil mix with fresh nutrients before planting and watering it. Always repot immediately after removing the new shoots.
1. Prepare a New Pot and Potting Mix
When repotting a mother plant, prepare a new pot slightly bigger than the previous one. This will allow it adequate space to produce more snake plant rhizomes. Also, prepare a new potting soil mix and refrain from using the old mix.
The new mix will be healthy and contain fresh nutrients for the plant to start feeding on immediately. This will, in return, help the plant become established within a short time.
2. Plant the Mother Plant
Once the pot and soil mix is ready, plant the mother plant by gently placing it in the middle of the container and returning the soil all around. Firmly but gently press the roots to ensure its firm and can stand on their own.
Once it’s firmly planted, add the rest of the potting soil you have put aside to give you room to plant. Leave some space at the top of the pot so it does not overflow when watered.
3. Water the Plant
Finally, with the mother plant firmly planted, water it thoroughly until it overflows through the draining holes. This first watering is essential as it helps the plant get a good drink to feed it deeply. Allow the water to flow through the holes on the lower side of the pot before you place the saucer.
Continue watering the plant at least once a week to keep it well-fed. Avoid over watering as it can lead to root rot.
Frequently Asked Questions
– Why Should You Divide Snake Plants?
You should divide snake plants to stop them from growing too crowded and congested if left to continue growing in the same pot for too long. In addition, dividing snake plant pups ensures your plant does not become root bound and gets adequate nutrients and air supply.
– When Is the Best Time To Separate Snake Plants?
The best time to separate a snake plant is spring or summer. During this time, the plant is actively growing and will continue to grow once you divide because the weather is favorable. Ensure your plant has new pups before splitting; immature plants without pups should not be separated.
– How Much Time Does It Take for a Snake Plant To Produce New Pups?
It takes about two to four months from planting for a snake plant to get new pups. Look out for them as they emerge from the soil around this time. However, they may take longer if your plant does not receive adequate nutrients.
Conclusion
There you have a complete guide on how to separate snake plants. You will garden differently once you learn these simple techniques, as they will help you divide plants and do it like a pro. Here are a few pointers to remember before dividing your Sansevieria plant:
- Keep the plants away from direct light, but that does not mean you keep them in some dark corner as they will rot.
- Even though this plant tolerates low light, it requires adequate light to help dry out the soil between waterings.
- Add rooting powder to your pups before planting them to encourage fast, robust root growth.
- New potting soil is required to make sure the new plants and the mother plant thrive.
There you have it – propagating snake plants the easy way!


