

Propagating orchids from leaves is an exciting process as it’s a journey from leaf to blossom, a way to multiply the beauty in your home or garden. But propagation can be complicated for some.
Worry no more; the seemingly complex task becomes straightforward with our simple steps. So, without further delay, let’s dig into the fascinating journey of growing your beautiful orchids from leaves.
JUMP TO TOPIC
- How To Propagate an Orchid From Leaves? Step-By-Step
- – Understanding Leaf Propagation
- – Selecting Healthy Orchid Leaves for Propagation
- – Choosing the Right Propagation Medium for Orchid Leaves
- – Gather the Rest of the Supplies In Advance
- – Preparing the Ideal Propagation Environment
- – Step-by-Step Leaf Cutting Technique
- – Planting the Cuttings
- – Place the Leaf Cuttings in a Chosen Location
- – Enhancing Root Development: Rooting Hormones and Techniques
- – Water Smartly After Planting the Cutting
- – Keep Doing Monitoring
- – Preventing and Treating Common Leaf Propagation Challenges
- – Transferring the Cuttings to Potting Mix: Potting Guidelines
How To Propagate an Orchid From Leaves? Step-By-Step
Propagating an orchid from leaves is a straightforward process. Choose a healthy leaf, Cut it along with a bit of stem at a slight angle, place it on a suitable medium, provide an ideal environment, and wait for new growth. Once it appears, transplant and enjoy your newly propagated orchid! It should not have any brown stems or white spots on its leaves.
– Understanding Leaf Propagation
Leaf propagation is one of the most straightforward ways to multiply your orchid collection. If you have searched “how to propagate orchids Phalaenopsis” or “how to propagate orchids from roots,” you’ll be relieved to know the process is pretty similar.
Essentially, leaf propagation involves taking healthy leaves from the mother plant and providing the conditions for new roots. It’s a gratifying journey from a single leaf to a thriving new plant.
– Selecting Healthy Orchid Leaves for Propagation
To propagate successfully, starting with a healthy leaf is a must. It’s the main protagonist in this story of orchid growing. But you can’t choose any orchid when it comes to leaf propagation.
Consider the overall health of the parent plant. Healthy plants are more likely to develop healthy offshoots. A stressed or sickly plant is not the best source for your propagation project. So, if your orchid has recently been through a move, a repotting, or is recovering from disease, it’s best to wait until the plant is back in top shape before attempting leaf propagation.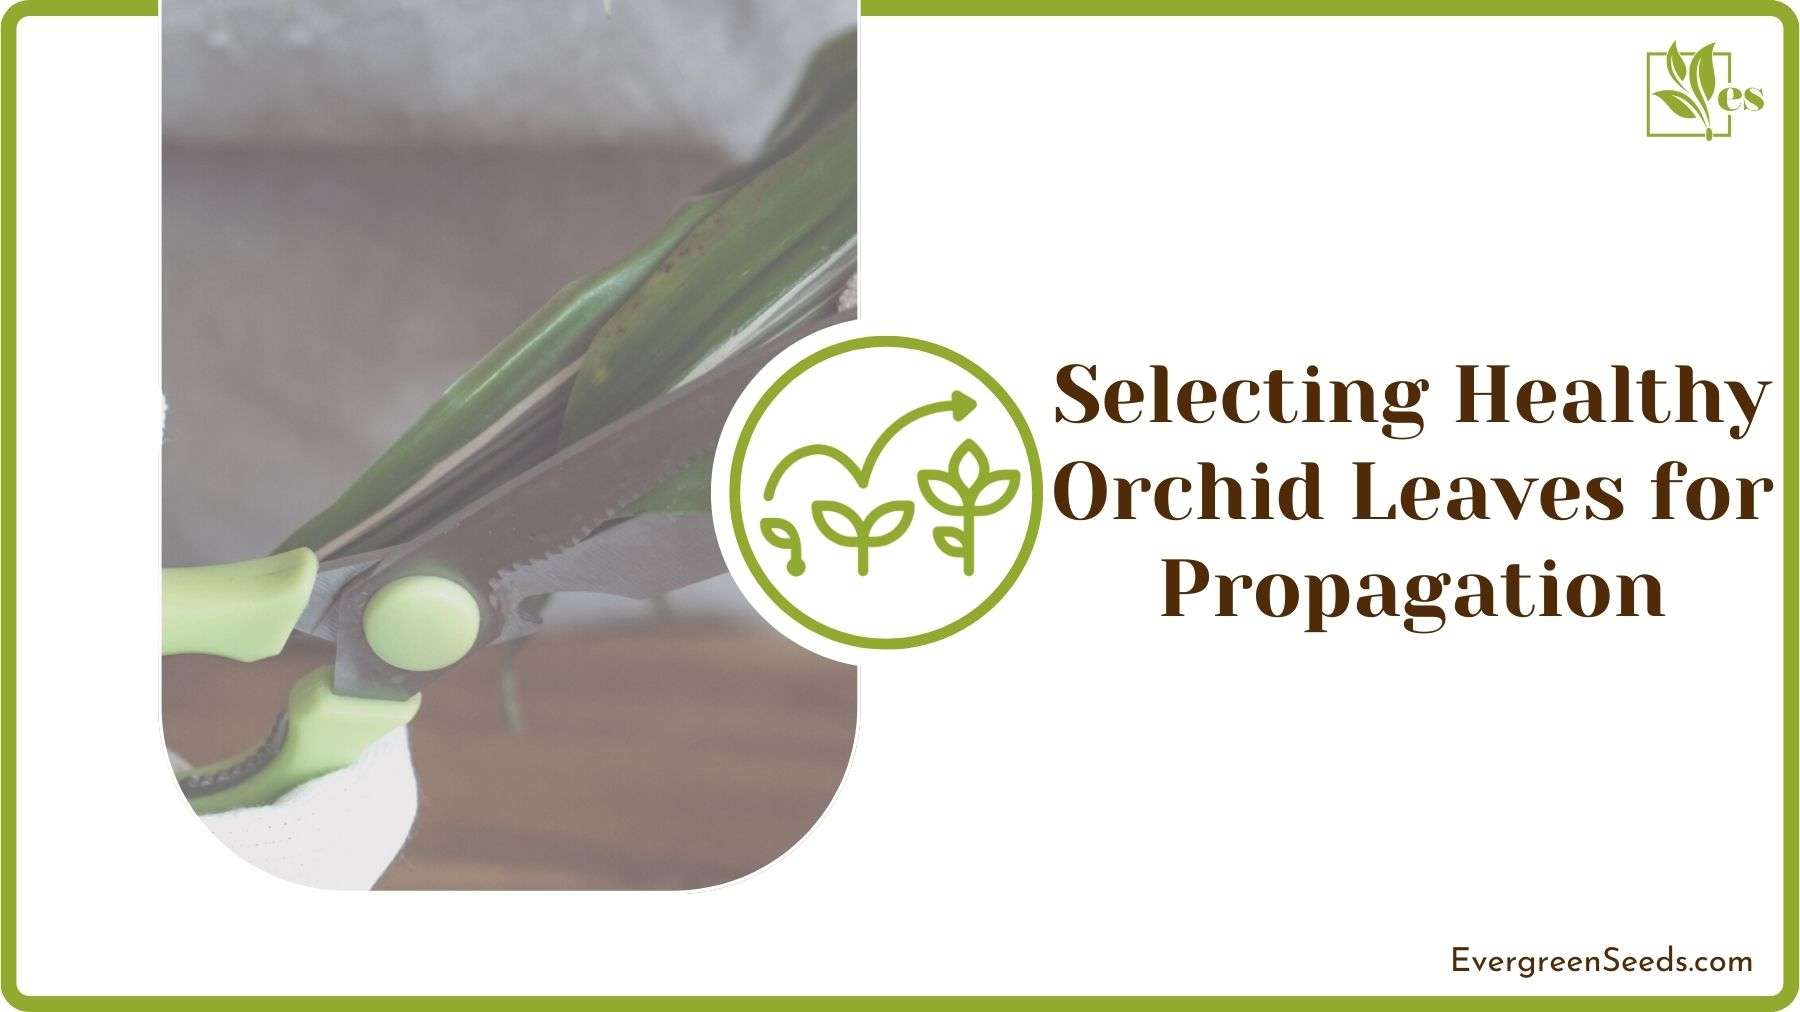
After selecting the suitable orchid, examine it closely. It’s not about grabbing the first leaf you see; careful consideration is vital. Remember- quality, not quantity, should be your mantra when choosing a leaf for propagation.
The first rule of thumb is to go for mature leaves. While those fresh young leaves might look appealing, they’re not the best candidates for propagation. Mature leaves of sympodial orchids have more stored nutrients and are generally tougher, making them ideal for handling propagation stress.
Also, mature leaves have completed their growth cycle, meaning they’re less likely to change shape or size during propagation.
Note that the ideal leaf is robust, green, and blemish-free. Stay clear of yellowed, blotchy, or visibly damaged leaves. They’re more likely to carry disease or simply not survive the propagation process. Just remember: a healthy leaf equals a happy new orchid. Also, if the orchid buds are not opening, the plant might be sick.
– Choosing the Right Propagation Medium for Orchid Leaves
Let’s talk about where these cuttings will start their new life. You can’t just stick them in old soil and hope for the best. The medium, or the material, will decide the future of the cutting.
The ideal medium needs to have certain qualities.
- It should be able to retain moisture without becoming waterlogged.
- The medium should be loose and airy.
- It should release nutrients with time.
We suggest you opt for materials like sphagnum moss or bark, which mimic an orchid’s natural growing conditions by providing ample air circulation around the roots.
Next, you may need to add anything else to your medium. One option is to mix in some perlite or charcoal. These additions can improve drainage, prevent the medium from becoming too compact, and even prevent fungal infections. They’re not necessary, but they can enhance your medium’s overall effectiveness.
– Gather the Rest of the Supplies In Advance
Besides the propagation medium, you’ll need the following:
- A sharp, sterile knife for making the cuttings.
- Small pots or propagation trays.
- Humidity dome or plastic bag.
– Preparing the Ideal Propagation Environment
Orchid cuttings need a certain kind of environment to flourish. Let’s talk about light first. It is like food for plants. They need it to photosynthesize and grow. But for cuttings, it’s all about balance. Too much direct sunlight can scorch the tender new growth, but too little light and the cutting might not grow at all. The sweet spot? Bright, indirect light. A north or east-facing windowsill can be a great spot.
Next on our list is temperature. Orchids grow best in warmer temperatures (65 to 77 degrees Fahrenheit are ideal).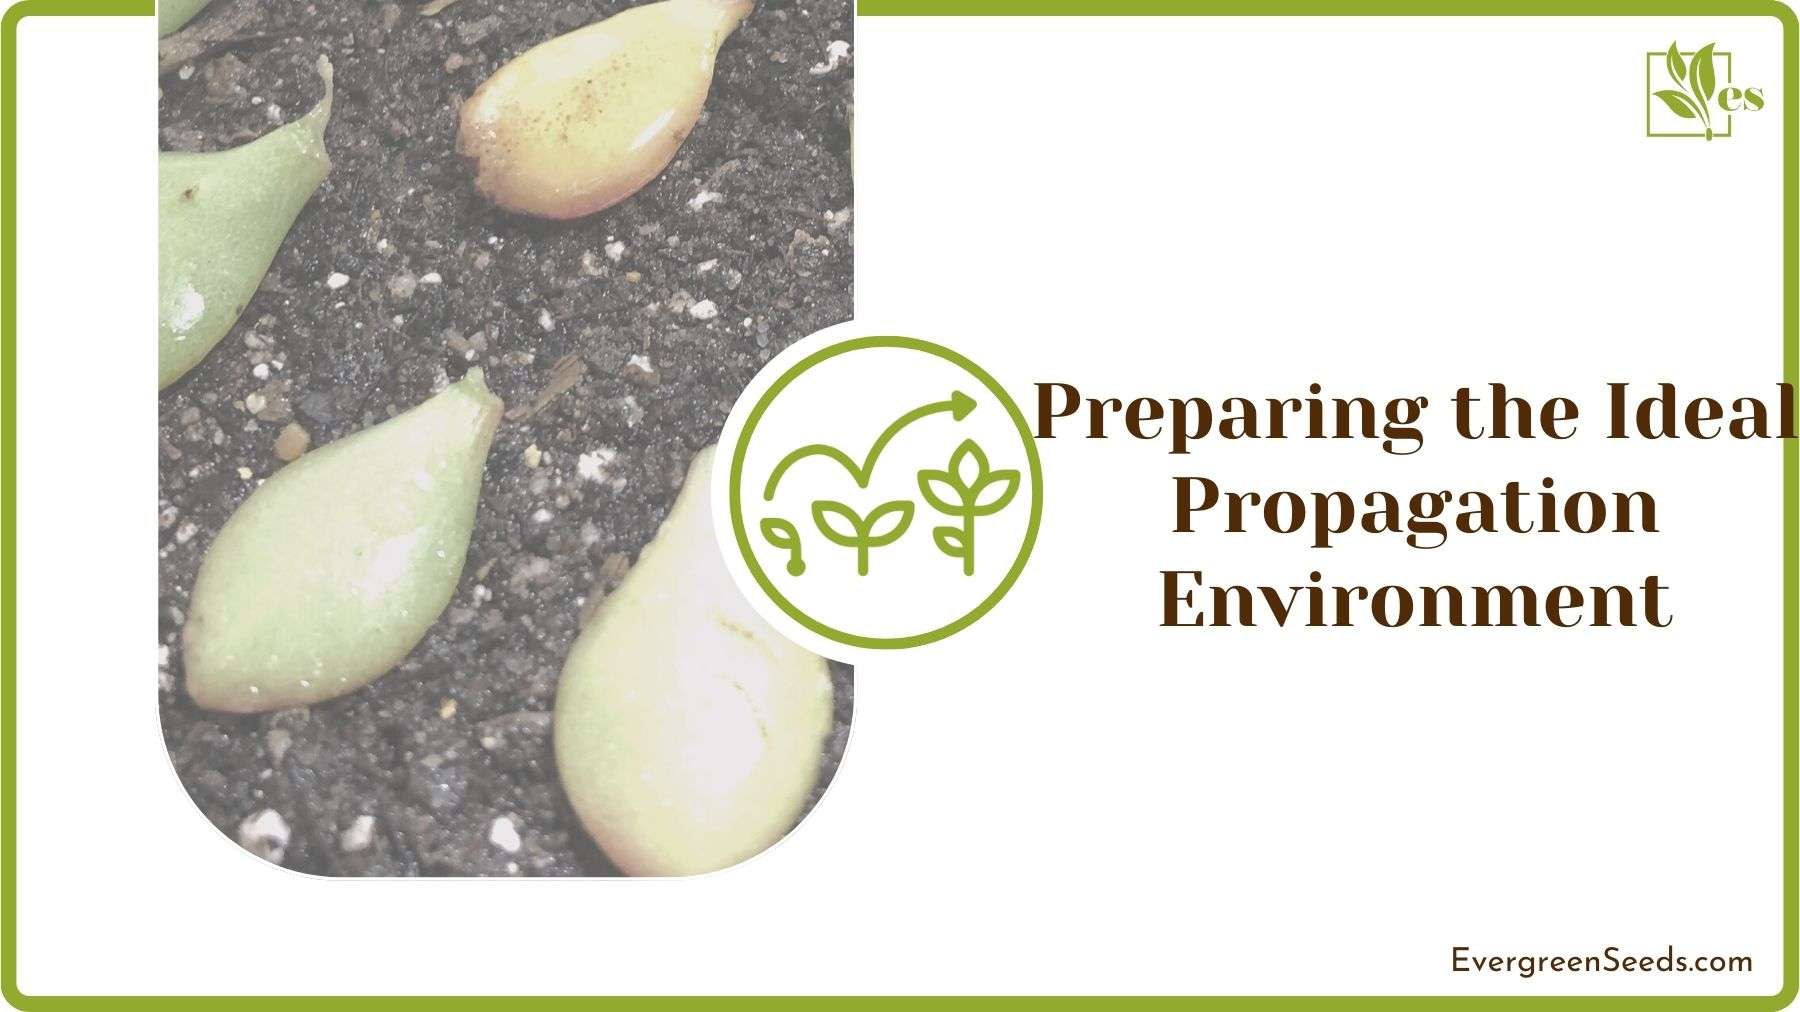
Don’t forget about the humidity. Orchids love humid conditions, but that doesn’t mean you must turn your home into a rainforest. Placing a water tray is a simple way to increase humidity around your orchid cuttings. A plastic bag around the pot also helps maintain humidity, but be careful if you see orchid keikis.
Last but not least, consider air circulation. Fresh, moving air helps to prevent fungal and bacterial diseases. So, ensure your cuttings are in a place where the air can move freely.
Ensuring the ideal environment will increase the chances of successful propagation. Remember, plant care isn’t just about the initial steps—it’s an ongoing commitment.
– Step-by-Step Leaf Cutting Technique
Ready to get hands-on? Good, because it’s time for the main act of our propagation show.
- Ensure your knife is clean and sharp—you don’t want to harm the mother plant or transmit infections.
- Cut the leaf along with a bit of stem at a slight angle. This angled cut increases the surface area for root growth. Keep an inch of flower spike/stem attached to the leaf as a rule of thumb. Make sure the cutting is at least four inches long.
- Let the cut area heal for a day or two before planting it. It will allow the cut to dry out and form a protective callus, which will help prevent rot and disease.
If you’ve ever wondered how to propagate Phalaenopsis orchids from cuttings or how to propagate orchids keiki, this process would feel familiar, except for the part that’s being cut.
– Planting the Cuttings
In the next step, plant the cutting.
- Start by making the potting medium slightly moist.
- Next, choose a pot that’s appropriate for the size of your cutting. Orchids prefer tight quarters, so a small pot is often best.
- Plant your leaf cutting in the pot, positioning it so the cut end of the leaf is just below the surface of the medium. The leaf should stand upright.
- Make sure your leaf cutting is securely positioned in the medium. It shouldn’t wobble or topple over. You want it to stay firmly in place to help the roots establish themselves.
If you are interested in propagating orchids from stem cuttings or curious to know about propagating orchids in water, know that the planting process will be slightly different, but don’t worry – we’ll cover that in a future post.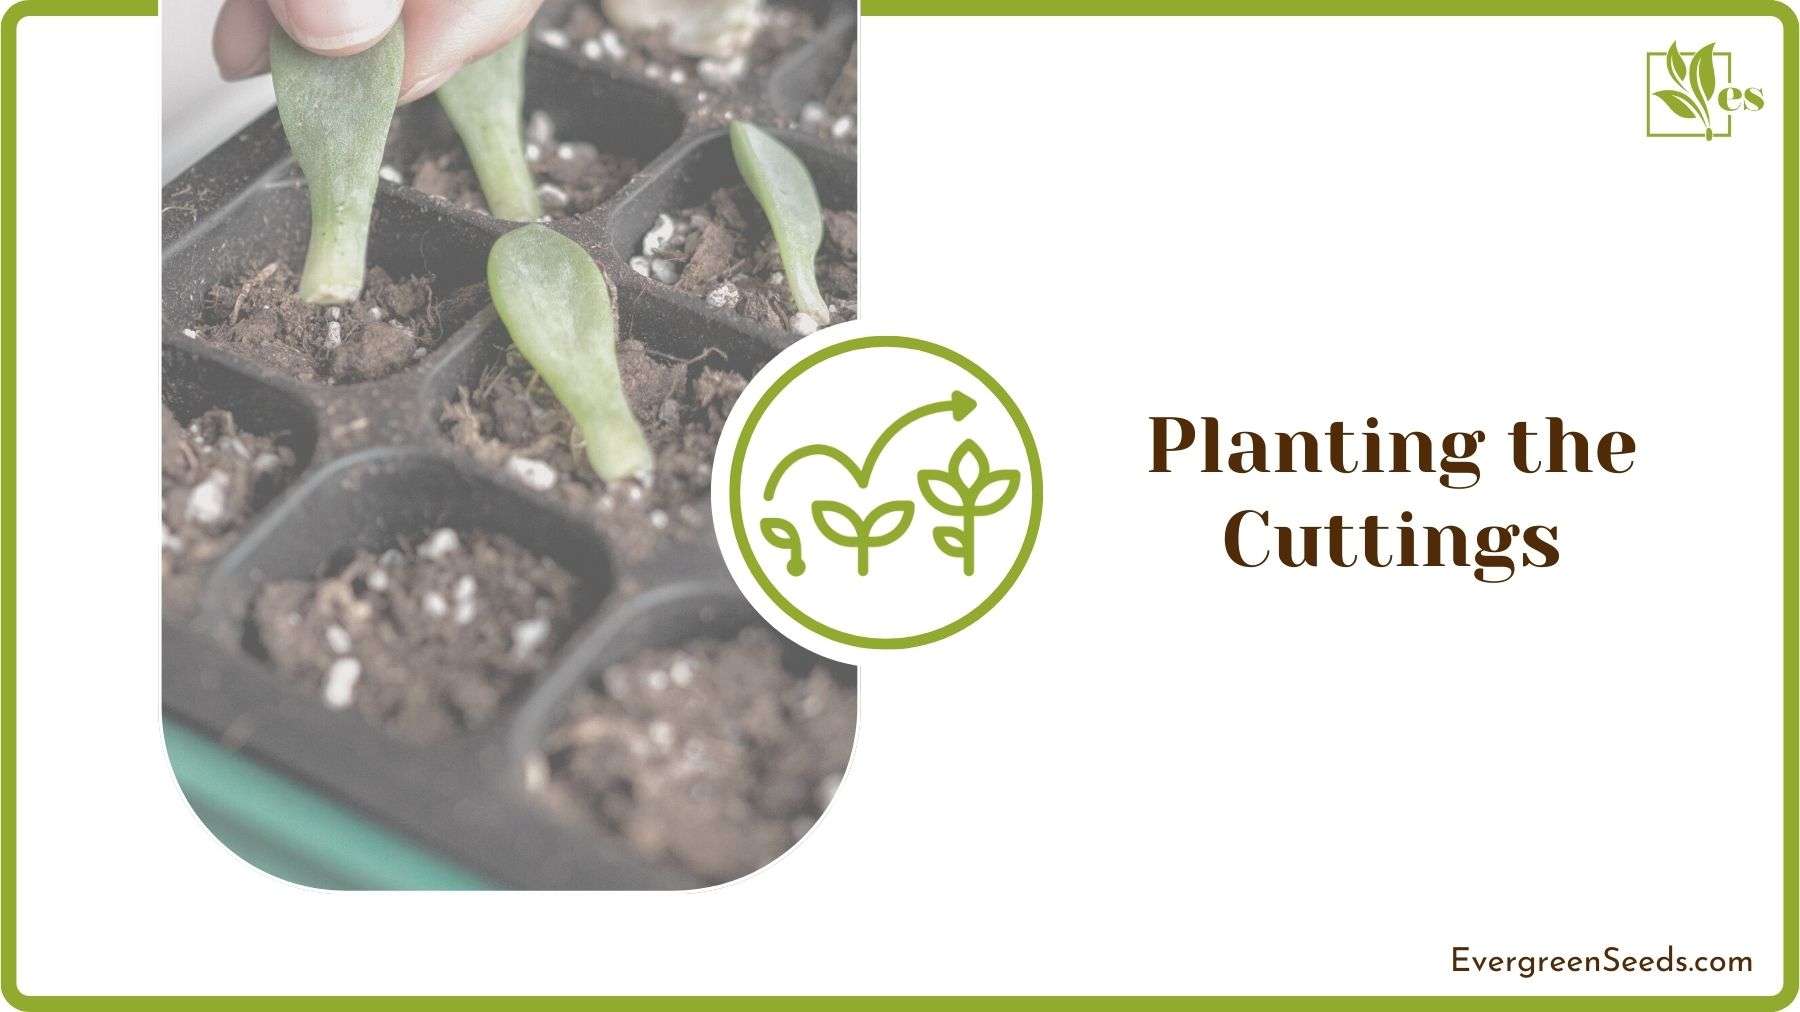
– Place the Leaf Cuttings in a Chosen Location
You should not move the pots regularly when you raise orchids from cuttings. So, after planting a leaf, place the pot in an area where you manage the ideal environment and ensure not to disturb it.
– Enhancing Root Development: Rooting Hormones and Techniques
Seeing those first tiny roots emerge is an unforgettable milestone on your propagation journey. But how can you give your cutting the best chance at developing a robust and healthy root system?
Applying the rooting hormone is the fastest way to initiate root development. Simply dip the cut end of your leaf into the hormone before planting. You could add it to the potting medium if you didn’t soak the cutting in the previous step.
Another technique you can use to enhance root development is bagging. It involves creating a mini greenhouse around your planted cutting. The increased humidity in the bag mimics the tropical environment orchids naturally grow in, helping your cutting to develop roots.
Above all, the most effective technique when waiting for root development is patience. Root development can take several weeks (or even months). But rest assured, as long as you’ve provided the right conditions – a warm, humid environment with bright, indirect light – those roots are on their way.
– Water Smartly After Planting the Cutting
Next, you will have to water the cutting to help it kickstart the growth. The key is to keep the medium moist, not drenched. So, water your cuttings sparingly, just enough to keep the medium damp.
A spray bottle is an excellent tool for this task. Lightly mist the surface of the propagation medium. It will hydrate the cutting without making the medium too wet.
Note that orchids aren’t fans of saturated conditions. They’re used to growing in aerated and well-draining conditions in their natural habitat. So, ensure your pot has good drainage and avoid leaving it in a tray of water.
– Keep Doing Monitoring
So, now that your cuttings are all snug in their new home, you might think your work is done. Well, not quite. The truth is successful orchid care involves regular monitoring. You will need to:
- Watch out for any signs of disease or pests.
- Ensuring the cutting receives the right amount of light and water.
- Regularly check the leaf for signs of disease or stress, like discoloration or wilting.
- Ensure the environment stays warm and humid.
And don’t be disheartened if progress seems slow; remember, good things take time!
– Preventing and Treating Common Leaf Propagation Challenges
Despite all precautions, problems might arise in propagating an orchid from a cutting. It’s part of the process. Here are some of the challenges that you must be aware of while propagating orchids from leaves:
- Fungus attack: This can occur due to overwatering or poor air circulation. It’s crucial to act quickly at the first signs of disease. A diluted fungicide spray can be a lifesaver.
- Discoloration: The cutting may lack certain nutrients if you notice unusual leaf discoloration (like dark or reddish leaves). A balanced, water-soluble orchid fertilizer can help address this.
- Temperature Fluctuations: Try to maintain a stable, warm temperature. Sudden changes can stress the plant.
Stay observant, adjust care routines as needed, and, most importantly, enjoy the process. Soon enough, the cutting will be big enough to bloom!
– Transferring the Cuttings to Potting Mix: Potting Guidelines
After your cuttings have developed roots, it’s time for the next exciting stage: potting. But timing is everything. When you can see a few healthy roots, a flourishing flower spike, and possibly even a new leaf or Keiki, it is a sign that the cutting has established itself.
When the cutting is mature, select an appropriate orchid potting mix. It should be light and airy, allowing for good drainage.
When choosing a pot, orchids aren’t too fussy, but there are a few critical considerations. It should be large enough to accommodate the roots and provide room for growth. Also, orchids prefer pots with good drainage, so look for ones with plenty of holes.
To pot the cutting:
- Please remove it from the propagation medium gently.
- Carefully place it in the pot, spreading out the roots.
- Gently fill in around the roots with your orchid mix until the seeds are covered, but the base of the cutting or the new growth is still visible.
And that’s it! In the fascinating world of growing orchids, every leaf holds the promise of a new plant, and every step in the process is a learning opportunity. From propagating orchids from aerial roots to understanding the intricacies of an orchid stem, there’s always something new to explore. So, always keep your gardening gloves ready and keep trying orchid propagation methods!


